Dirt cheap build from a newbie
-
Leatherneck

- Moderator
- Posts: 17104
- Joined: Sat Jul 01, 2006 6:47 pm
-
fusername
- Posts: 6806
- Joined: Sun Jan 28, 2007 11:26 am
for 15 bucks, the beading makes a very big difference in appearance, imho, we just added it to namelesswonders baja, and I think it made a huge difference, esp being black on orange w/ the wells all black. hides the joint nicely and probably cuts down on rattle.
bolt on whatever you can, because you KNOW it will be the first piece you introduce to a tree second time out.
bolt on whatever you can, because you KNOW it will be the first piece you introduce to a tree second time out.
give a man a watch and he'll allways know what time it is. give him two and he can never be sure again.
Things are rarely just crazy enough to work, but they're frequently just crazy enough to fail hilariously.
Things are rarely just crazy enough to work, but they're frequently just crazy enough to fail hilariously.
-
Sneaks

- Posts: 1653
- Joined: Thu Apr 26, 2007 8:32 am
That is the target color here too. My wife happens to love bright yellow on cars so that works to my advantage, 'specially since she is my sanding and prep person:)spongeworthy wrote: I've considered ditching my fiberglass parts and going all steel a few times. Maybe I will do that someday. I do plan to paint mine the same bright yellow as his.
I was thinking about that, thanks for the confirmation. I wanted to make them look more "finished" plus not look like they were going fold over the first time a hornet clipped on. I'll be adding rod to mine as well.I believe he reinforced the cut fenders by welding round bar-stock or using welding rod on the edges and then smoothing things out with lead. He also welded a lip to the cut edges on the body for a finished look and for strength.
This is one place I'll deviate from the original since I want to use this at least 3 seasons and up here in NH, that means COLD.Side glass was removed to reduce weight and replaced with custom side curtain windows that snapped to the body.
P.S. I would recommend bolting on the fenders and using fender beading.
Leatherneck wrote:Much as I hate to agree with spongeworthy Very Happy I am with him on the bolting and beading of the fenders ease of replacement and strength will be with you when you need them.
I guess beading and bolting it is!fusername wrote:for 15 bucks, the beading makes a very big difference in appearance, imho, we just added it to namelesswonders baja, and I think it made a huge difference, esp being black on orange w/ the wells all black. hides the joint nicely and probably cuts down on rattle.
bolt on whatever you can, because you KNOW it will be the first piece you introduce to a tree second time out.
I test fit my og rear fender on it but rotated about 8-10 forward so the wider part is over the tire. With some cutting, it could work pretty well but I'm going to hold out for some fronts since the leading part of the fender is wider. I have a bunch of VW stuff on CL, hopefully I can trade some of it for parts. This weekend I hope to jump back into it.
-
Leatherneck
- Moderator
- Posts: 17104
- Joined: Sat Jul 01, 2006 6:47 pm
-
Sneaks
- Posts: 1653
- Joined: Thu Apr 26, 2007 8:32 am
-
Sneaks
- Posts: 1653
- Joined: Thu Apr 26, 2007 8:32 am
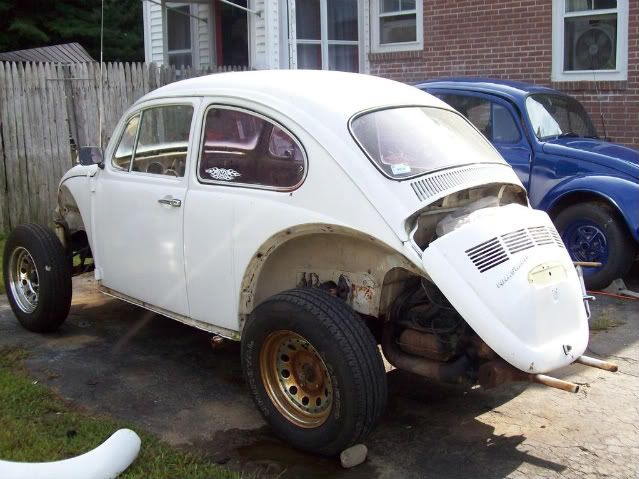
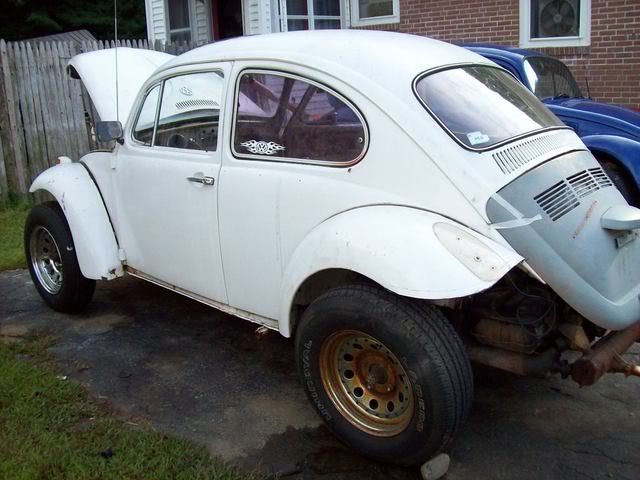
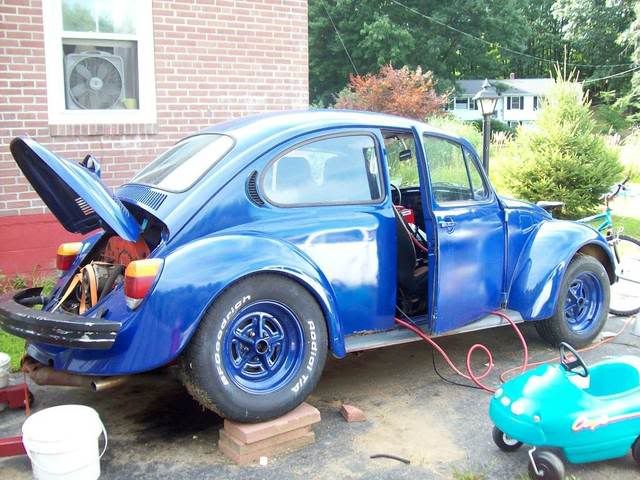
Well, tonight I got my tires mounted on the rims, I like the way they look. I have 26x7.5-15LTs Mickey Thompsons on the front and 225/75-R15 Uniroyal Laredos on the back. I would have like to have run a more aggressive AT tire in the rear, but the price was right on all of my tires...$0. I'll look for something with more tooth in it for the rears closer to snow time but for now, they have plenty of tread and look good. Got it up to my fence before it got too dark to do any more. Tomorrow will take down part of the fence so I can move it into the driveway to work on. I might have a line on some tree bars and front/rear baja bumpers for little $$, will check them out this week.
Last edited by Sneaks on Tue Aug 26, 2008 5:55 am, edited 1 time in total.

-
Sneaks
- Posts: 1653
- Joined: Thu Apr 26, 2007 8:32 am
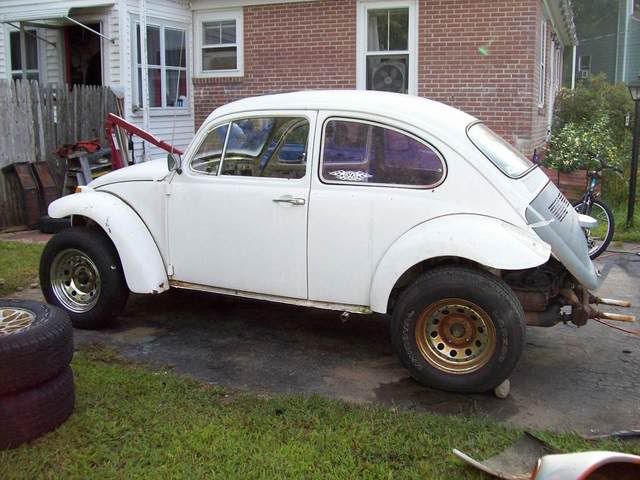
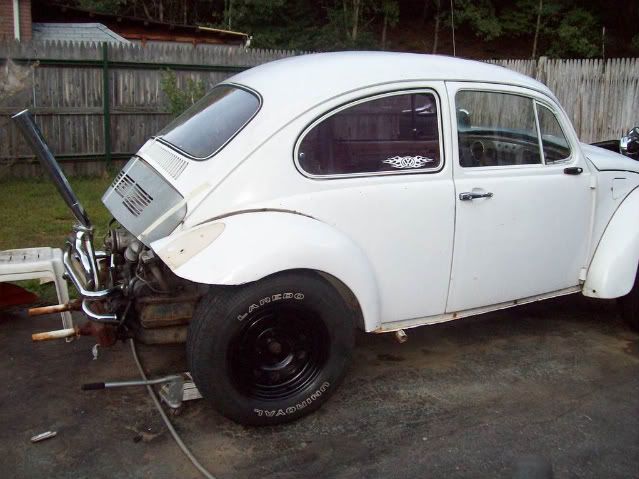
Ok, got a little bit more done today before life got in the way. Have the new tires mounted, got it into the driveway (YAY!) and started mocking up the rear fenders. Will still need to trim some more off but I like the general shape. They are rear fenders with the bottom 10" cut off and then rotated towards the front, then trimmed at the rear. Next is to cut down the decklid to fit.
And just for a change of pace, this is the father/daughter project I'm also working on, she has named him Booberry.
And just for a change of pace, this is the father/daughter project I'm also working on, she has named him Booberry.
-
namelesswonder

- Posts: 838
- Joined: Sat Sep 22, 2007 10:37 am
Both cars look pretty awesome. If I may ask, why are you keeping the decklid?
Franz the Thunder Pumpkin!
Permanent member of the "Baja may not be running" club
Permanent member of the "Baja may not be running" club
-
Skidmark

- Posts: 3506
- Joined: Mon Aug 28, 2006 7:19 pm
If she still needs to learn how to drive, don't teach her in the one without tie rods. Parallel parking is hard enough with steering that works!!! 
"Your car sounds angry, and it wants to go fast all the time..."
(quote from my daughter, after driving my car)
It's not complicated, it's just expensive...
(quote from my daughter, after driving my car)
It's not complicated, it's just expensive...
-
Sneaks
- Posts: 1653
- Joined: Thu Apr 26, 2007 8:32 am
Thanks. I'm going to cut the decklid down to someplace between the lic light and the vents to match the fenders. Partially, I'm keeping it for looks, I'm curious to see how it would look with a shorty lid, kinda like the fibreglass ones on the kits. The other reason is I'm planning on driving it this winter, I figure it will help some with keeping snow off the motor. I'll be covering the engine when parked in bad weather, it might give me a good place to anchor some sort of cover. I'm planning on using a cut-down old vinyl bed cover from my truck with snaps to hold it in place. It might be a complete bust once I actually try it but I figured I'd give it a shot. The primed lid is junk anyway so I figure I've got nothing to lose by cutting it up.namelesswonder wrote:Both cars look pretty awesome. If I may ask, why are you keeping the decklid?
HAHA. Took me a minute, I was like "huh? No tie rods? WTF?"...then I saw the Little Tykes hotrod:)Skidmark wrote:If she still needs to learn how to drive, don't teach her in the one without tie rods. Parallel parking is hard enough with steering that works!!!
I told her she's gonna learn to parallel park with my extended cab RAM. If she can pull it off with that, she's gonna do fine.
-
Hot Wheels
- Posts: 1191
- Joined: Wed Mar 07, 2001 12:01 am
Budget builds are cool! I built my first Baja in High school and financed it by purchasing a pair of bugs one for the project and one to part out. Paid $200 for the pair and sold more than that in parts off the spare. I bought all the $50 -100 cars I could find and parted them to get better parts and raise cash to buy new and swap parts. ended up with $1500 in it but since it all came out of profits from the parting operation it really did not cost anything out of pocket but the first buy in, and i got that back shortly.
I had a lot of time back then to part things out. Most of what i built was done that way, buy something fix it and sell it and trade up with the profit. Untill my Most recent build i dont think Ive spent much out of pocket on the toys. even then I sold off a pile of collected parts to start the project.
Those were some of the most fun scrounging projects I remember.
Good luck
-
Sneaks
- Posts: 1653
- Joined: Thu Apr 26, 2007 8:32 am
Hey, thanks for the support. I been enjoying the build of your buggy, very nice.
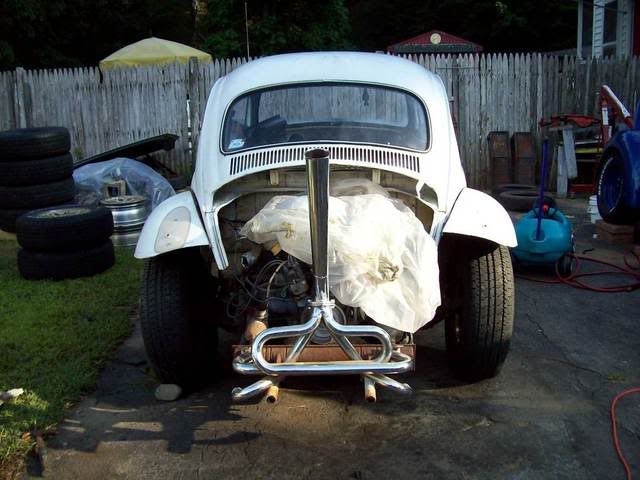
Quick lil' update. Didn't get much accomplished this weekend, spent a lot of time running around for the family and working on a customer's motorcycle. Did get the rear lid cut down. Like the fenders, still need to do the finish work and tweak it a bit, but getting the basic size and shape down. So far, so good. Also painted the rims finally, I was really sick of the rusted chrome look. Need more metal blades to finish up the nose, then I'll start cleaning stuff up and fabricating the front area. I'm hopefully picking up a rear cage this week.
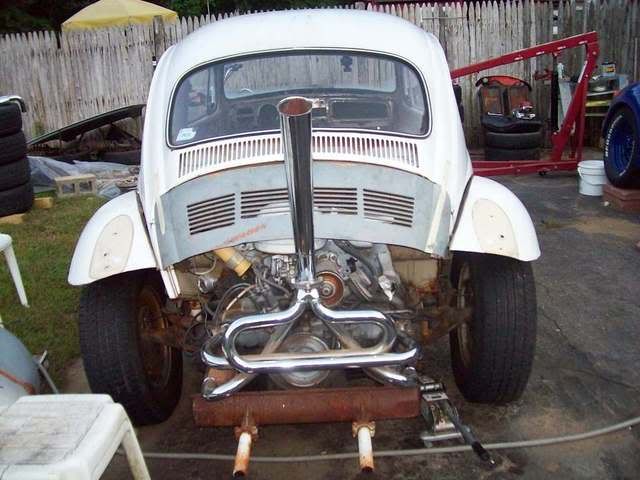
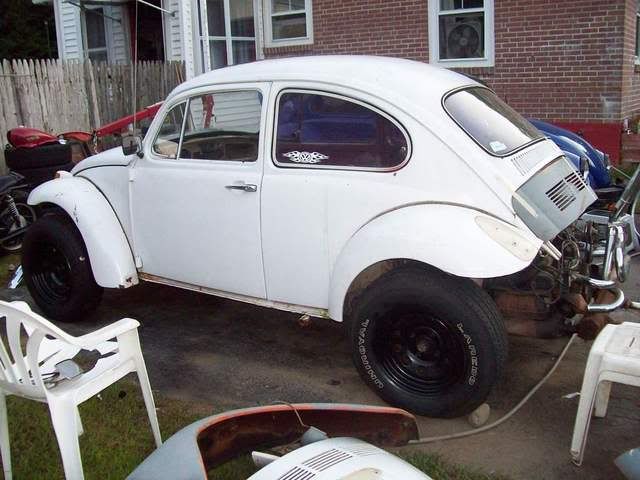
Quick lil' update. Didn't get much accomplished this weekend, spent a lot of time running around for the family and working on a customer's motorcycle. Did get the rear lid cut down. Like the fenders, still need to do the finish work and tweak it a bit, but getting the basic size and shape down. So far, so good. Also painted the rims finally, I was really sick of the rusted chrome look. Need more metal blades to finish up the nose, then I'll start cleaning stuff up and fabricating the front area. I'm hopefully picking up a rear cage this week.
-
Skidmark
- Posts: 3506
- Joined: Mon Aug 28, 2006 7:19 pm
Okay - I give... you have me completely stumped with that exhaust configuration. Or maybe I have been talking to Jack too much while I was BBQ'ing that chicken I just ate. 
"Your car sounds angry, and it wants to go fast all the time..."
(quote from my daughter, after driving my car)
It's not complicated, it's just expensive...
(quote from my daughter, after driving my car)
It's not complicated, it's just expensive...