Resurrecting the 1985 Westy

The quintessential people and stuff mover.
User avatar
ajdenette
Posts: 717
Joined: Wed Jan 20, 2010 1:18 pm

Re: Resurrecting the 1985 Westy

Post by ajdenette »

After all of that I heard some noise in the transmission so I rebuilt the original axle with new boots and swapped that onto the van finding out that the one I rebuilt and installed in my teens was very close to leaving me stranded so caught that just in time and changed the gear oil while I was at it. but next up my wife and I planned a camping trip and planed to take the westy one of the first things I wanted before that was to be able to use the stove and the fridge on propane so I bought a new tank figuring it a safer option to rebuilding the old one and not wanting to have any issues.:

Image

Image

some days you just cant win and after installing it and getting it filled I drove merrily home prepared to try things out I believe I did try the stove but afterwords noticed the smell of propane outside the van after checking for a while I realized that my new tank was leaking and leaking even with the valve shut off turns out that the blow off pressure relief valve was leaking from the threads I tried tightening it but it still leaked.

Image

Image

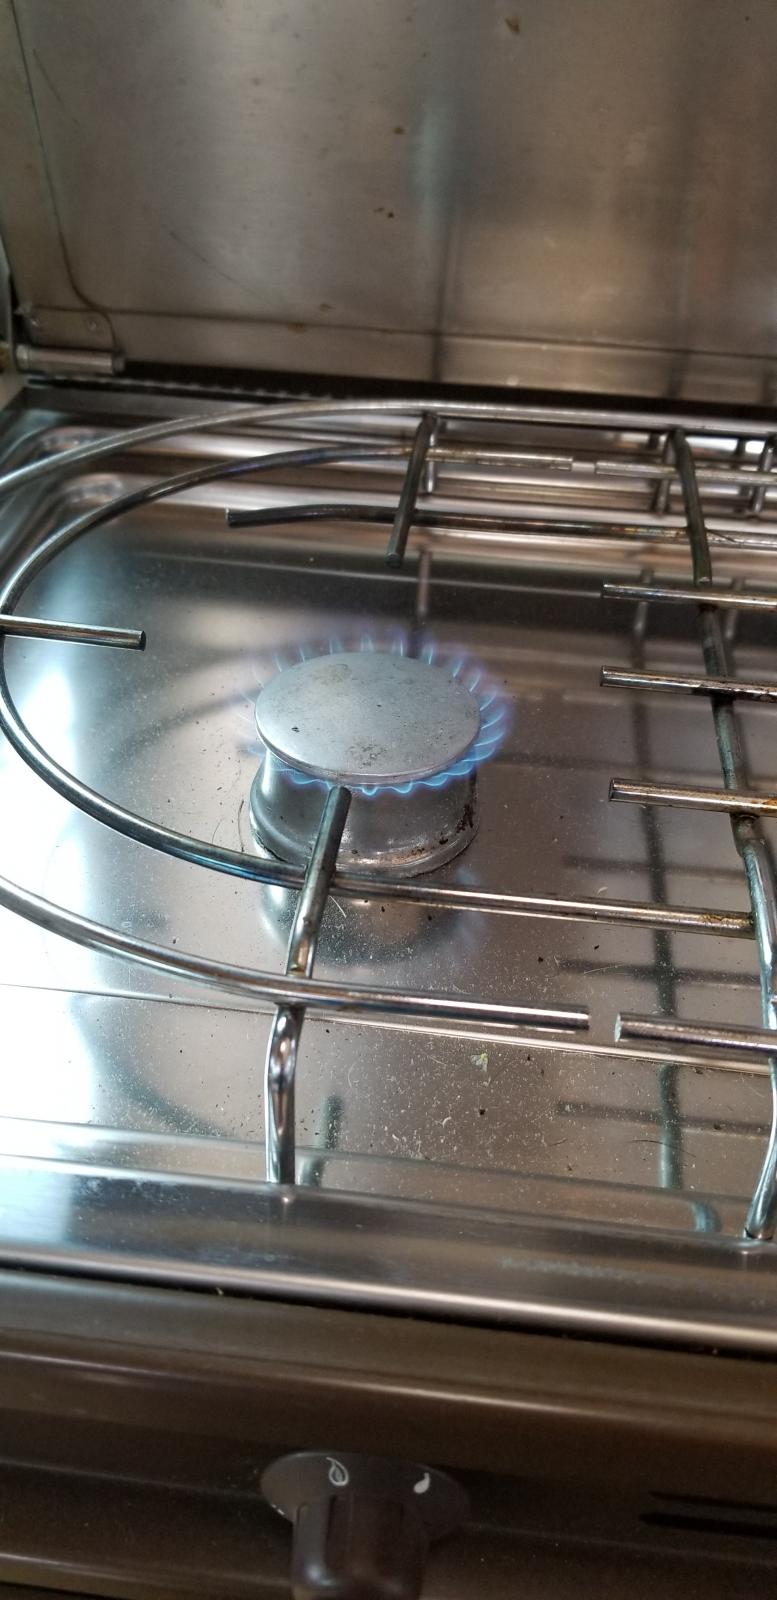
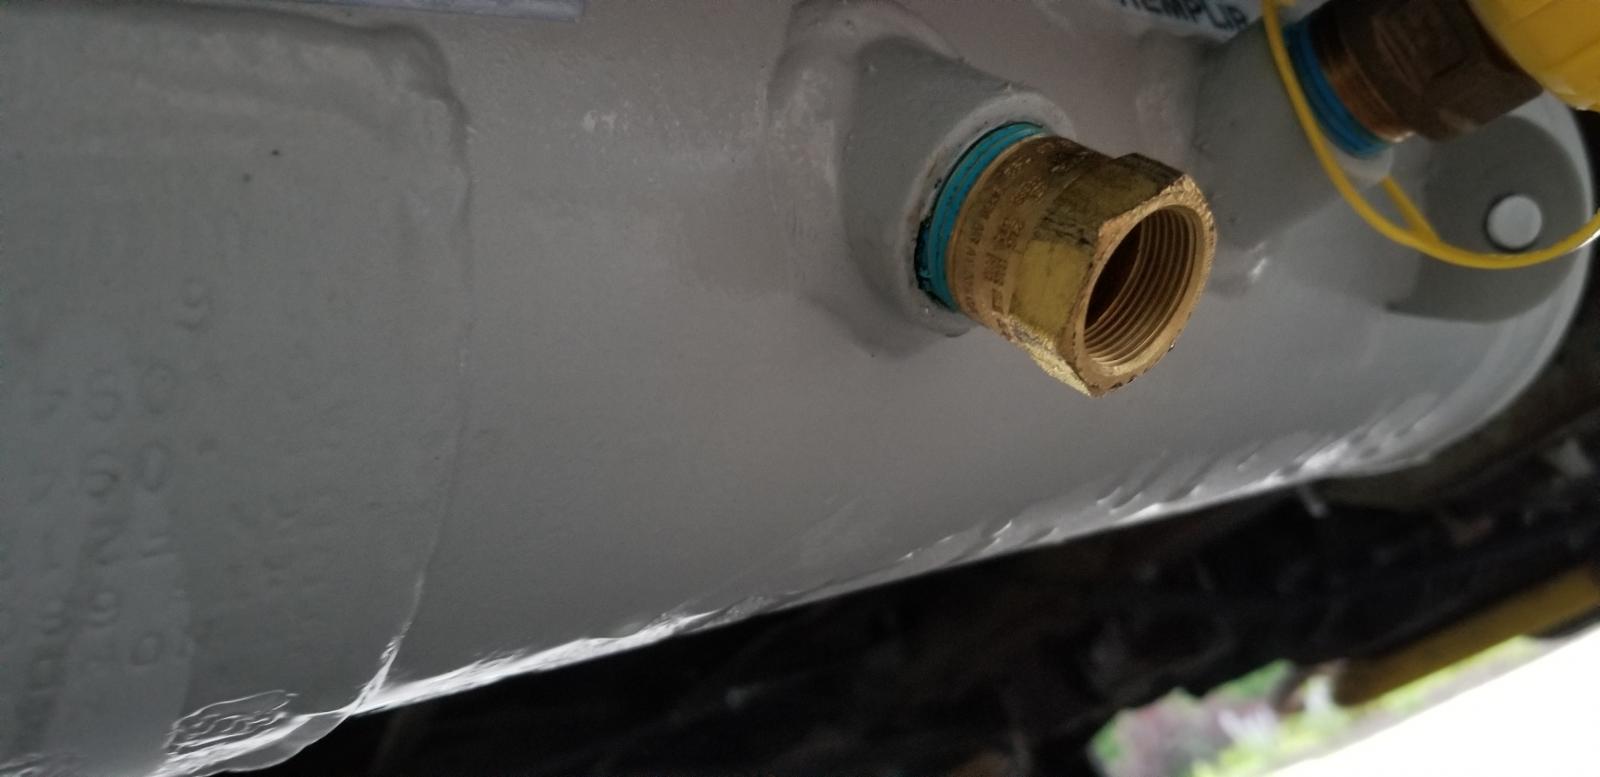
I then moved on to the process of draining the tank through the valve on top meant for letting air out and took a long time while I was attempting this a lightning storm blew in and I realized I did not want a propane tank venting in a lighting storm (really should have thought about it when the thunder started) and went out and shut it off. later in the week I drained a bit more out and eventually just pulled the valve out with a woosh, fortunately my local ace hardware had the right size NPT tap on the shelf and I bought pipe thread tape and a steel pipe union. I ran the pipe tap in the tank to clean up the threads which had been mashing the threads on the brass valve and used the pipe to help clean them up with some fresh pipe tape I was able to seal everything back up and a fill the next day proved that I was all set. now with the stove working it was time to move on to the fridge it works on 110 and 12 volt but I wanted propane. I was nervous about this job but did it in one evening and go the sparker sparking well but still cant get the fridge to light and don't think that in all the years my grandparents had it I don't think they ever lit the fridge either as the burner box looked brand new.

Image

Image

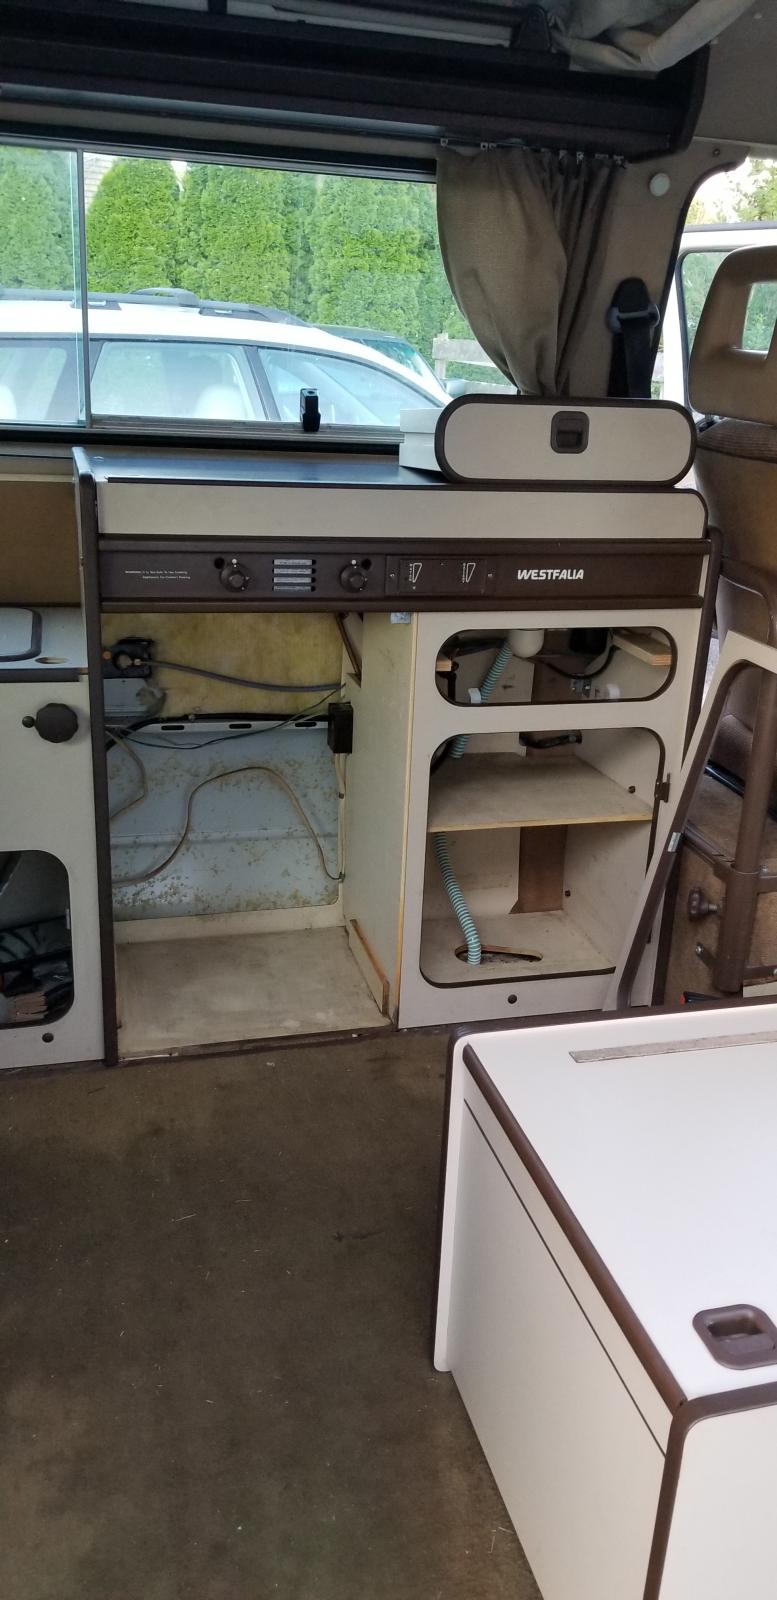
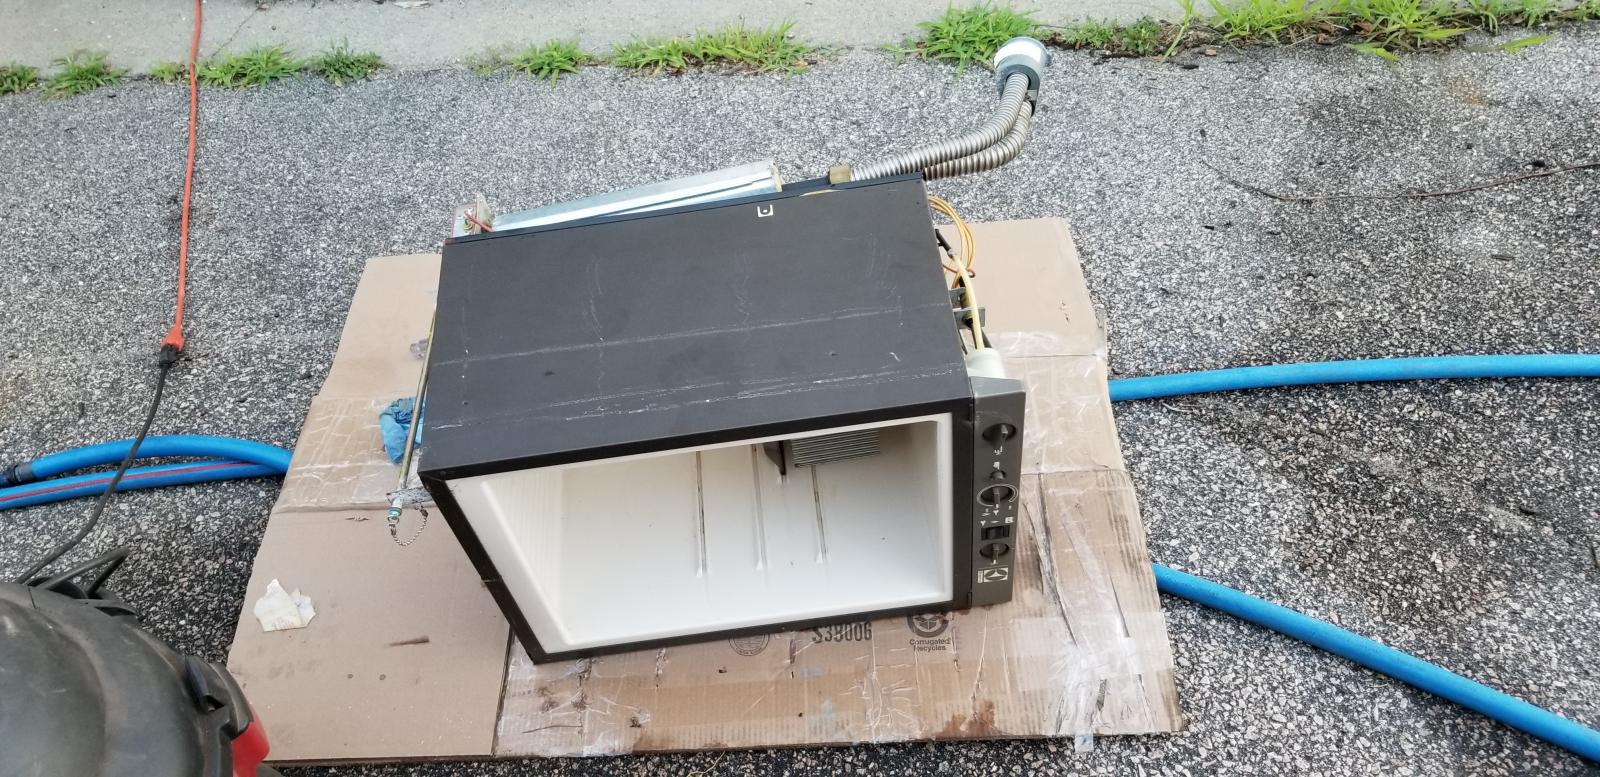
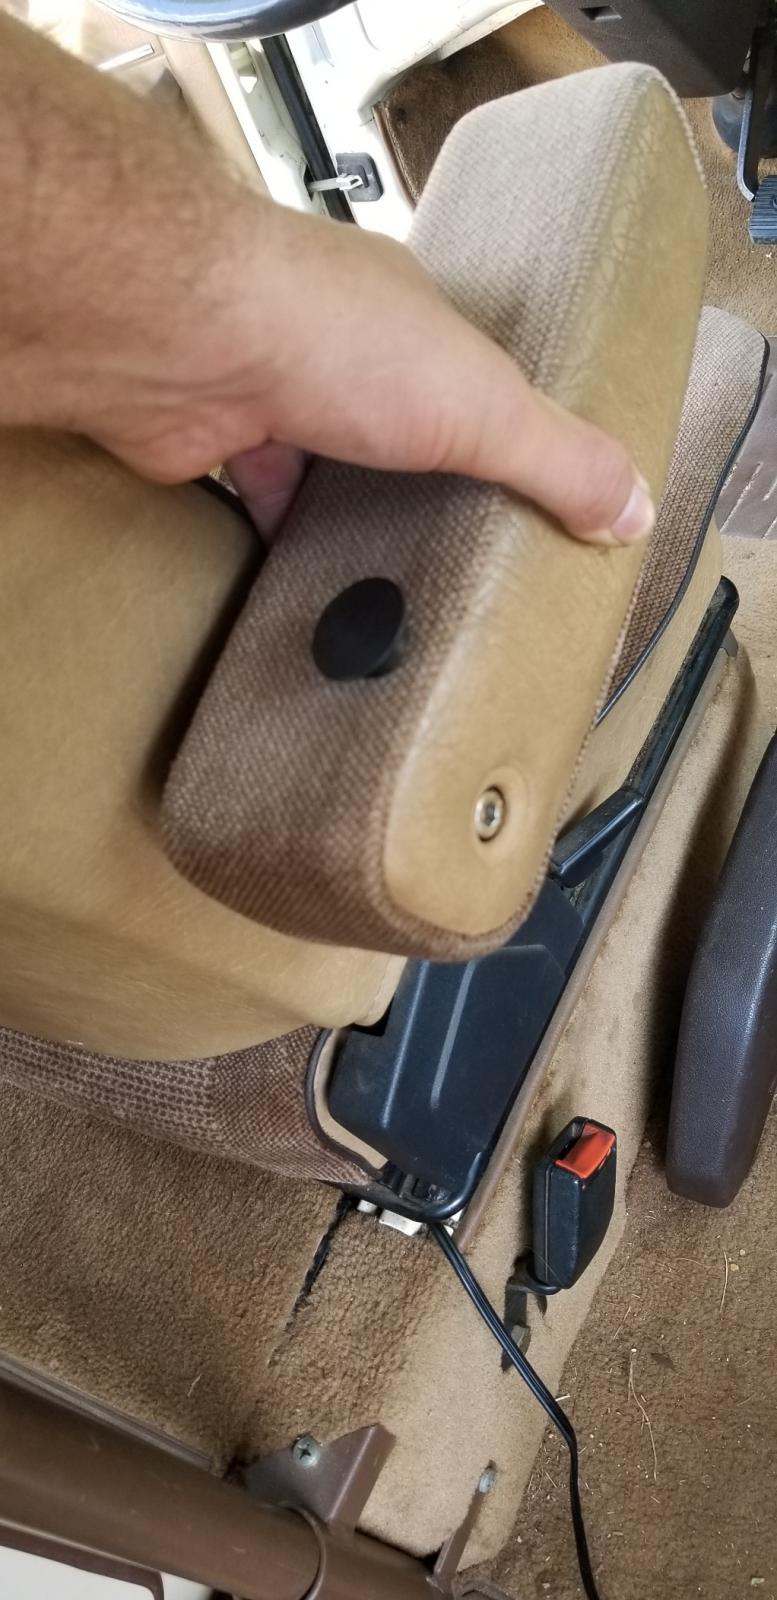
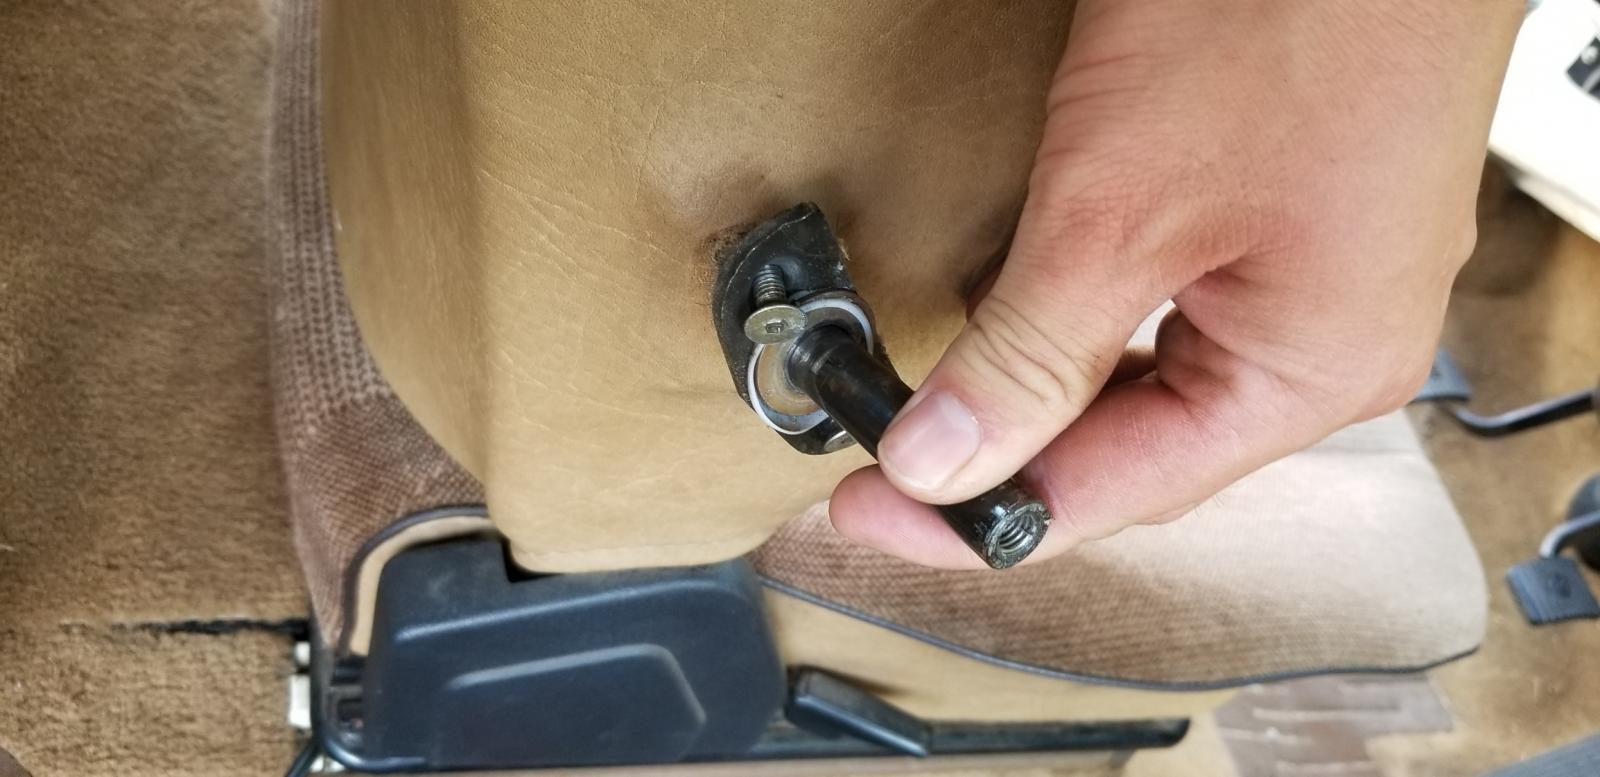
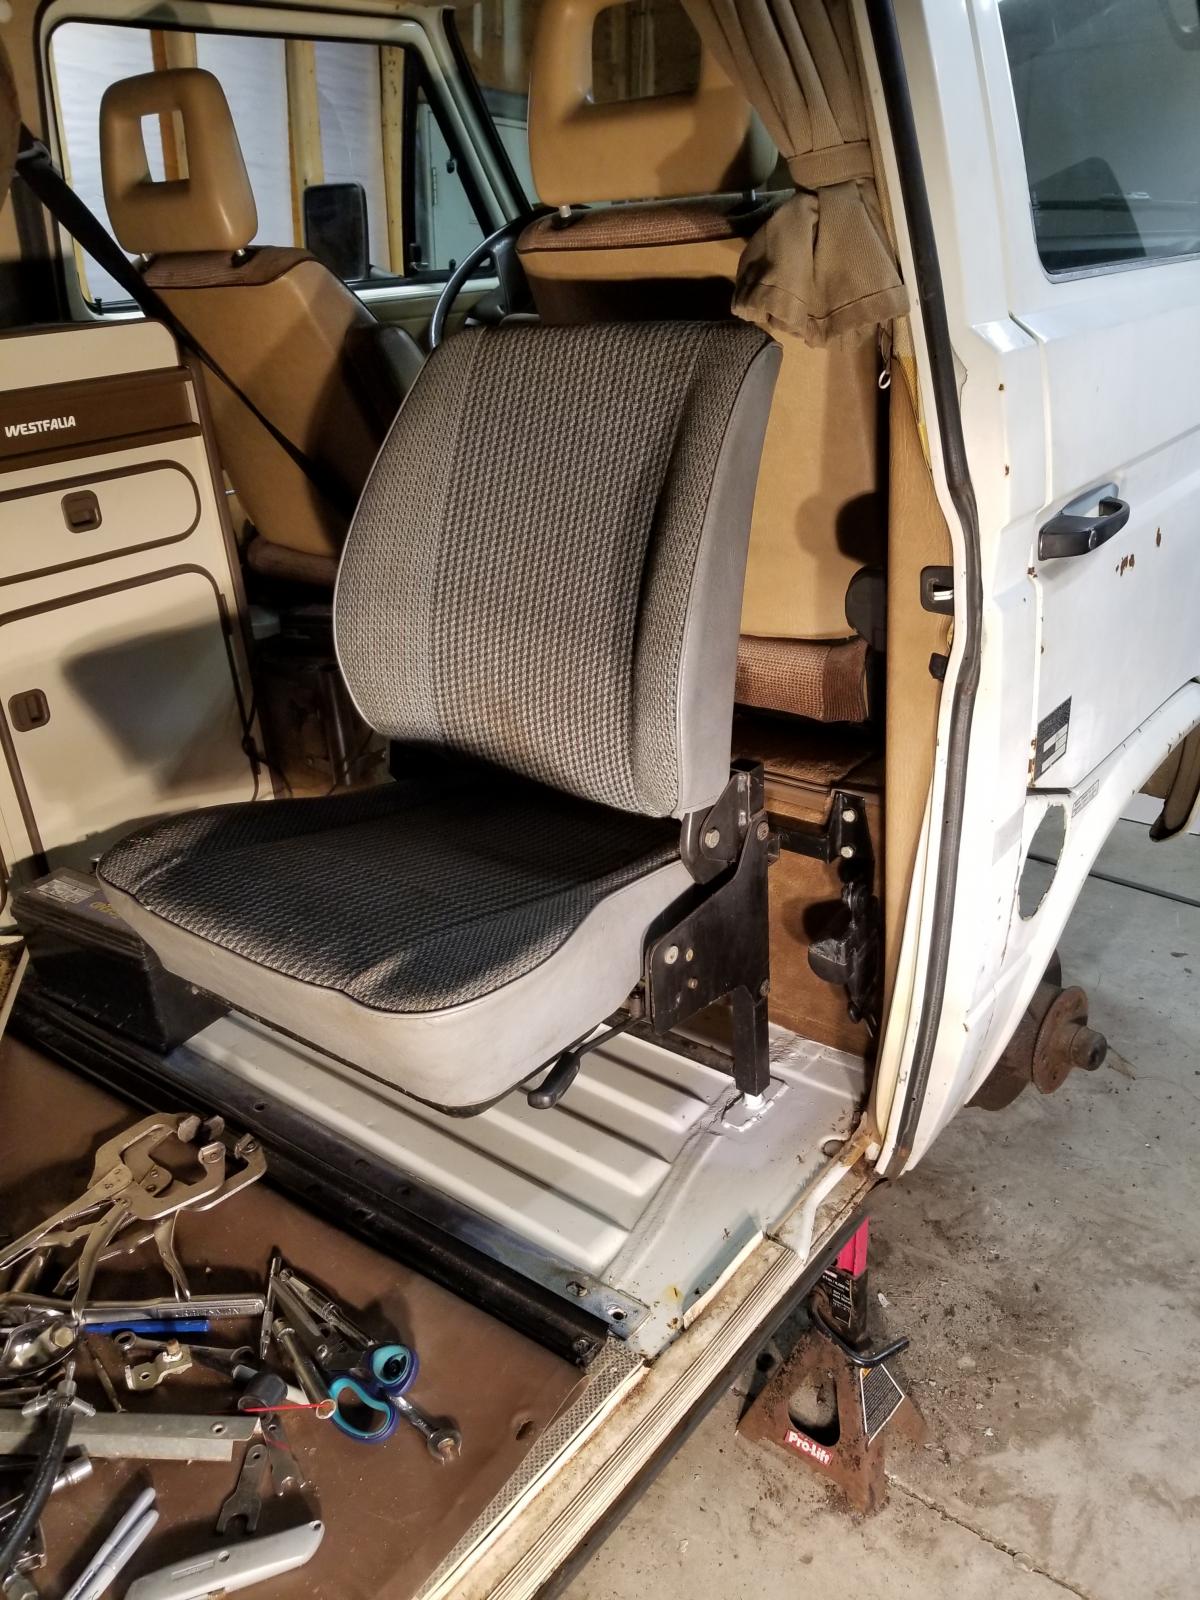
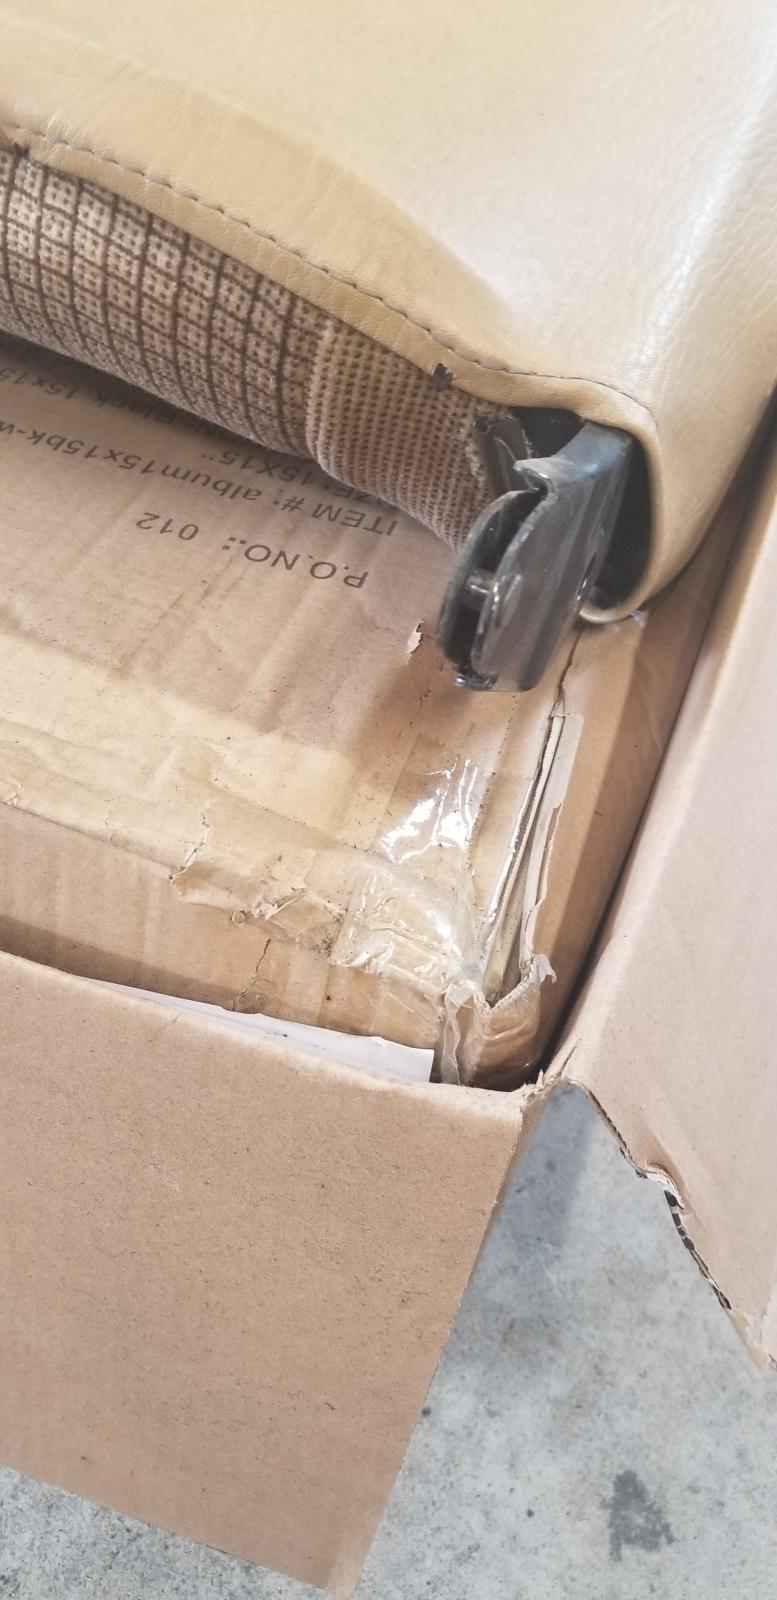
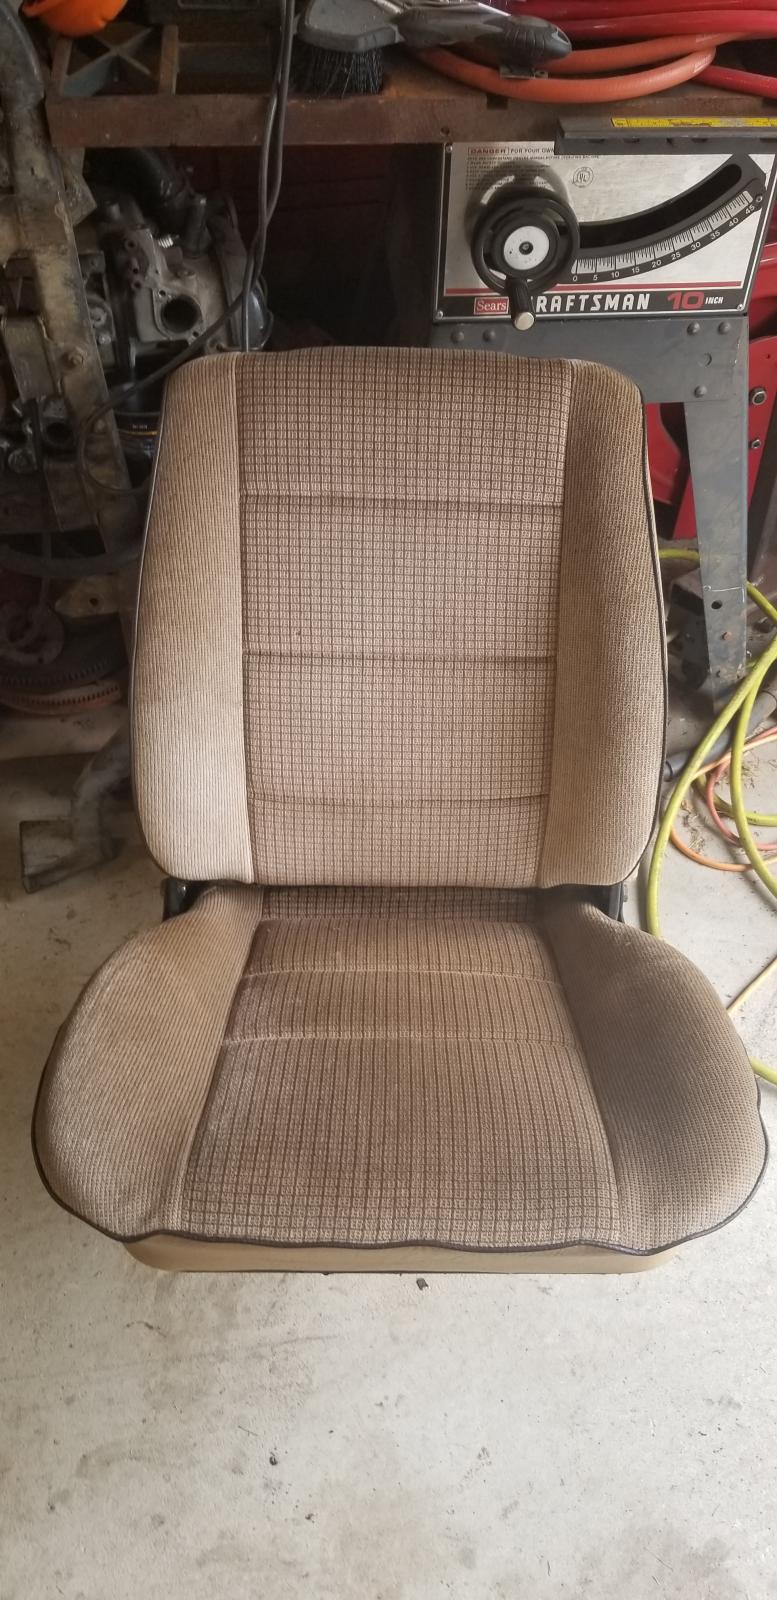
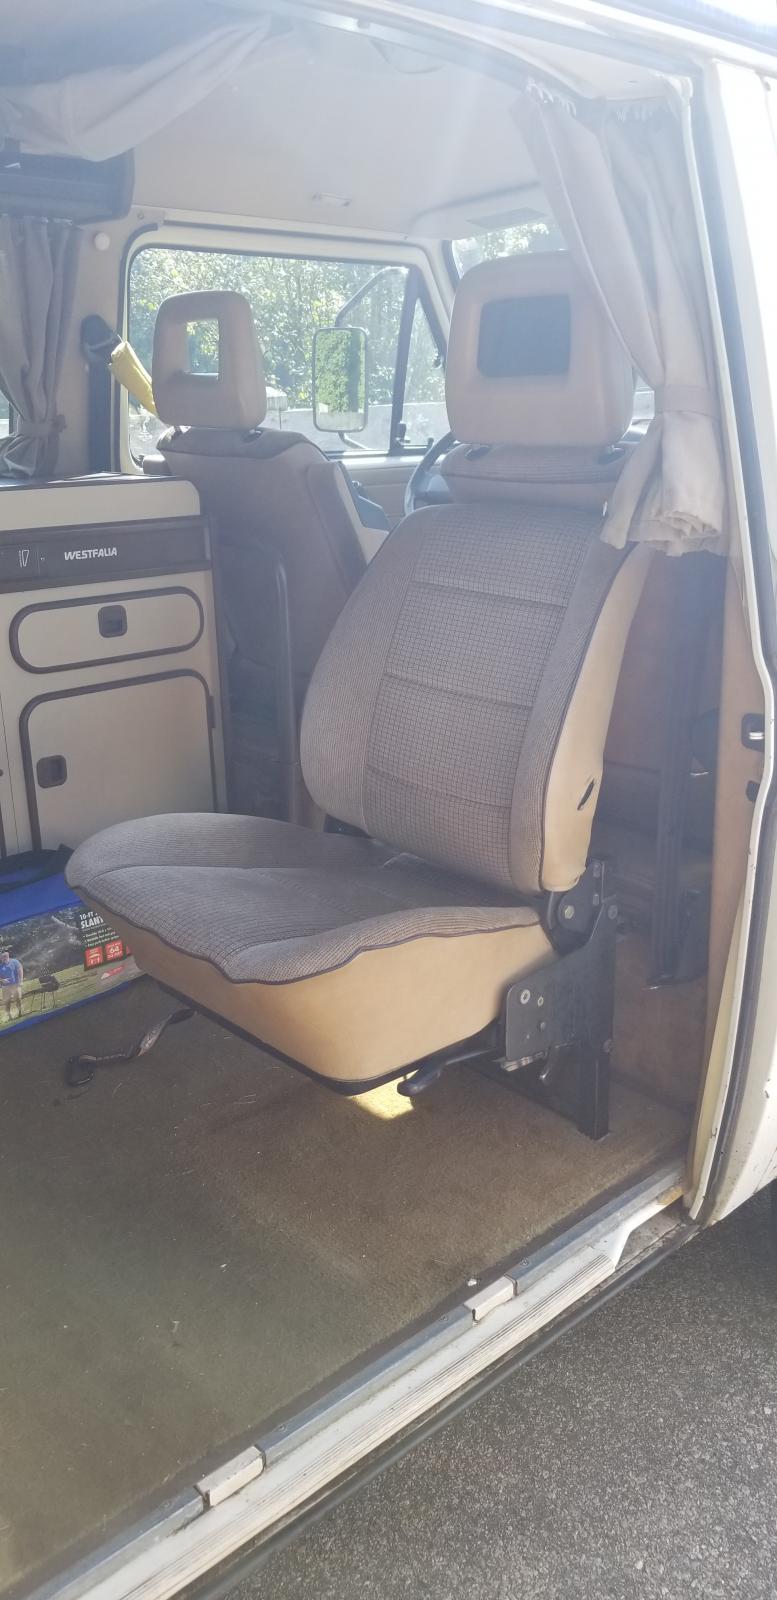
though getting in their with the fridge out I did find some evidence of rodents that I cleaned up and took the insulation out of the bottom of the back wall and was very happy to not find any rust. I also made this interesting discovery while back there:

Image
Alex

|_________oo_oo
/ /__/____[_____\
I I======[]IIIIIII[]
()_)-----()_)----)_)
User avatar
ajdenette
Posts: 717
Joined: Wed Jan 20, 2010 1:18 pm

Re: Resurrecting the 1985 Westy

Post by ajdenette »

Now we finally were able to enjoy the fruits of my labor and took the Westy on a nice vacation, My wife and I drove the van up to Nova Scotia and drove around enjoying Cape Breton, and some of the North west shore on the Bay of Fundy.

An awesome night in a field in the overflow camping:

Image

My wife did not like being a passenger the entire time on our trip to Ireland a few years ago so made it a point to drive and get comfortable driving the westy:

Image

I did more of the technical driving such as driving the van up and down the path to Meat Cove Beach and on the way up my wife was much to scared and busy holding on to take pictures but it made it in one piece.

Image

One night after bike riding we went to a camp ground for the night and while checking in found out that there was no water in the camp ground so we headed for the next closest camp ground, there were three routs one around the top of the logging area or to the south of the logging area or through the logging area we decided on going through the middle and following the GPS and about 20 Km later driving a little faster than necessary but having fun scared a couple of people on a side by side as we came roaring around a corner straight at them I slowed down and we passed and as we hit the end of the road found their truck and trailer that they had left behind.

Image

Image

and somewhere around 2000 miles later we made it home safely, the only issue encountered was the drivers side wheels had loosened up after driving it hard over a number of rough some times washboard dirt roads and after tightening them with the lug wrench have not been an issue.

Image
Alex

|_________oo_oo
/ /__/____[_____\
I I======[]IIIIIII[]
()_)-----()_)----)_)
User avatar
fusername
Posts: 6806
Joined: Sun Jan 28, 2007 11:26 am

Re: Resurrecting the 1985 Westy

Post by fusername »

which kimbals did you hit up? the one around the corner from me shuts down this weekend. puttinjg on 15lbs in the next 5 days for sure.
give a man a watch and he'll allways know what time it is. give him two and he can never be sure again.

Things are rarely just crazy enough to work, but they're frequently just crazy enough to fail hilariously.
User avatar
ajdenette
Posts: 717
Joined: Wed Jan 20, 2010 1:18 pm

Re: Resurrecting the 1985 Westy

Post by ajdenette »

That was the Kimbals in Lancaster My sister lives in Lunenburg
Alex

|_________oo_oo
/ /__/____[_____\
I I======[]IIIIIII[]
()_)-----()_)----)_)
User avatar
ajdenette
Posts: 717
Joined: Wed Jan 20, 2010 1:18 pm

Re: Resurrecting the 1985 Westy

Post by ajdenette »

I decided it was time to upgrade the armrests on my 85 Westy with some from a 87, I started bu removing the early arm rests and their posts from the seat:

Image

Image

Next I took the pivots from the later seats and used some thread locker to keep the anchor screws from loosening up

Image

Image

After this I installed the arm rest and used then drove in the split pin to anchor them hard to photograph and install it but here is a comparison of the two arm rests:

Image

I am glad I did this they are much more comfortable, I have been driving vans with these arm rests for a long time the 87 westy and my 90 with the Carat interior has them so the shorter earlier arm rests have not been doing it for me.
Alex

|_________oo_oo
/ /__/____[_____\
I I======[]IIIIIII[]
()_)-----()_)----)_)
User avatar
ajdenette
Posts: 717
Joined: Wed Jan 20, 2010 1:18 pm

Re: Resurrecting the 1985 Westy

Post by ajdenette »

I was so glad to get the westy out of storage 2 weeks ago, I need to resolve a few issues I had at the end of last year I drove it a bit and gathered the parts to resolve it over the winter and just had to get the van back to my garage to do the work. After driving it home and to a fathers day Limbo Hang out it was time to address the leaking gear oil and the lack of down travel in the suspension. Because I am running Stock Syncro Springs in the rear I opted to run Syncro shocks to match in order to prevent CV issues I Opted to install 944 CV joints to finish the rear upgrade. I took some spare CV shafts and removed the stock joints on them and assembled the new 944 GNK Lobro CV joints purchased from Chris at T3 technique. I bought one Tube of the Neo CV joint grease but should have bought 2 I opted to grease one with the Neo grease and the other side with the Lobro grease bags, I also instelled new Rockford boots on them.

Image

Learning from the off road VW guys in order to make sure I did not have issues running these joints at high angles I made sure they were properly assembled before going on the shafts and clocked them in relation to each other on the shaft as well.

Image

I didn't get pictures as there was a lot of gear oil and on jack stands only so much room to work but it turned out that the drive flange cap popped loose and caused the gear oil to flood the CV, the joint was a little noisy and there was a good leak to the ground. I found the output flange loose with the cone washer backwards, when I pulled it off there were some deep groves in the flange as well so that all got replaced. On top of those issues while removing the drive flange seal the side adjuster moved very easily by hand so I snugged it up when installing the new seal, I also installed a spare output flange without grooves and installed the cone washer making sure the clip to hold everything tight was well seated. I covered this all up with a fresh drive flange cap to seal the system. I installed the prepped and greased CV axle and new Shock to check for no binding.

Here you can see the difference between the 2WD shock and the new Beilstein Syncro Shocks.

Image

This was the suspension at max extension with the 2WD shocks:

Image

Here is the suspension at max droop with the New Beilstein shocks:

Image

Here is the ride Height this is after the new shocks were installed but they do not effect ride height turns out I had 1" of down travel after the new shocks I have 3" of down travel makes the ride much nicer for day to day driving and while it was on the stands with new shafts installed I made sure to rotate the wheels with the new shafts tightened up to verify there was no binding in the CV axles.

Image
Alex

|_________oo_oo
/ /__/____[_____\
I I======[]IIIIIII[]
()_)-----()_)----)_)
User avatar
ajdenette
Posts: 717
Joined: Wed Jan 20, 2010 1:18 pm

Re: Resurrecting the 1985 Westy

Post by ajdenette »

So it was time to make the interior match a little better, I had just grabbed the gray base model jump seat I had around and tossed it in but was tired of the mismatch.

Image

I will start with disassembling the jump seat I pulled the bottom cover off the bottom pan by removing the screw caps and screws to take a good look at the base pan on a Jump seat.

Image

standard seat pan for reference with the rails removed

Image

Here you can see I just took out the 2 bolts holding the back rest on the base and the two rivets in the seat back sit into 2 notches in the frame.

Image

Here is a close up of the back rest of the GL seat I am using as a donor with the back adjuster I felt better hacking up the adjuster and leaving the factory rivet alone so it ends up identical to the factory jump seat just with armrests.

Image

Here is a view of the donor seat where I started disassembly by removing the side bolts and then un bolting the seat rails from the bottom of the seat pan

Image

For removing the seat bottoms flip them over so the seat pan is facing up, compress the cushion and you should be able to pull the cardboard lip out of the channel to free the upholstery. I used the foam and upholstery from a standard van seat, the jump seats use the same foam as a westy does with shorter foam and smaller bolsters. the seat does not flip up well, it can but I tend to use them down or pull them out and rarely flip them up.

Image
Last edited by ajdenette on Sun Aug 23, 2020 12:09 pm, edited 2 times in total.
Alex

|_________oo_oo
/ /__/____[_____\
I I======[]IIIIIII[]
()_)-----()_)----)_)
User avatar
ajdenette
Posts: 717
Joined: Wed Jan 20, 2010 1:18 pm

Re: Resurrecting the 1985 Westy

Post by ajdenette »

For the back rest I started here with the back adjuster

Image

I found I could move the adjuster around and get it to a point where the slot the rivet rides in was just at the bottom to cut it out

Image

Image

once I got the main part cut off I found I could not get the remainder out without cutting the point off one side to get the remainder rotated out and finally ended up with the adjuster removed and the factory rivet left untouched to assemble everything as factory.

Image

Image

I finally bolted the back rest to the frame and have a brown jump seat to match my 85's interior

Image

Image

I still need to install the arm rests but the plan is to move over the other adjustable arm rests to the passengers seat and move the shorter ones to the jump seat to clean it up a little bit and cover up the holes in the upholstery for the arm rests.
Alex

|_________oo_oo
/ /__/____[_____\
I I======[]IIIIIII[]
()_)-----()_)----)_)
Post Reply