
Last I saw, it was laid out in his completely refinished, spotless and fully organized wire loom room.
Hehehhehehehehehehe.
My Towdster Build
-
Big Bus

- Posts: 181
- Joined: Thu Aug 09, 2007 5:55 pm
Re: My Towdster Build
Long time no posts , no excuses but i have been working on it !!!!!!!
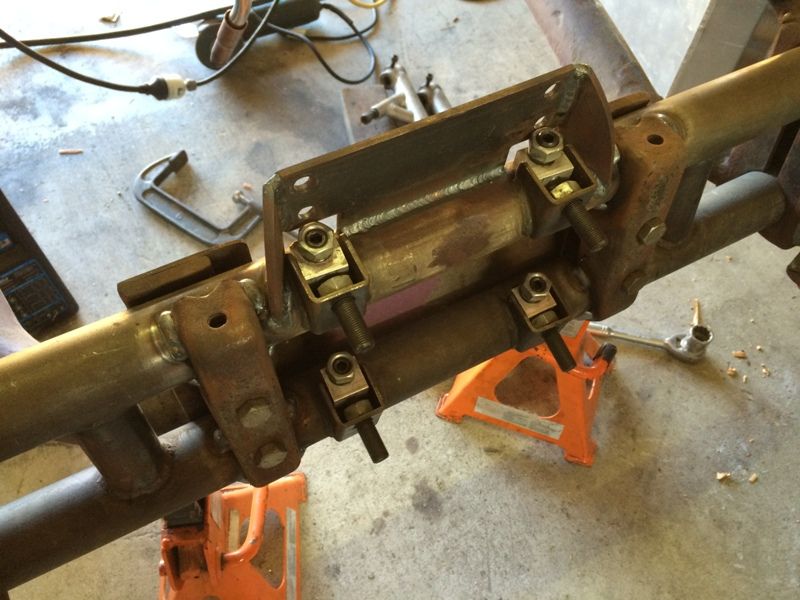
Have cut and folded most of my new fuel tank out , which uses the triangular void that it fit's into better than the original round tank and the new tank should hold around 55 to 60 litres , sorry no photos' of this yet
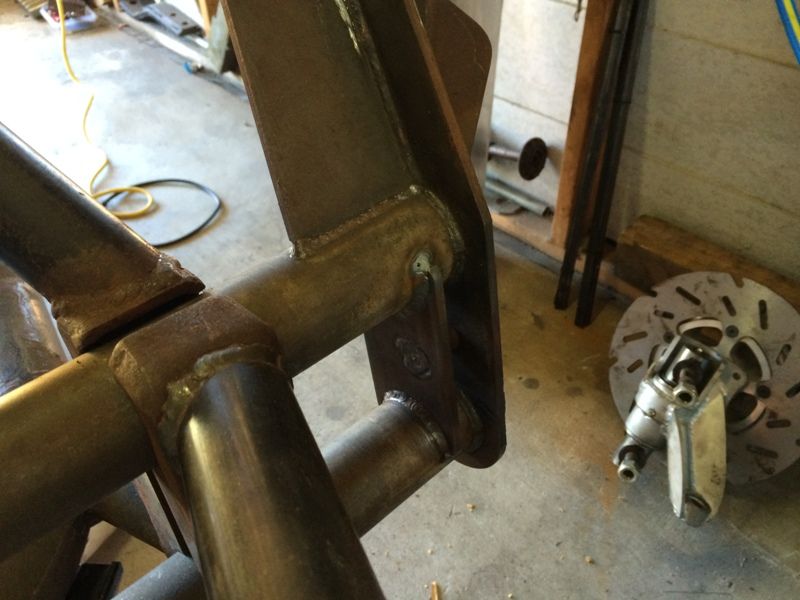
Yesterday we also finally got stuck into the rear mudguards / fenders which we have moved out approx 50 mm and back 55 mm to cover my large rear stance .
The plan with the guards / fenders is to cut ,modify , and clean up the existing guards , use these as plugs for a mould ( the existing guards are in very poor shape have been modified a few times already and weigh way to much ) and produce a couple of sets , ie one set to go on the car and a spare set .
Any way here are a few pics of the progress so far


Have cut and folded most of my new fuel tank out , which uses the triangular void that it fit's into better than the original round tank and the new tank should hold around 55 to 60 litres , sorry no photos' of this yet
Yesterday we also finally got stuck into the rear mudguards / fenders which we have moved out approx 50 mm and back 55 mm to cover my large rear stance .
The plan with the guards / fenders is to cut ,modify , and clean up the existing guards , use these as plugs for a mould ( the existing guards are in very poor shape have been modified a few times already and weigh way to much ) and produce a couple of sets , ie one set to go on the car and a spare set .
Any way here are a few pics of the progress so far
-
Iguana
- Posts: 991
- Joined: Mon Jan 28, 2008 4:36 pm
Re: My Towdster Build
Buy a Kit, Build a Dream
-
Big Bus
- Posts: 181
- Joined: Thu Aug 09, 2007 5:55 pm
Re: My Towdster Build
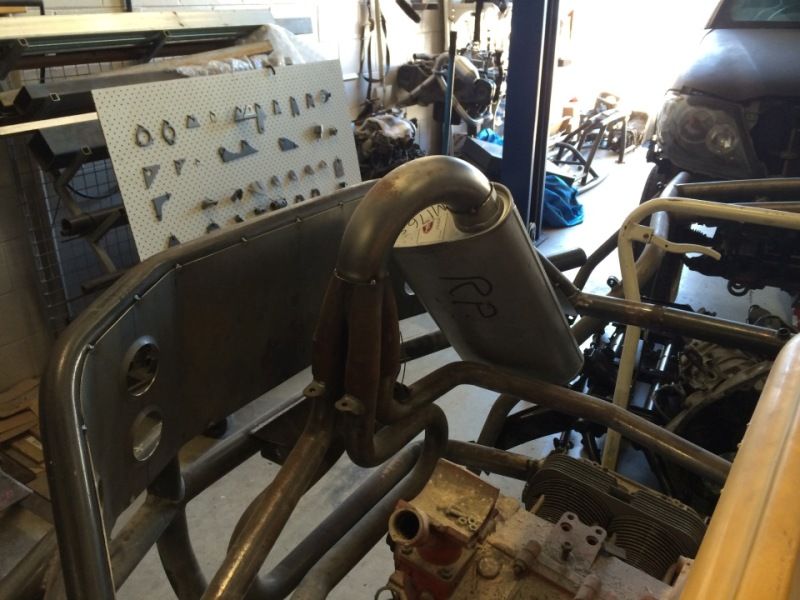
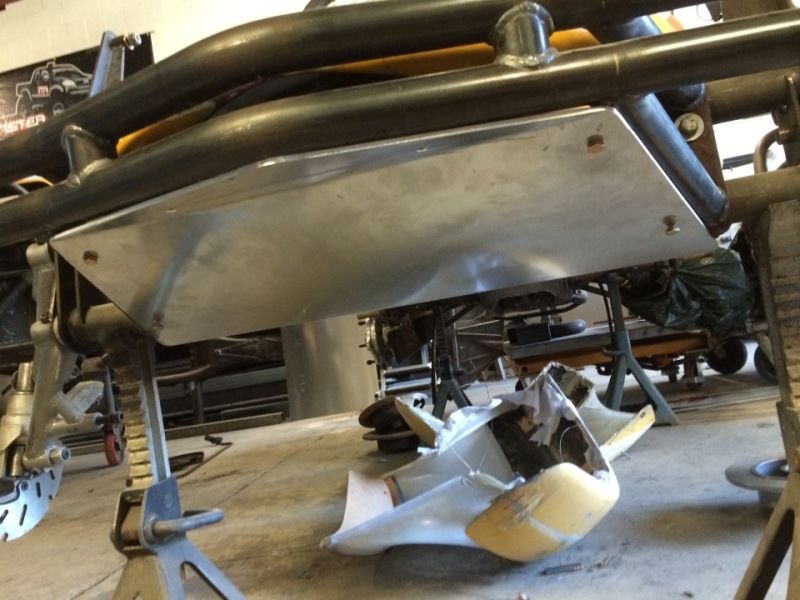
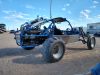
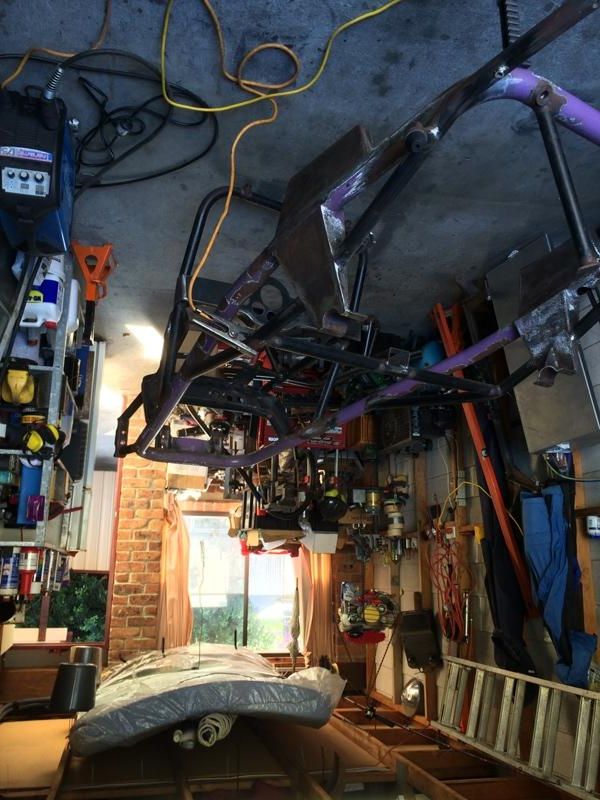
A bit more progress lately and while i sit here at my desk sick with the bloody flu , it's probaly as good a time as any to show you good people some fresh pics
Rear cage infill
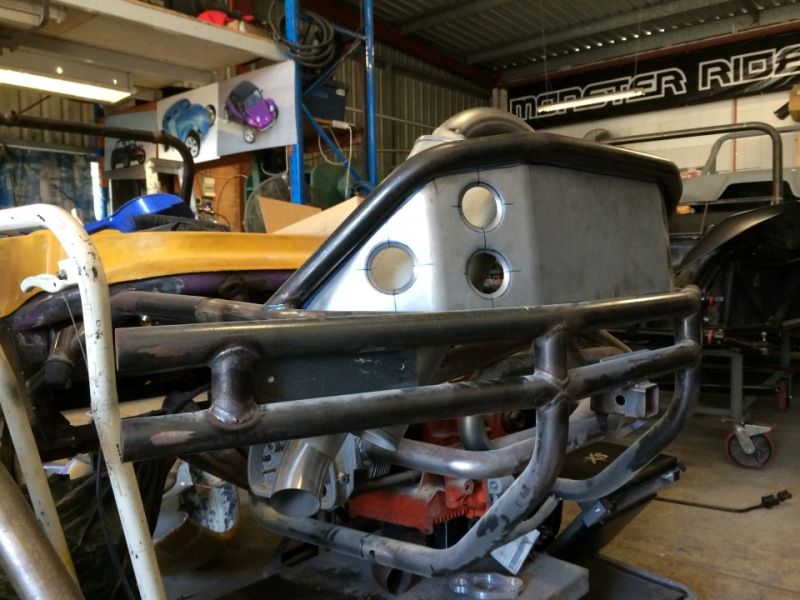
Modified Tri mil bobcat exhaust and NO the top elbow dosn't fit inside the deck lid so an eliptical hole will be cut in the lid to relieve this issue
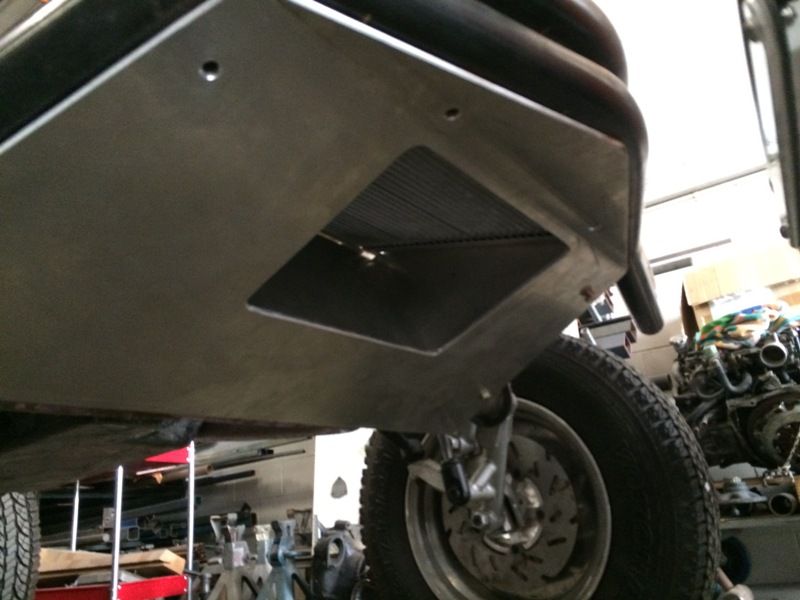
Front skid plate , which will have an oil cooler mounted above it with a grilled hole cut into the skid and a duct / mounting holding the cooler
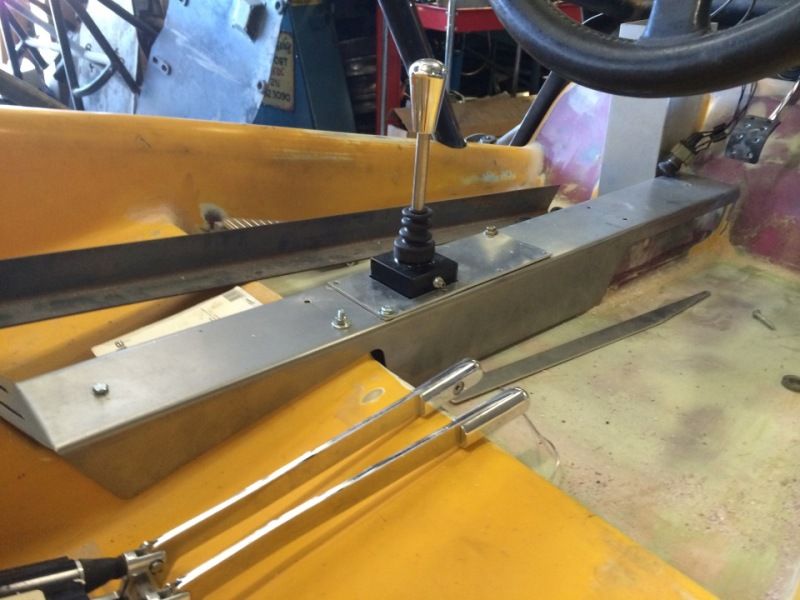
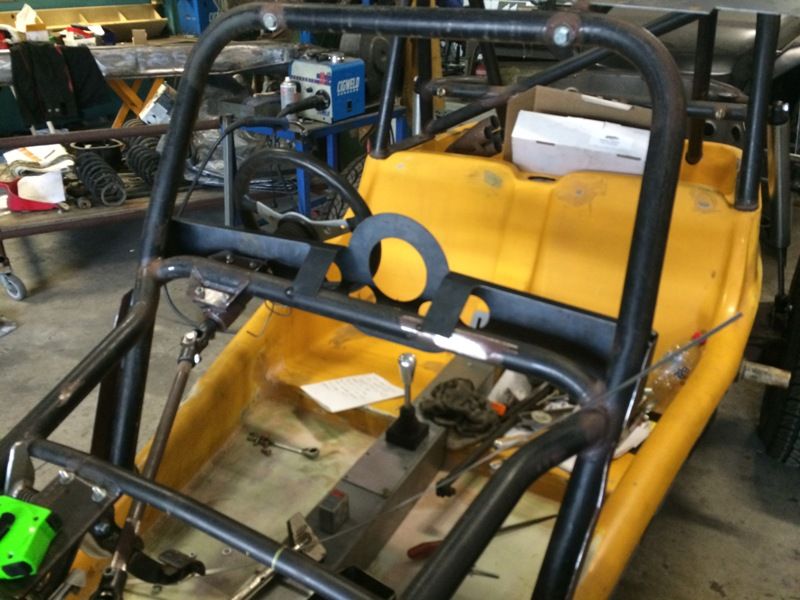
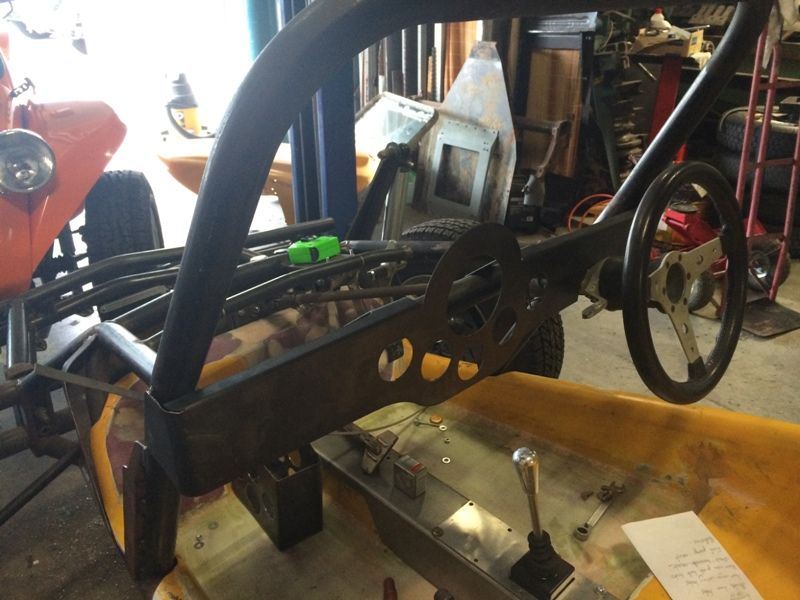
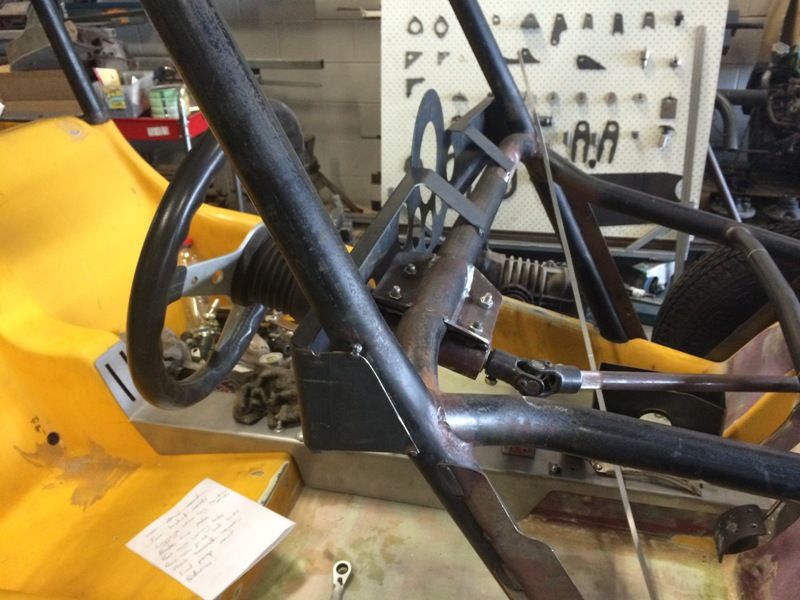
Center Consul with a Jamar X Shifter
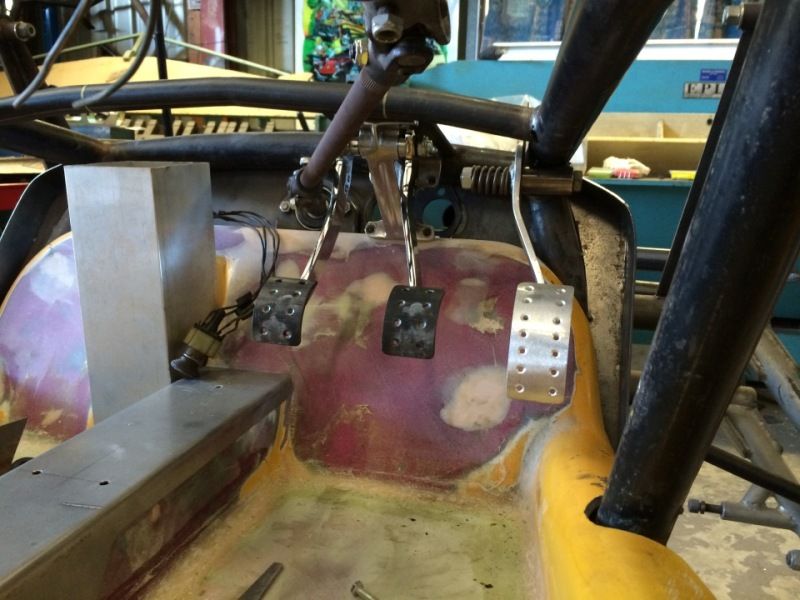
The pedals , and yes we couldn't help our selves we had to modify the jamar pedals with the new foot pads that suit the Towd sitting and foot position better , and then of coarse with the floor all but clear we also fabricated a one off throttle pedal
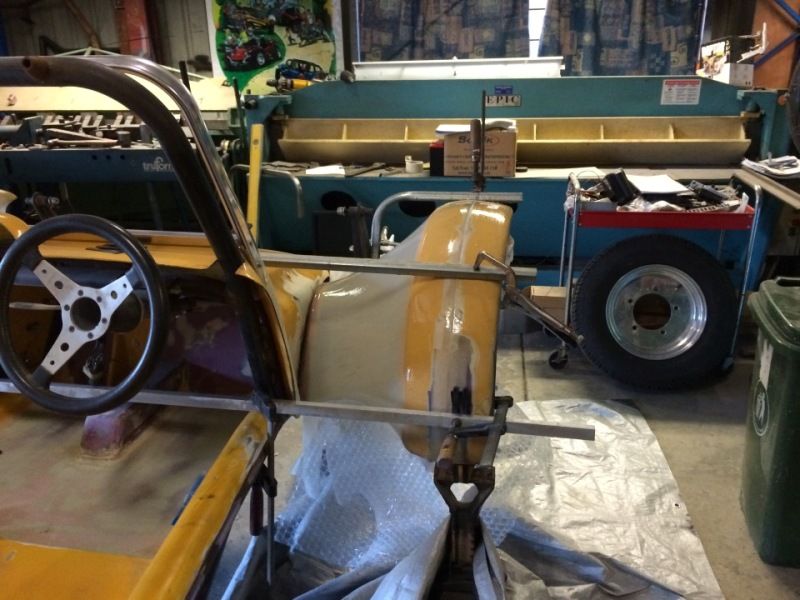
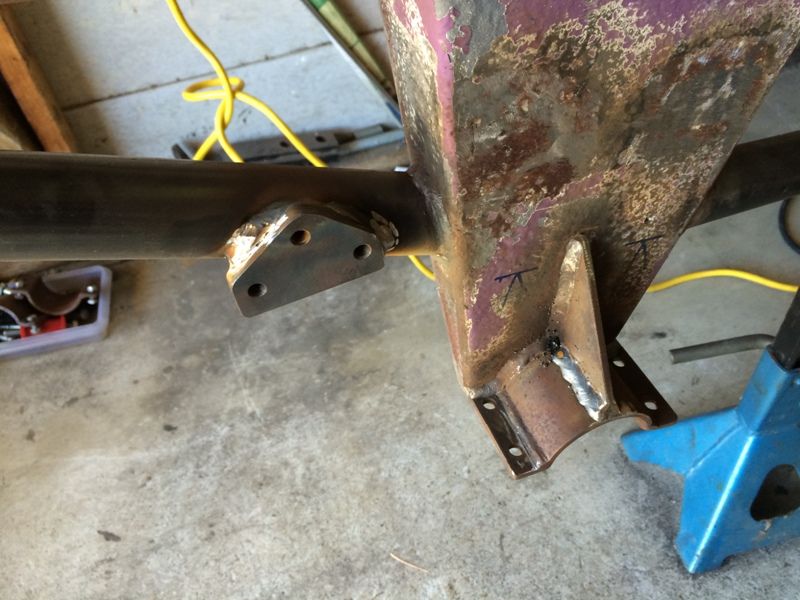
The front fenders are also getting reshaped and moved out to cover my 75" front width ( outside of tyre to outside of tyre )
and yes they are somewhat higher too but i have NO tyre rub in the full cycle of the front suspension , and thats 12 "
Rear cage infill
Modified Tri mil bobcat exhaust and NO the top elbow dosn't fit inside the deck lid so an eliptical hole will be cut in the lid to relieve this issue
Front skid plate , which will have an oil cooler mounted above it with a grilled hole cut into the skid and a duct / mounting holding the cooler
Center Consul with a Jamar X Shifter
The pedals , and yes we couldn't help our selves we had to modify the jamar pedals with the new foot pads that suit the Towd sitting and foot position better , and then of coarse with the floor all but clear we also fabricated a one off throttle pedal
The front fenders are also getting reshaped and moved out to cover my 75" front width ( outside of tyre to outside of tyre )
and yes they are somewhat higher too but i have NO tyre rub in the full cycle of the front suspension , and thats 12 "
-
Ol'fogasaurus
- Posts: 17881
- Joined: Mon Nov 13, 2006 10:17 pm
Re: My Towdster Build
Great, very explanatory pictures!
The throttle pedal mount is very interesting to say the least. I came up with a bit of a different solution but had I a tube at the location (different side of the car so I was dealing with the tunnel) I needed it, yours would have been a much better solution than what I came up with. Since my black buggy does not have a removable hood it was not practical to go to swing pedals so I had to stick with a toe pointing on the floor pedal cluster.
In the fender pictures are the fenders the at the same height location in the video or have/are you raising them higher?
I see you are using or plan on using the horizontal turning brakes. Do you sit high enough to get good leverage on that style of handle? I have tried them on my stepson's old rail where he sat high enough that he could pull up on them but since I sit so low I would have to modify the handles more than I have with the upright style of handle (which is in the way of the shifter)
Lee
-
bajaherbie

- Posts: 9967
- Joined: Sat Jul 15, 2006 7:07 pm
Re: My Towdster Build
i think the turning brakes are just sitting in the drivers seat and not mounted there?
Of all the paths you take in life, make sure a few of them are dirt.
-
Ol'fogasaurus
- Posts: 17881
- Joined: Mon Nov 13, 2006 10:17 pm
Re: My Towdster Build
I'm pretty sure you are correct Herbie... I'm jumping a head a bit; anticipating so to speak. Its at least a two-fold question: e.g., are the seats low or high in the Tow'd and is there enough room to mount them so you can pull up on them when strapped to the seat with a 20-point harness with enough grunt for a panic turn... or whatever. Maybe you'd have to mount them hanging from the roof as far as I know. 
 The last time I got close to a Tow'd was in the mid-90's at the Portland OR swap meet ($800... Oh jeez and a big NO!!!! from Wifie-poo)
Lee
Lee
-
bajaherbie
- Posts: 9967
- Joined: Sat Jul 15, 2006 7:07 pm
Re: My Towdster Build
i've only seen 1 in person and that was when i first got my car running years ago.
Of all the paths you take in life, make sure a few of them are dirt.
-
Iguana
- Posts: 991
- Joined: Mon Jan 28, 2008 4:36 pm
Re: My Towdster Build
There are no seats as such just pads that clip to the fiberglass
Buy a Kit, Build a Dream
-
manxiberty
- Posts: 29
- Joined: Sat Oct 13, 2012 2:32 am
Re: My Towdster Build
the turning brakes are mounted off the seat belt support behind the seats, the handles tilt up anyway they also poke out of the cover plate so you dont see anything bar the handlesOl'fogasaurus wrote:Great, very explanatory pictures!
The throttle pedal mount is very interesting to say the least. I came up with a bit of a different solution but had I a tube at the location (different side of the car so I was dealing with the tunnel) I needed it, yours would have been a much better solution than what I came up with. Since my black buggy does not have a removable hood it was not practical to go to swing pedals so I had to stick with a toe pointing on the floor pedal cluster.
In the fender pictures are the fenders the at the same height location in the video or have/are you raising them higher?
I see you are using or plan on using the horizontal turning brakes. Do you sit high enough to get good leverage on that style of handle? I have tried them on my stepson's old rail where he sat high enough that he could pull up on them but since I sit so low I would have to modify the handles more than I have with the upright style of handle (which is in the way of the shifter)
Lee
STEELART CREATIONS
Steelart.com.au
Start Something!!!
Crankykits.com.au
Steelart.com.au
Start Something!!!
Crankykits.com.au
-
Ol'fogasaurus
- Posts: 17881
- Joined: Mon Nov 13, 2006 10:17 pm
Re: My Towdster Build
Thank you that is cool. Next question: does you elbow have room to grab and pull up? Still working on what I would do if I could get/got a new Tow'd. I might be getting people confused but did you say you were in the +/- 6' (182.88 centimeters ), early pudgy bunny (no metric conversion) neighborhood.
Lee
Lee
-
Devastator
- Posts: 3493
- Joined: Tue Nov 06, 2007 6:51 am
Re: My Towdster Build
You have a nice selection of weld tabs on that board.
Devastator's Build Thread
Sandrail
2.4 liter, supercharged Chevy Ecotec
"If everything seems under control, you're just not
going fast enough."
Mario Andretti
Sandrail
2.4 liter, supercharged Chevy Ecotec
"If everything seems under control, you're just not
going fast enough."
Mario Andretti
-
Big Bus
- Posts: 181
- Joined: Thu Aug 09, 2007 5:55 pm
Re: My Towdster Build
Devastator wrote:You have a nice selection of weld tabs on that board.
And thats only about half of them
-
manxiberty
- Posts: 29
- Joined: Sat Oct 13, 2012 2:32 am
Re: My Towdster Build
yeah the other half are on the towd !!!!!
STEELART CREATIONS
Steelart.com.au
Start Something!!!
Crankykits.com.au
Steelart.com.au
Start Something!!!
Crankykits.com.au
-
Big Bus
- Posts: 181
- Joined: Thu Aug 09, 2007 5:55 pm
Re: My Towdster Build
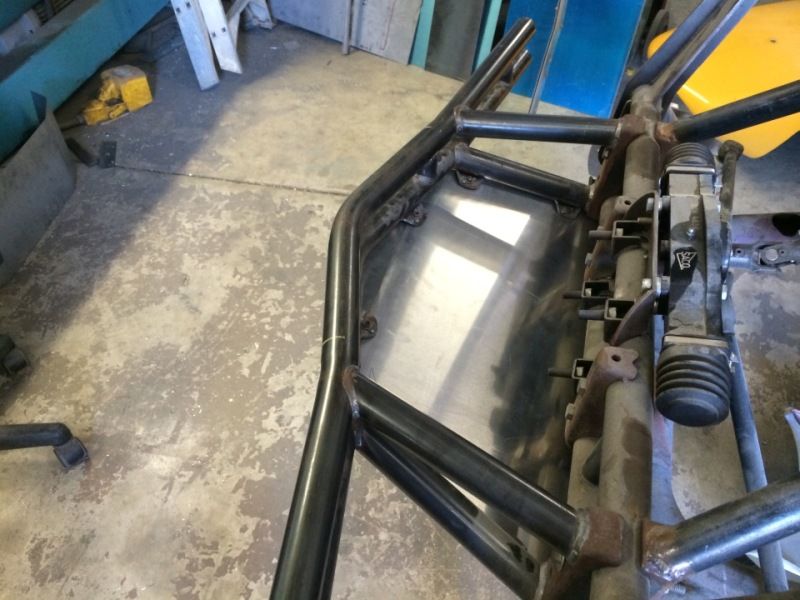
Ok it's been a while again since the last post , but still moving forward , will let the pictures speak
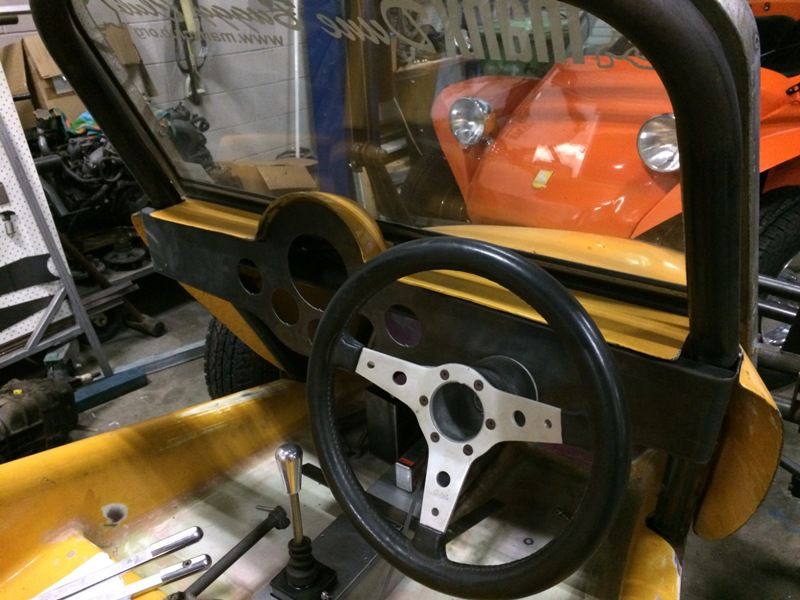
Designed , cut , folded and fitted a dash panel
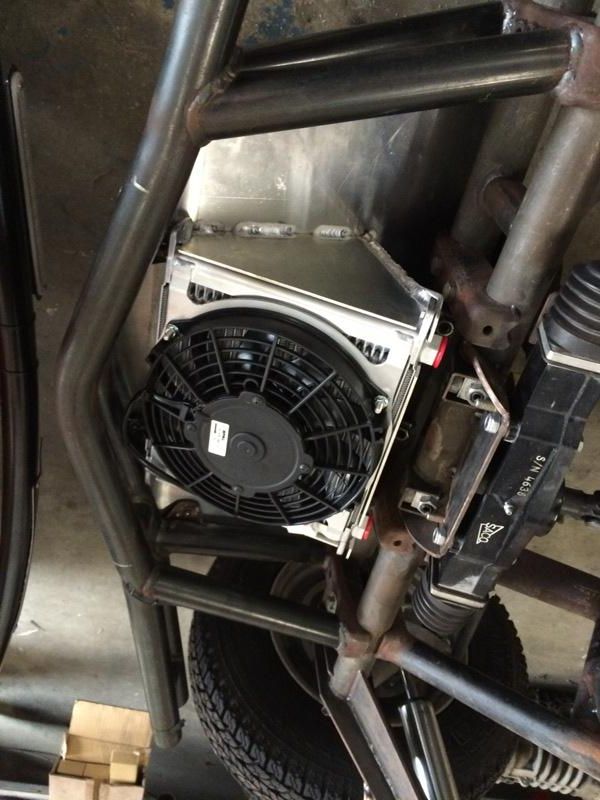
Mounted the oil cooler , it's a Towd , space is tight , and i didn't like the idea of the oil radiator drawing hot air off the top of the gearbox and or the hot from said radiator getting drawn into the cool air inlet on the fan shroud
Cut and folded up some headlight brackets
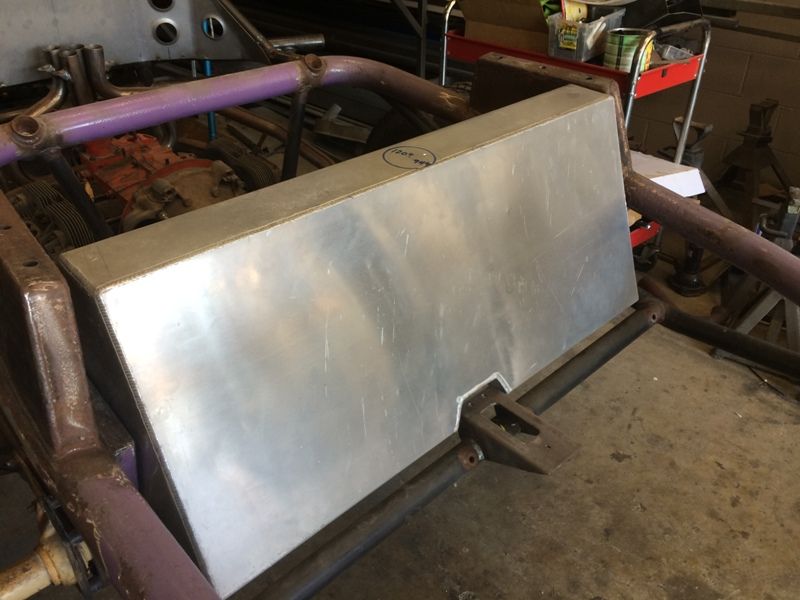
The alloy fuel tank in place , with the cut out area in the bottom to get around the hydralic lines of the fiddlers

MMMMMMMMMM Starting to get the final items welded out

Designed , cut , folded and fitted a dash panel
Mounted the oil cooler , it's a Towd , space is tight , and i didn't like the idea of the oil radiator drawing hot air off the top of the gearbox and or the hot from said radiator getting drawn into the cool air inlet on the fan shroud
Cut and folded up some headlight brackets
The alloy fuel tank in place , with the cut out area in the bottom to get around the hydralic lines of the fiddlers
MMMMMMMMMM Starting to get the final items welded out