Nilza's Baja

Offroad VW based vehicles have problems/insights all their own. Not to mention the knowledge gained in VW durability.
User avatar
turbobaja
Posts: 2826
Joined: Fri Sep 14, 2007 4:56 pm

Re: Nilza's Baja

Post by turbobaja »

WAKE UP!! :lol:

You do some nice welding. Good job on those stubs!

Are you going to put a VW over that H on your horn pad? :P
User avatar
nilza
Posts: 372
Joined: Thu Jun 18, 2009 3:11 am

Re: Nilza's Baja

Post by nilza »

Thanks Karl, only going to show you the good ones :wink: am learning slowly but definaly still create plenty of do overs
Have had a little more time on the beetle in the last few days seeing as I have done myself an injury (was GM related not VW)
I tripped and got a dremel burr bit in my left palm and toward my wrist, Is only a 2mm hole but close to 2 inchs deep (I know I just used metric and imperial in the same sentence) Either way i seem to have got away without and nerve or tendon damage :|
Doc says no heavy lifting for a few days, so i have been throwing the paint brush around the front of the chassis. Would love to have detailed it al with yellow tubing and such, but don't need any more attention from the fuzz me thinks

Also a couple of photos i didn't post last time,

Image
Image
Image
Image
User avatar
bajaherbie
Posts: 9967
Joined: Sat Jul 15, 2006 7:07 pm

Re: Nilza's Baja

Post by bajaherbie »

what did you do to the engine shroud? make it or modify it?


i feeel your pain, about 6 months ago i ran a 3/16" drill bit in my index finger parallel to the bone, it almost came out my fingertip. lots of nerve damage, i think i could put a cigarette (or cigar) out on my finger and not feel it :shock:
User avatar
fusername
Posts: 6806
Joined: Sun Jan 28, 2007 11:26 am

Re: Nilza's Baja

Post by fusername »

bajaherbie wrote: i think i could put a cigarette (or cigar) out on my finger and not feel it :shock:
pics or doesnt happen.
User avatar
nilza
Posts: 372
Joined: Thu Jun 18, 2009 3:11 am

Re: Nilza's Baja

Post by nilza »

hey herbie, that fan shroud has been butched quite a bit. Over the years the sand and salt spray collected in the blocked off air horns on the sides and rusted them off! When i opened them up was like one of those bottles you bought as a kid with the different layers of coloured sand in it. So yes its ugly.

Anyways quick bunch of photos again,
set the camber and toe, cleaned the brakes, painted the underdash and front of the chassis

Image
Image
Image
Image
User avatar
nilza
Posts: 372
Joined: Thu Jun 18, 2009 3:11 am

Re: Nilza's Baja

Post by nilza »

got quite abit done this weekend,
brake and fuel lines and fittings are just about done
front bumper and mounts along with headlight mounts
Forgot to take photos though, cause i had to go see my grandma on sunday arvo :oops:

snapped a quick one on my phone on the way past this morning though just as a teaser :wink:
Image
User avatar
nilza
Posts: 372
Joined: Thu Jun 18, 2009 3:11 am

Re: Nilza's Baja

Post by nilza »

OK! hasn't been a productive weekend, because we are getting storms every afternoon of late. (suppose I should spend more time with the girlfriend anyway!)
I finally got the photos of last weekends progress as well
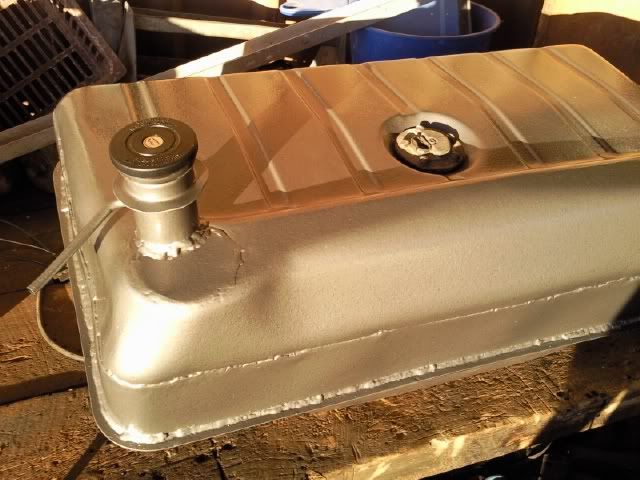
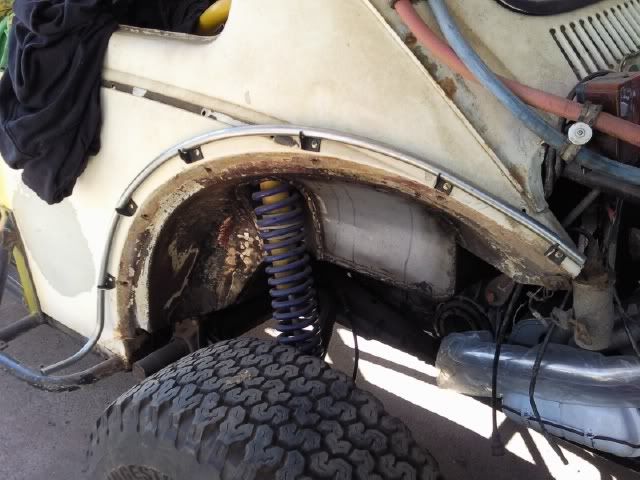
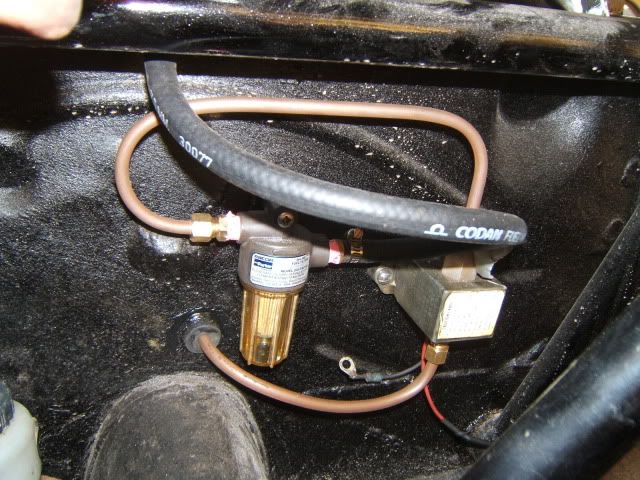
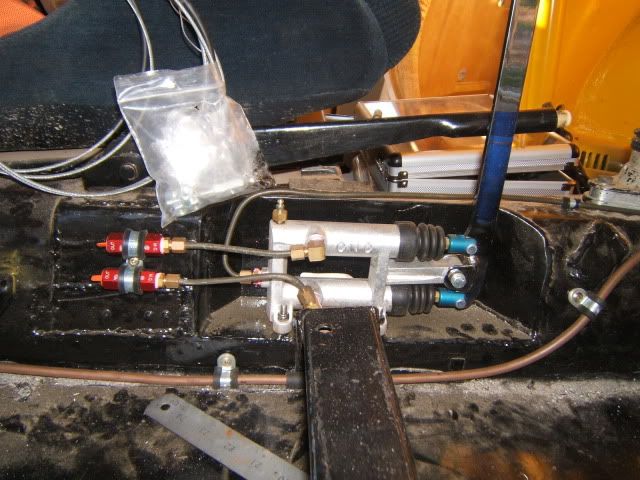
Got the fuel system all but finished, ran a 5/16 line from front to rear just incase I decide i need a V8 to power this thing later down the track. My brother is trying to railroad me in the direction of a lexus 4L (not sure the engineer would see it as cool as my brother :lol: )
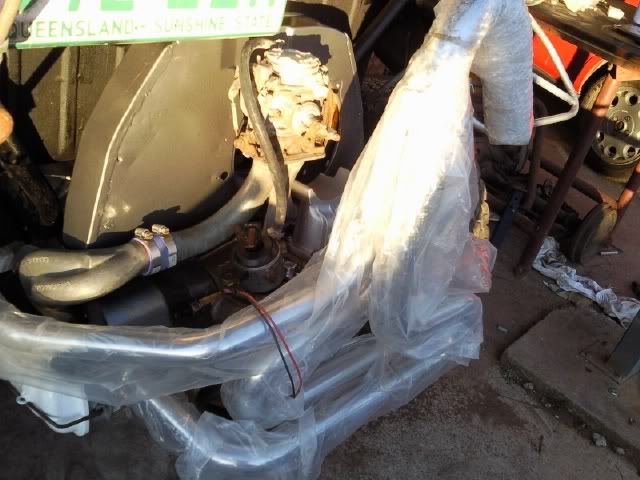
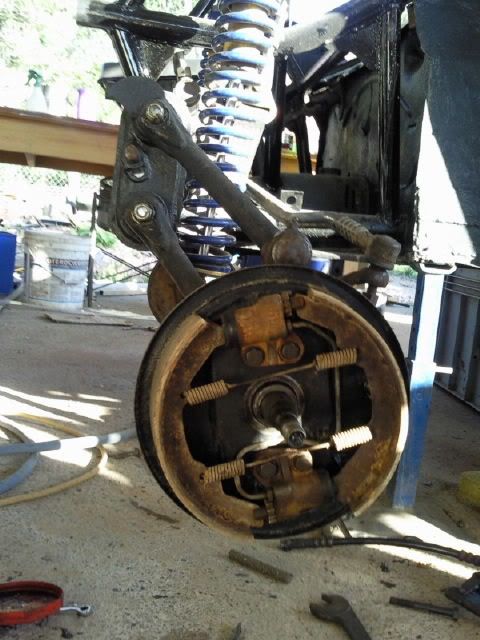
Front brake lines are hooked up, along with the bias adjuster. Am very excited to see how this goes. The rear line runs though the cutting break, so I think that a residual pressure valve is required in both outward lines (not sure on this, Any light on this would be cool) The last of the rearward line isn't finished due to a few parts i'm still waiting on.
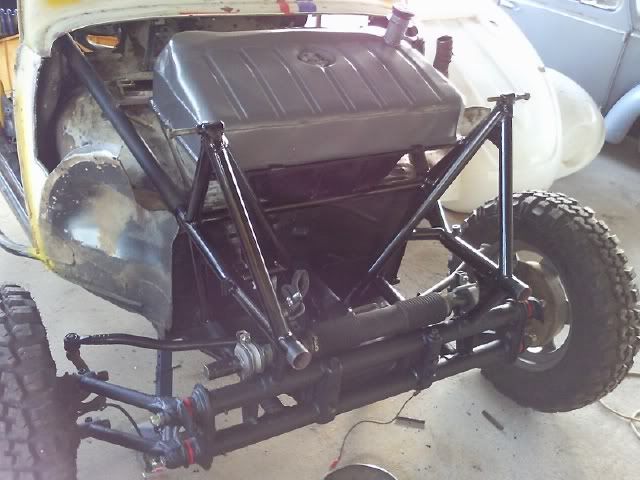
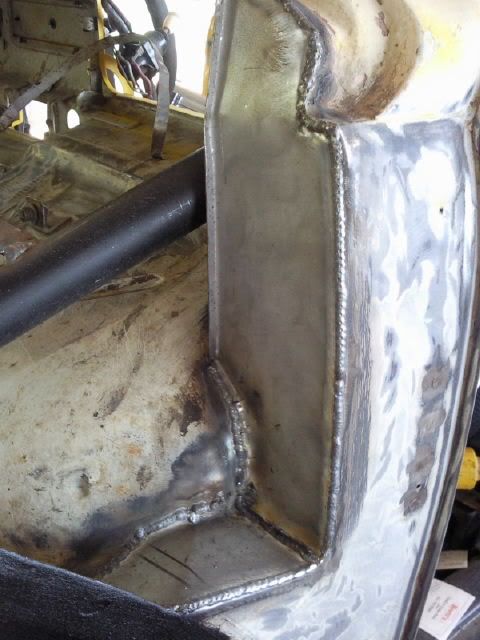
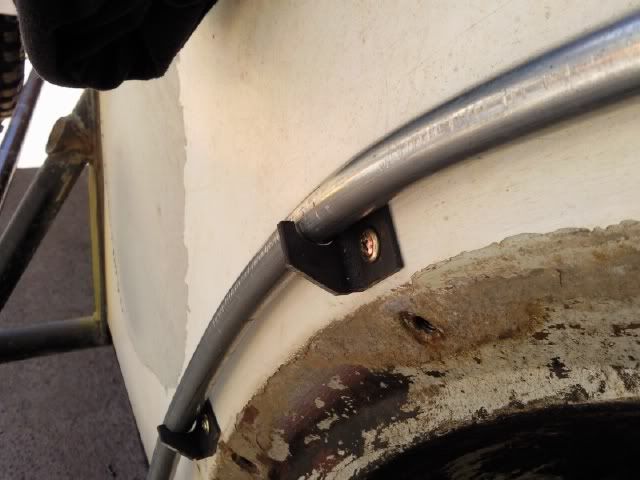
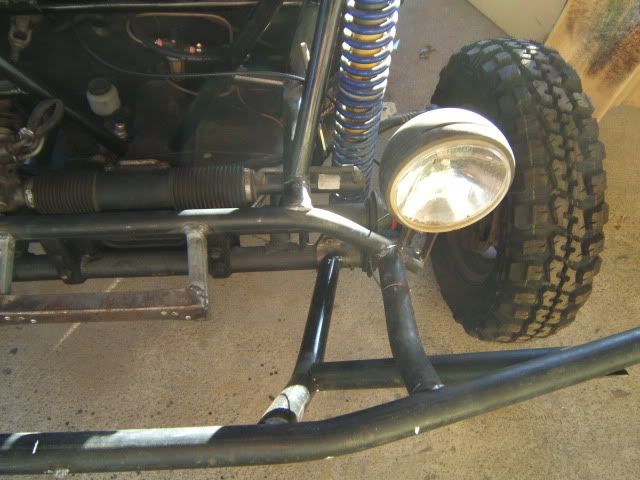
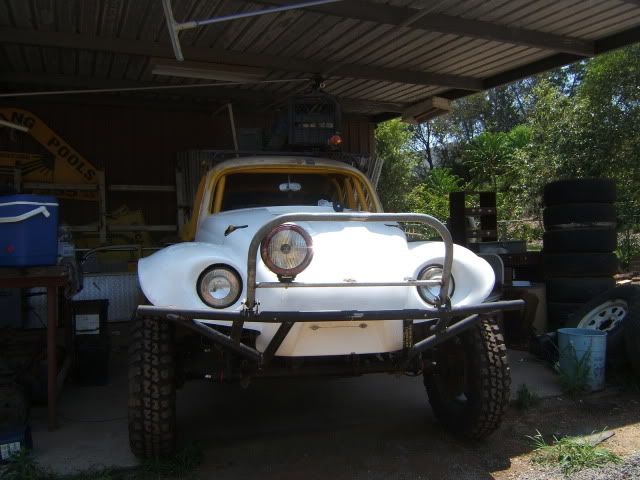
The hook ups for the front bumper may look a little strange to some but there is method to the madness, Originally the engineer was talking about shear pins for the for the connect from the bumper to the chassis, because of the direct line between the two. Now it has a weak point built into it, fingers crossed he excepts it this way. Worst case scenario I can build shear pins into this set up. Also doubled as the wider mount for headlights.
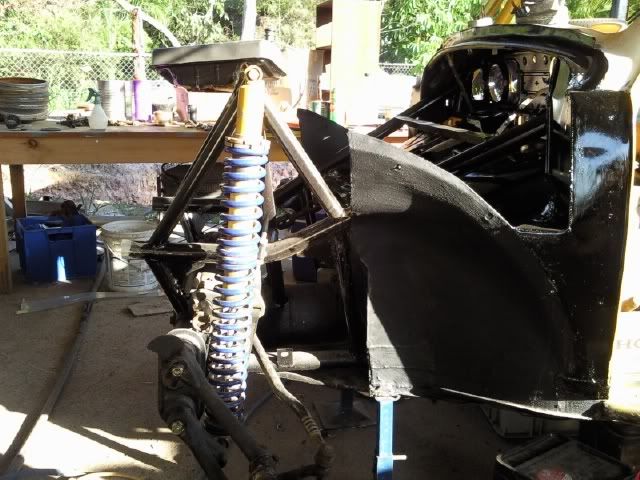
The front bumper is all welded and ready to go except for the bash plate, the light bar is on a pivot so that it can fold forward to make it easier the take the bonnet off if need be. I did originally only buy two HID's but after looking at a few different light bar designs three just look so much cooler. The third is on the wish list.
Feel free to photochop the other 2 in :D
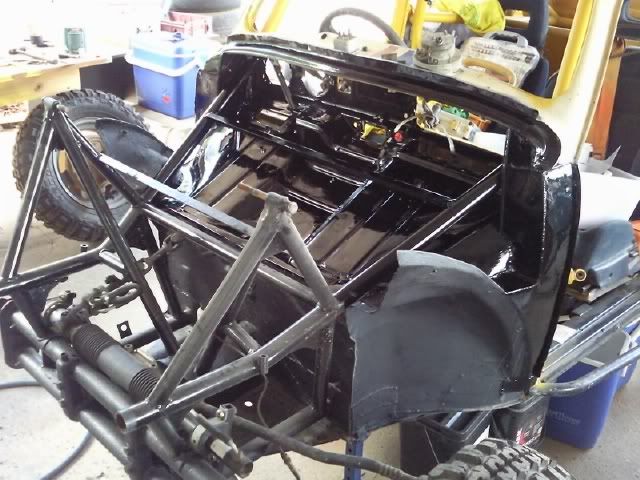
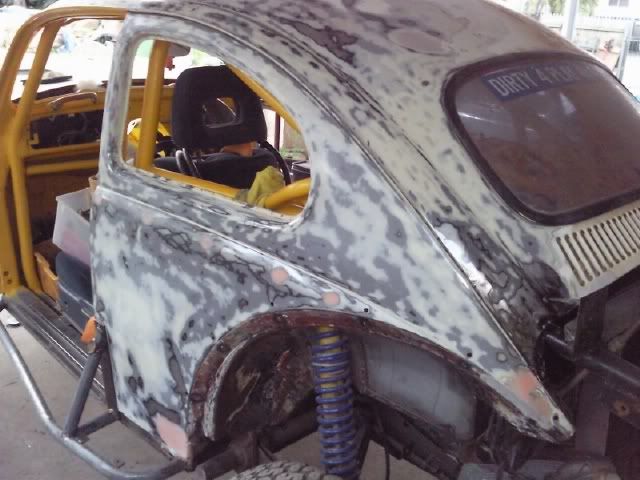
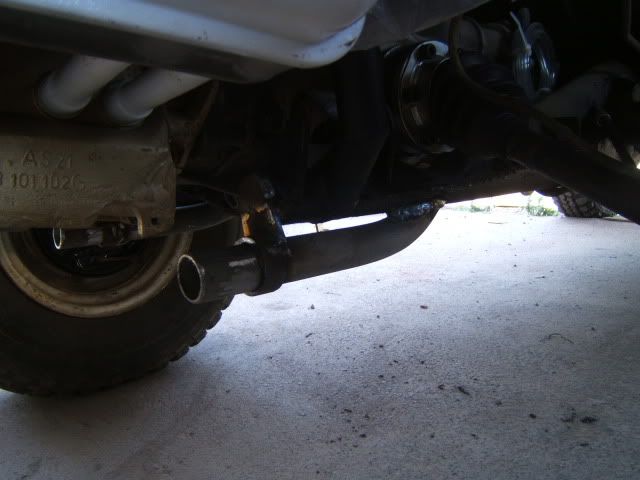
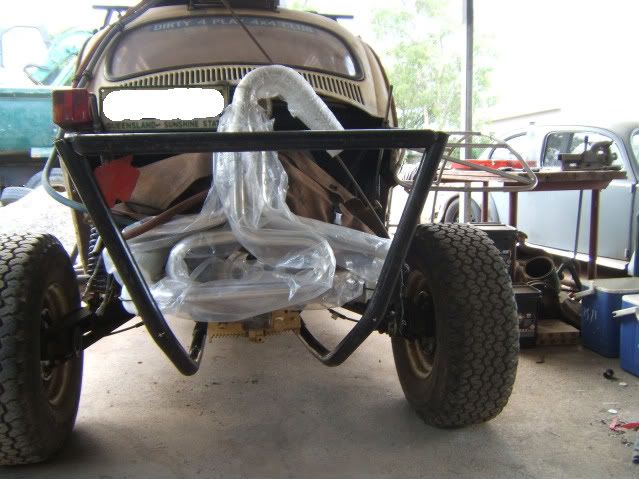
I started the rear bumper and am still thinking how to make this reach both sides of the car (part of legal requirement again) while still keeping that race look, For now the base tubes are there, once again feel free to draw in some lines, im really in need of some suggestions.
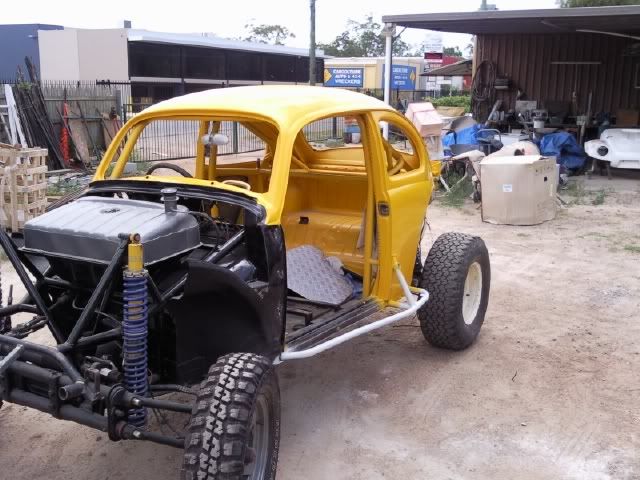
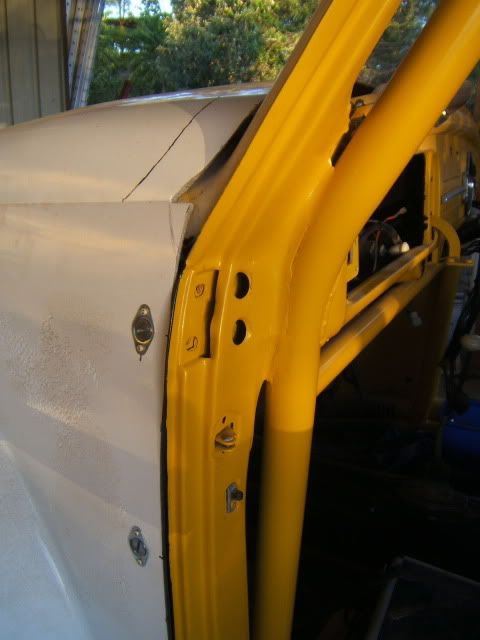
Oh! and the bonnet is finally in its spot, quick release DZUZ fasteners all round. They look great, but not really happy with the quality of these ones and the bonnet still needs some minor trimming before paint.
Image
Image
Image
Image
Image
Image
Image
Image
Image
Image
Image

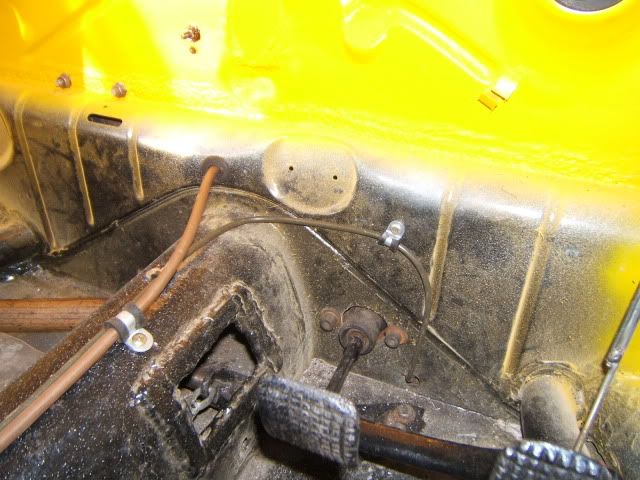
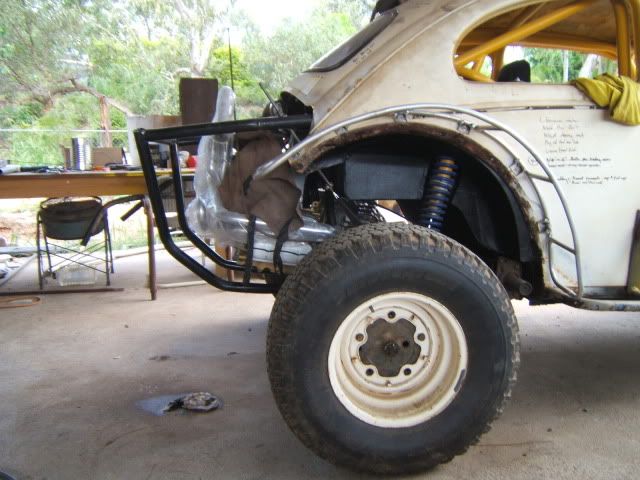
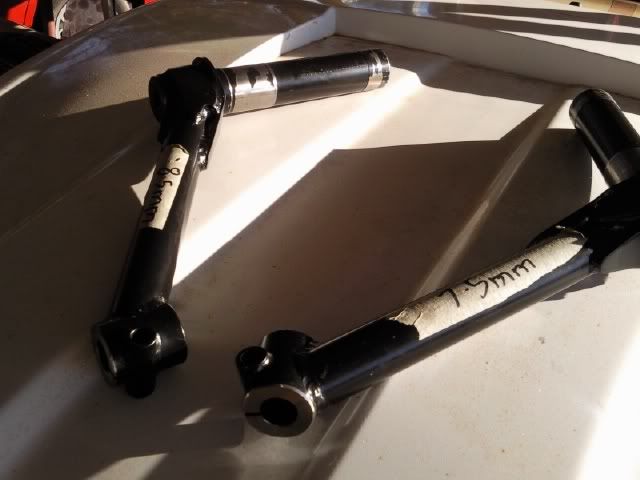
In the last photo you can see my hand brake cables, they are '64 bus cables. the sleaves are 550mm so work perfect with 3x3 arms, the cables can be wrapped once around the rearview mirror and back to the handbrake so will be shorted with the old fashion cable shorteners like those used on manx buggys. Irs T3 sleaves are the same but the cables are about 50mm too short, food for thought for anyone going 3x3.
User avatar
bajaherbie
Posts: 9967
Joined: Sat Jul 15, 2006 7:07 pm

Re: Nilza's Baja

Post by bajaherbie »

are the red doohickeys in the last pic the residual valves?


on my system ( same master cyl, same cnc single handle) i didn't install any residual valves with my drum brakes.....
User avatar
nilza
Posts: 372
Joined: Thu Jun 18, 2009 3:11 am

Re: Nilza's Baja

Post by nilza »

Yep, thems the doohickies.
Not sure if they are really necessary. but am trying to give the rear brakes the best chance i can seeing as I still have those huge combi brakes on the front
User avatar
nilza
Posts: 372
Joined: Thu Jun 18, 2009 3:11 am

Re: Nilza's Baja

Post by nilza »

Quick post just to keep anyone listening in the loop,

finished rear bumper
Image
started a pair of rear fenders. will now be steel frame ally skin, cause my alloy welding sucks
Image
Image
splash of paint,
Image
Image
Image
User avatar
11CAB
Posts: 69
Joined: Thu Oct 14, 2004 9:44 pm

Re: Nilza's Baja

Post by 11CAB »

Looking Good :D
User avatar
nilza
Posts: 372
Joined: Thu Jun 18, 2009 3:11 am

Re: Nilza's Baja

Post by nilza »

I just realised it looks to be the same colour as your kombi
User avatar
fusername
Posts: 6806
Joined: Sun Jan 28, 2007 11:26 am

Re: Nilza's Baja

Post by fusername »

I've always wodnered about doing conversion stubs that way, but I just got a killer deal on 924s, so I am all set. However I am curious as to how you bend out those fender pieces?
give a man a watch and he'll allways know what time it is. give him two and he can never be sure again.

Things are rarely just crazy enough to work, but they're frequently just crazy enough to fail hilariously.
User avatar
nilza
Posts: 372
Joined: Thu Jun 18, 2009 3:11 am

Re: Nilza's Baja

Post by nilza »

Am curious about doing them like this and see if they hold up too :lol:
Is a for now fix until I find some 924's, problem is once you put the word porshe on anythink around here it might as well be made of gold.
The tube for the fenders is the same size as we us for making pool fences, so have a bender particulary for it. Easy as :D
User avatar
turbobaja
Posts: 2826
Joined: Fri Sep 14, 2007 4:56 pm

Re: Nilza's Baja

Post by turbobaja »

Great progress Nilza! Looks like it's almost ready to go get dirty :P .
Post Reply