slayer's buggy build

Can't afford the rare and extreme car of your dreams? Well just build one.
Ol'fogasaurus
Posts: 17760
Joined: Mon Nov 13, 2006 10:17 pm

Re: slayer's buggy build

Post by Ol'fogasaurus »

SCOTTRODS wrote: Sun Jul 10, 2022 1:16 pm I'm a "Down and Aft" guy too, Lee... I thought I was the only one that noticed stuff like that. I am reluctant to tell anyone they could do something "better" on the forums most times, as they often have an access issue that requires the upside down nature of them... As far as Locking washers - Nothing beats NORDLOCK... look them up and see if you can't find a video on them. There just isn't a better locking solution for nuts and bolts, without thread locker from hell... I used to do some work that required them and thread locker due to extreme vibration... VW's seem like an ultimate application of the two.
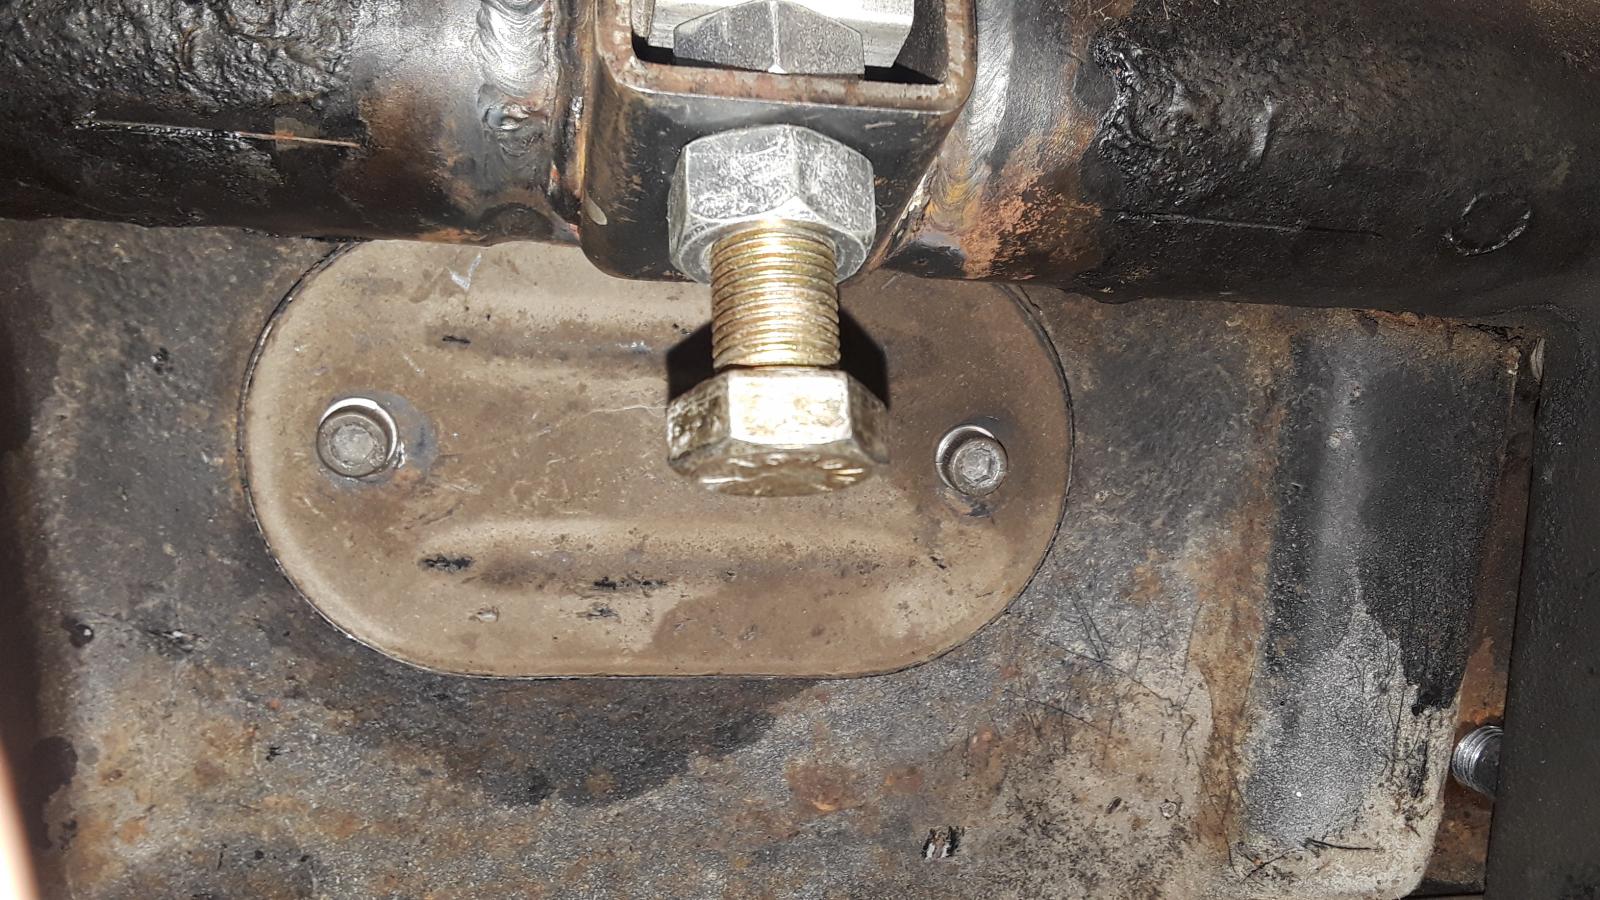
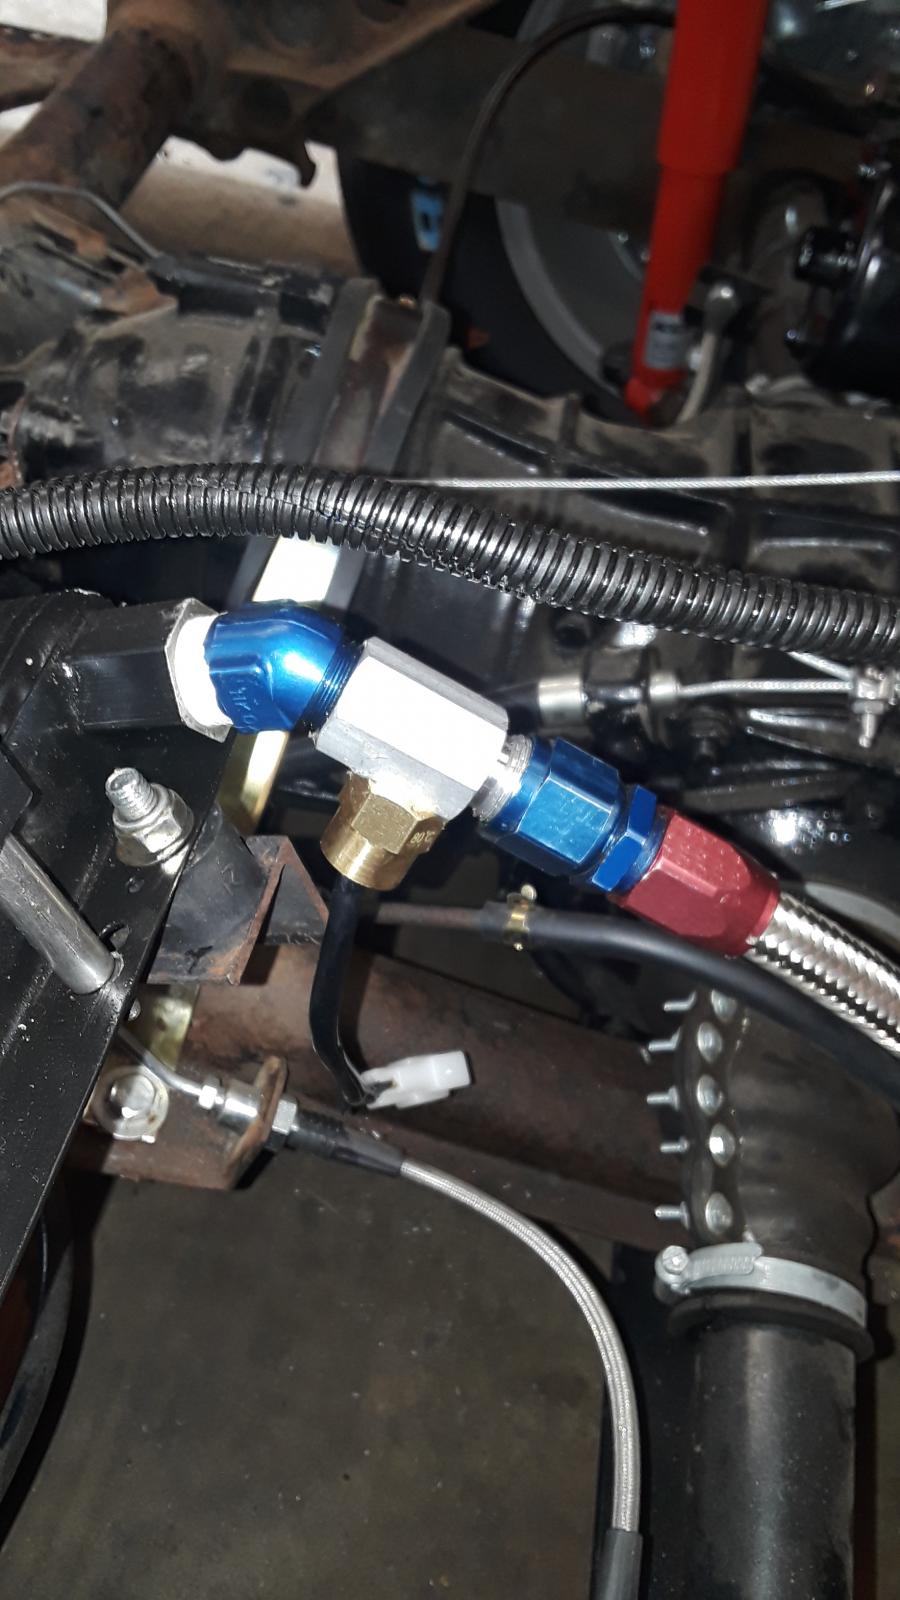
Ol'fogasaurus wrote: Fri Jul 08, 2022 5:56 pm Slayer, a rule of thumb is that the nut goes on the underside not the head of the bolt, that way if things get loose the bolt does not be the part to drop away but should stay in place to somewhat hold things together... a rocky clamping setup maybe but should still be there.

I checked others work in engineering and, while not often, the nut did get on top. If so then double nut it to lock it in place. Locking nuts are usually thinner than the regular nuts as they are not the working part of the "clamping together of things" being done.

For what it is worth.

Lee
There are so many styles and designs for bolts, nuts and washers. I worked with the Military, Federal, National Aerospace Standards and International Specifications Office (mostly Metric) (its been a long time so I am not positive if the "Office" is the right word and that is not all of the Standards specs out there either). I've been retired now almost 22 years so things have changed somewhat too but not some things I am pretty sure of that) and probably on almost a daily basis. I drew drawings of new fasteners some of which became not only as company parts but some also became spec parts also (I don't think ISO though).

I don't know about the different companies whether they are good or not so good but if they are saying they meet the above standards, not just their own standards (they could go above the standards also I guess but that is not always good either) then they should be OK. I have seen some start good but then go down hill also.

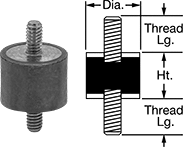
You might be surprised on just how many types, styles and shapes of washers that are in the standards as well as nuts and bolts. They are often designed to meet non-normal needs also (e.g., riding radiuses, tapered shapes, off-set holes, etc.).

Washers also have a limit of three being stacked as spacers. This is because the washers can move/offset during clamping or for other reasons which cause the bolt head or nut contact area to not get the amount of contact translation (distribution) they were designed for. A single spacer replaces the stack then.

Remember that most fasteners have a use cycle (on and off clamping is a cycle) limitations such as on and off clamping, age changes, wear and basic design changes that can limit to as low as one clamping and then replace the unit(s). We all have a tendency to over-do mostly cause we don't know that there are in the basic design of the fastener and or assy.

Probably more than you wanted to know.

Lee
User avatar
slayer61
Posts: 124
Joined: Wed Jul 14, 2021 10:32 am

Re: slayer's buggy build

Post by slayer61 »

Guys, thanks for the input. Much appreciated and will keep it in mind.

The nuts in question are temporary and are a part of the rubber isolation mount I'm using to mount the cooler

Image
User avatar
slayer61
Posts: 124
Joined: Wed Jul 14, 2021 10:32 am

Re: slayer's buggy build

Post by slayer61 »

As much as I love my wife, she's not a very good helper in the garage when trying to stab a motor! :? :lol:
We tried for close to 3 hours to do a job that should take 5 minutes with no love. A quick phone call to another VW guy (thanks Vince) & we had the new engine in in 5 minutes! :D


Image
User avatar
SCOTTRODS
Posts: 626
Joined: Sun Nov 07, 2010 7:15 am

Re: slayer's buggy build

Post by SCOTTRODS »

I used to stab 'em by myself in 3-5... I usually kept my Breaker bar and socket handy to turn the engine and never installed one with plugs in it... Makes it easy to turn the engine to match up the splines from tranny to clutch... other than that It's not too hard to keep cables and hoses out of the seam between engine and trans. If mine were all open without a body like that, it'd been even easier... (I also have a specific platform that I set motors on to lift them into place that is a big help... has swivel in the middle to allow the engine to tilt in all directions as well. It's out on loan right now or I'd show you a picture...
I have found them completely missing more than once. - PILEDRIVER

Some pics of My Powder Coating work
http://s244.photobucket.com/albums/gg6/terrellster/
My Facebook Page for Powder Coating
http://www.facebook.com/profile.php?id=100001788886297
Ol'fogasaurus
Posts: 17760
Joined: Mon Nov 13, 2006 10:17 pm

Re: slayer's buggy build

Post by Ol'fogasaurus »

I often pull the trans and attach it then slide the engine/trans assy in as a unit that way you don't have to futz with the splines on the PP (it is easier to do with the body off too :wink: )

Your pix with the drive train installed does look pretty good. It would look nicer if you chromed the pan too! :lol:

Lee
Ol'fogasaurus
Posts: 17760
Joined: Mon Nov 13, 2006 10:17 pm

Re: slayer's buggy build

Post by Ol'fogasaurus »

You might be interested in just how many washer designs there really are out there just in the MIL or ISO specs alone. Add to that companies own designs that may or may not meet with other companies/industries, MIL pr ISO specs or international specs. I don't know how many there are, but I have run into some real cheezie products before.

Lock washers have their place in design but so do others. Also, the age of the used washer (especially split washers as too long clamped they can lose their locking abilities when they become flattened and stay that way) is important to know. Split washers should not be used as stacked washer spacers also and for several reasons.

Going through the books just to see what is out there can be a very long and tiring tiring process. :wink:

Lee
User avatar
slayer61
Posts: 124
Joined: Wed Jul 14, 2021 10:32 am

Re: slayer's buggy build

Post by slayer61 »

So a couple of days ago I stopped by my local (old school) VW shop for a few items I was still missing...(Thanks a bunch Jim!)

Jim was able to provide me with a couple of missing OEM type items including:
A (neused and tested good) Bosch starter


Image


The shifter coupling cover


Image


And the front tunnel cover


Image

Purists may piss-off that I chose to use NON-OEM hardware...!

OEM braided jumper from trans mount to trans. It has a small hole on the top & a large hole on the bottom and is EXACTLY the right length!


Image


Also, because the EMPI clutch cable shortening is a complete POS and only serves to eat the cable, the hardware store & a collection of honyock fittings were sourced to make the connection :oops:


Image

The oil cooler was mounted for the last time... :roll:


Image

Including the temp switch


Image


The fan and the temp switch are fitted with plugs that are the opposite of each other, preventing the fan power from being plugged into the temp switch & vice versa... but they DO plug into each other! 8)


Image


A second set of caster bushes were added for "high speed" stability, along with the necessary longer bottom bolts


Image

At the end of the day, I dropped the body back on and... TA DA! the cooler fan hits the body and was promptly removed, leaving an un-fanned oil cooler :oops:


Image

Be safe guys.


SHAMEFULLY COPPIED FROM ts
Ol'fogasaurus
Posts: 17760
Joined: Mon Nov 13, 2006 10:17 pm

Re: slayer's buggy build

Post by Ol'fogasaurus »

Slayer, on the pix with the spacers that bolt is not designed for that kind of loading and could fail on you.

Threads are for clamping things together and the shank (the unthreaded part) is what is supposed to take the loading including directional (and that depends on the basic design e.g., material and temper) of the bolt) loading. The bottom cup shaped spacer looks to have only a small contact strip which could cause problems... it needs to have a wider contact point and the fastener needs a longer shank.

I don't want to see friends hurt!

Lee

PS; There are roughly two ways to make threads:

One is to cut them like you would using a tap and die setup. What happens here is the grain of the bolt, in the thread area, is cut away leaving the threads less strong as the other style of forming threads.

The other way is to have them formed b having the threads rolled which means the grain of the bolt's material is compacted making them stronger than the cut threads.

The unthreaded part of the bolt AKA "the shank" is the strongest part of the bolt. As the material of the bolt design changes the radius under the head of the bolt also changes.

I have drawn up the plans for 9 bolts as I remember of which 5 of them became MIL standards. I am not sure of the others as to if they remained a company standard or also became some kind of standard also.

I hope this is clear.

Lee

I couldn't remember the unthreaded part of the shank's name but it is called "the Grip". It is very important in the strength of the fastener assuming everything else is correct. Getting too old and the memory is a bit frazzled at times. :wink:

Lee
User avatar
slayer61
Posts: 124
Joined: Wed Jul 14, 2021 10:32 am

Re: slayer's buggy build

Post by slayer61 »

The header arrived on Saturday morning! That's the good news....

Bad news? 2 each number 4 cylinders and 0 each number 2 cylinders! FFS! :x
20220813_122303.jpg
You'll notice how they are exact duplicates of each other & not mirror images....

Image

Would kinda/sorta work if the flange was rotated 45 degrees or so :? :roll:
You do not have the required permissions to view the files attached to this post.
User avatar
slayer61
Posts: 124
Joined: Wed Jul 14, 2021 10:32 am

Re: slayer's buggy build

Post by slayer61 »

Well it seams I have some catching up to do on this thread...
After the header fiasco, I reached out to the VW community & got a response from a gentleman in Reno who had just what I was looking for! Huzzah! and Thanks Anton! :mrgreen: Anton even included a gasket set and offered hardware to connect it all up! I accepted his offer of gaskets, but declined the hardware, as I already had that covered.
20220827_124039.jpg
20220827_124045.jpg
I also recently took possession of some other needed bits... battery cables, parking brake bits (Thanks Jim! You're the best!) Ignition switch etc, etc.
20220827_124022.jpg
20220827_124011.jpg
20220827_124004.jpg
And my Number ! helper, who offered to put all the dash lights in, also was tasked with installing the ignition switch. Thanks Theodore!
20220827_094621.jpg
I also got the fuel system complete from the carbs forward to the tank location. It's just waiting on the tank to get to the rad shop for cleaning, welding & testing
20220905_090414[1].jpg
Dammit it's hot lately! Hoping for more progress this weekend. Be safe all.
You do not have the required permissions to view the files attached to this post.
User avatar
slayer61
Posts: 124
Joined: Wed Jul 14, 2021 10:32 am

Re: slayer's buggy build

Post by slayer61 »

Update 9/21/22

My Bug-O-Rama flea market gas tank has been to the radiator for cleaning, testing and moving the filler neck. Thanks Randy. I love it!
20220917_122556.jpg
20220917_122606.jpg
And the wiring harness showed up from Speedway Motors. It looks like a really nice piece. High quality conductors with ID stamped on them every 6" or so. Because it's a "universal" & made for a front engine car, it needed some "rerouting" of the wires to be usable in a VW
20220917_133116.jpg
20220917_133125.jpg
It gets more exciting as I get closer to completion!
You do not have the required permissions to view the files attached to this post.
User avatar
slayer61
Posts: 124
Joined: Wed Jul 14, 2021 10:32 am

Re: slayer's buggy build

Post by slayer61 »

So the buggy is getting the harness installed kinda "piece-meal" as that's all I seem to have time for! :roll: Business trip to KCMO, Halloween etc. etc. Also learning that projects will be projects. Back out with the tank to install the front harness :oops:
20221015_140333.jpg
I got some liquid tight non metalic conduit from the local home improvement center to route cables to the rear...
20221015_132016.jpg
Got the rear circuits sorted and mated up to the motor
20221029_170154.jpg
Then started on the dash, idiot lights etc
20221022_135358.jpg

20221022_130519.jpg
You do not have the required permissions to view the files attached to this post.
Ol'fogasaurus
Posts: 17760
Joined: Mon Nov 13, 2006 10:17 pm

Re: slayer's buggy build

Post by Ol'fogasaurus »

Slayer, going through this page on your site I noticed several pix showing woven ground straps. VW and many other manufactures use them. They are a pain in the "poo-poo" as they have a tendency to fail quite easily as the motion of them bouncing around can cause the metal strands to fail. If they were covered with a sleeve thing's probably would be different and they wouldn't fail so quickly and as often.

VW runs them from the rear shock tower where the body has the rear most bolts between body and pan and the trans/starter. It is cheaper in the long run to replace them with a sleeved round ground.

Lee
User avatar
slayer61
Posts: 124
Joined: Wed Jul 14, 2021 10:32 am

Re: slayer's buggy build

Post by slayer61 »

My buggy has a face!

Head lights & turn signals added over the weekend.
20221120_160130.jpg
20221120_160058.jpg
And it has insurance. Now, to deal with the DMV :evil:
You do not have the required permissions to view the files attached to this post.
Ol'fogasaurus
Posts: 17760
Joined: Mon Nov 13, 2006 10:17 pm

Re: slayer's buggy build

Post by Ol'fogasaurus »

Any more upgrades since the last post?

Lee
Post Reply