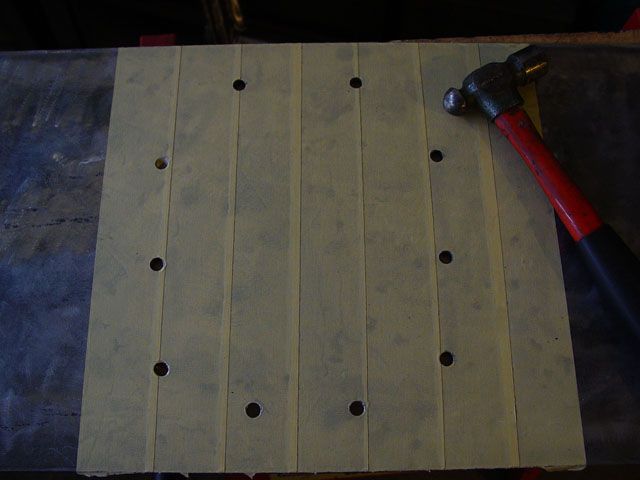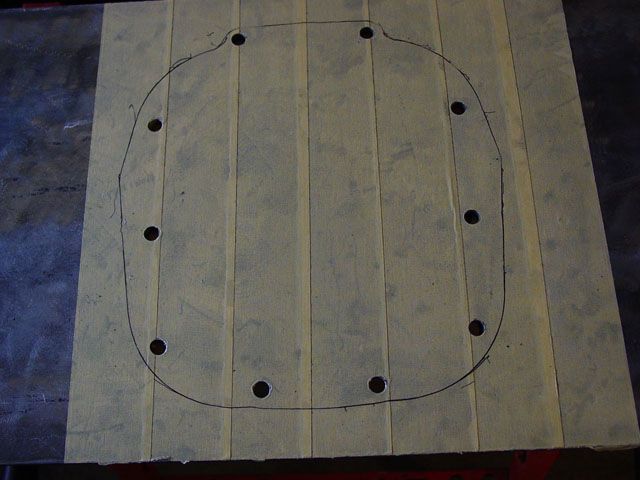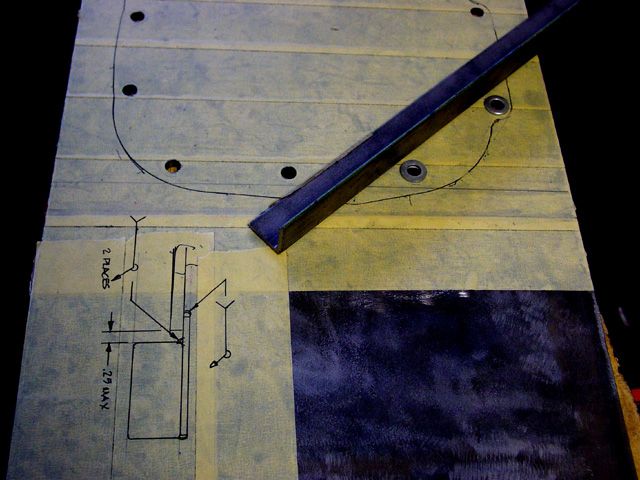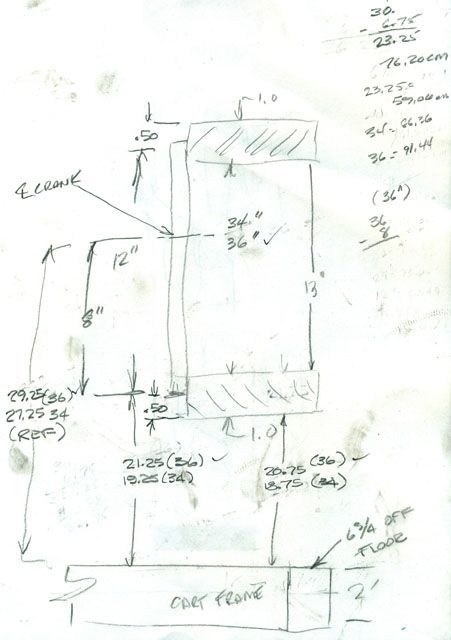
Last night, while thinking things over I made a cut sheet/drawing. It sure speeded things up.
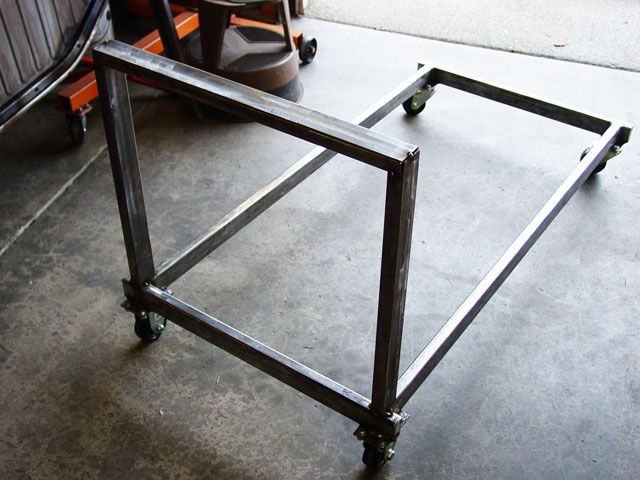
This is looking at the cart where the bell housing is going to be located. I am a quarter of an inch higher than I planned on being; I still can’t read a tape measure it seems.
I laid both of the lengths of material side by side, clamped them together and squared the ends together. I then, while still clamped together, I measured the cut I wanted but 7/8 of an inch longer than needed; my measurement, if you look at the cut sheet was to the bottom of the 1 X 2.
The extra ¾” was for the end cap which is in the last picture.

This just shows the cart from the other end (obviously). Making sure that everything was vertical front to rear and side to side was a comedy of… well, not too many errors; I had straight edges, and more clamps and clinches than in a tag team professional ‘rasslin’ match. I had to have stops to make sure that the rear of the tube was in line both to the rear and the side of the cart and located over both the sides and ends plus the right distance apart at the top. The upper bar had to be the same distance a part than the frame minus twice the thickness of the verticals (see the last picture).
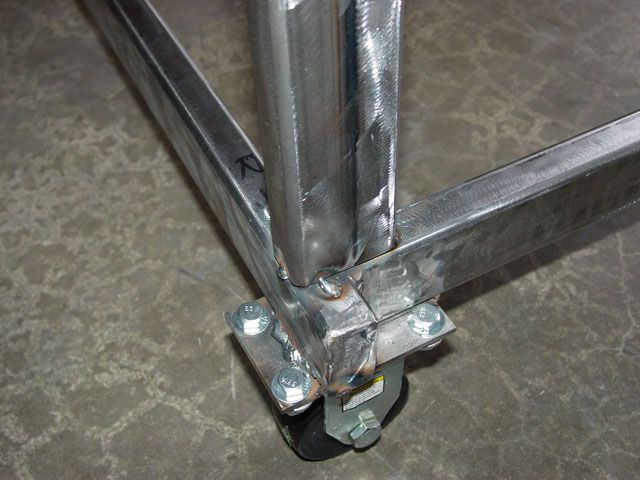
This show the fitment at the bottom of the verticals; I used pieces of flat stock clamped into place as stops to align everything up so that there is no overhang.
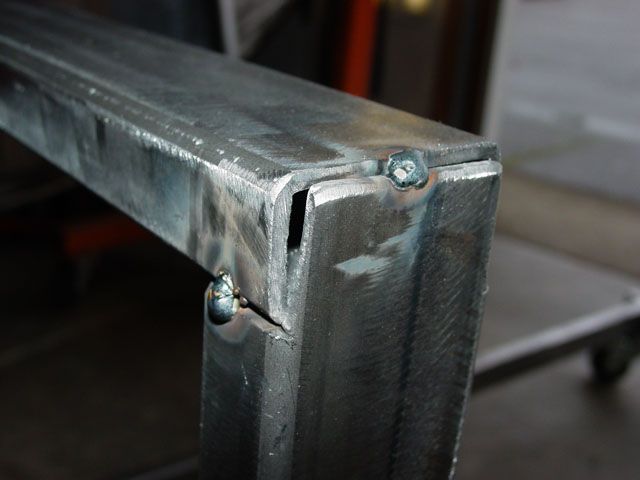
This is how I decided to do the top. As I said, I added 7/8th of an inch extra to act as a stop and a close out. I could have welded the top piece onto the top of the vertical and added a plate at the end but I thought this was a little stronger this way.
One thing I should point out here as it is important. Those of you who ready by body lift on the black buggy remember how much trouble I had welding the kerfs as the seam wanted to shrink in. On the cart portion the seam was on the 1” leg so I put it on the bottom as there is no localized loading to speak of on the bottom. In the 1 X 2’s I got the last time, they had the seams just off center on the 2” leg which is the same as I had the trouble with before; this time, since I am not willing to the loads on the seam side so I intentionally turned the seams to the outside. Any gusseting or bracing will not be loaded or welded on the seam portion of the tube.
The cross tube, which is 22” minus 2 X 1/8th of an inch (tube wall thickness) or 21 ¾ inches long and fits in between the two vertical tubes and sits, as well as the vertical tubes, vertically and horizontally, per a bubble level, where they should be thank you!
Lee
You are close herbie, 35 3/4" so far.
