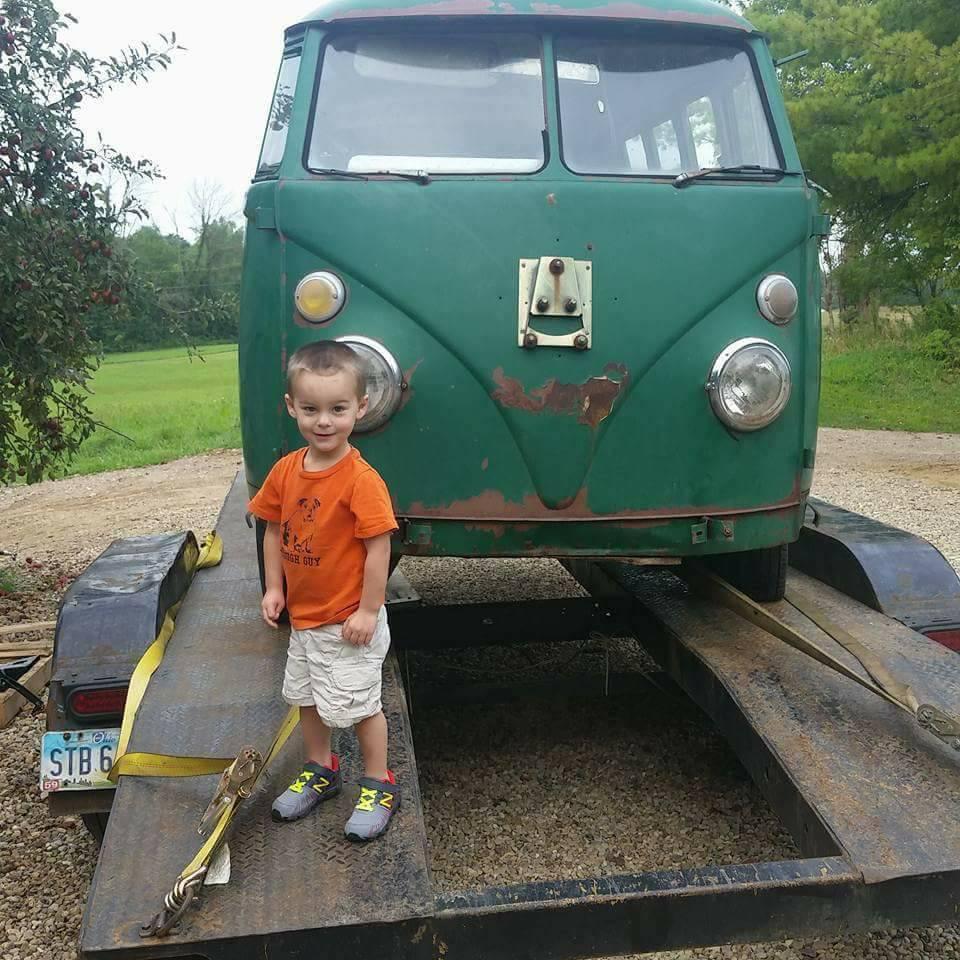
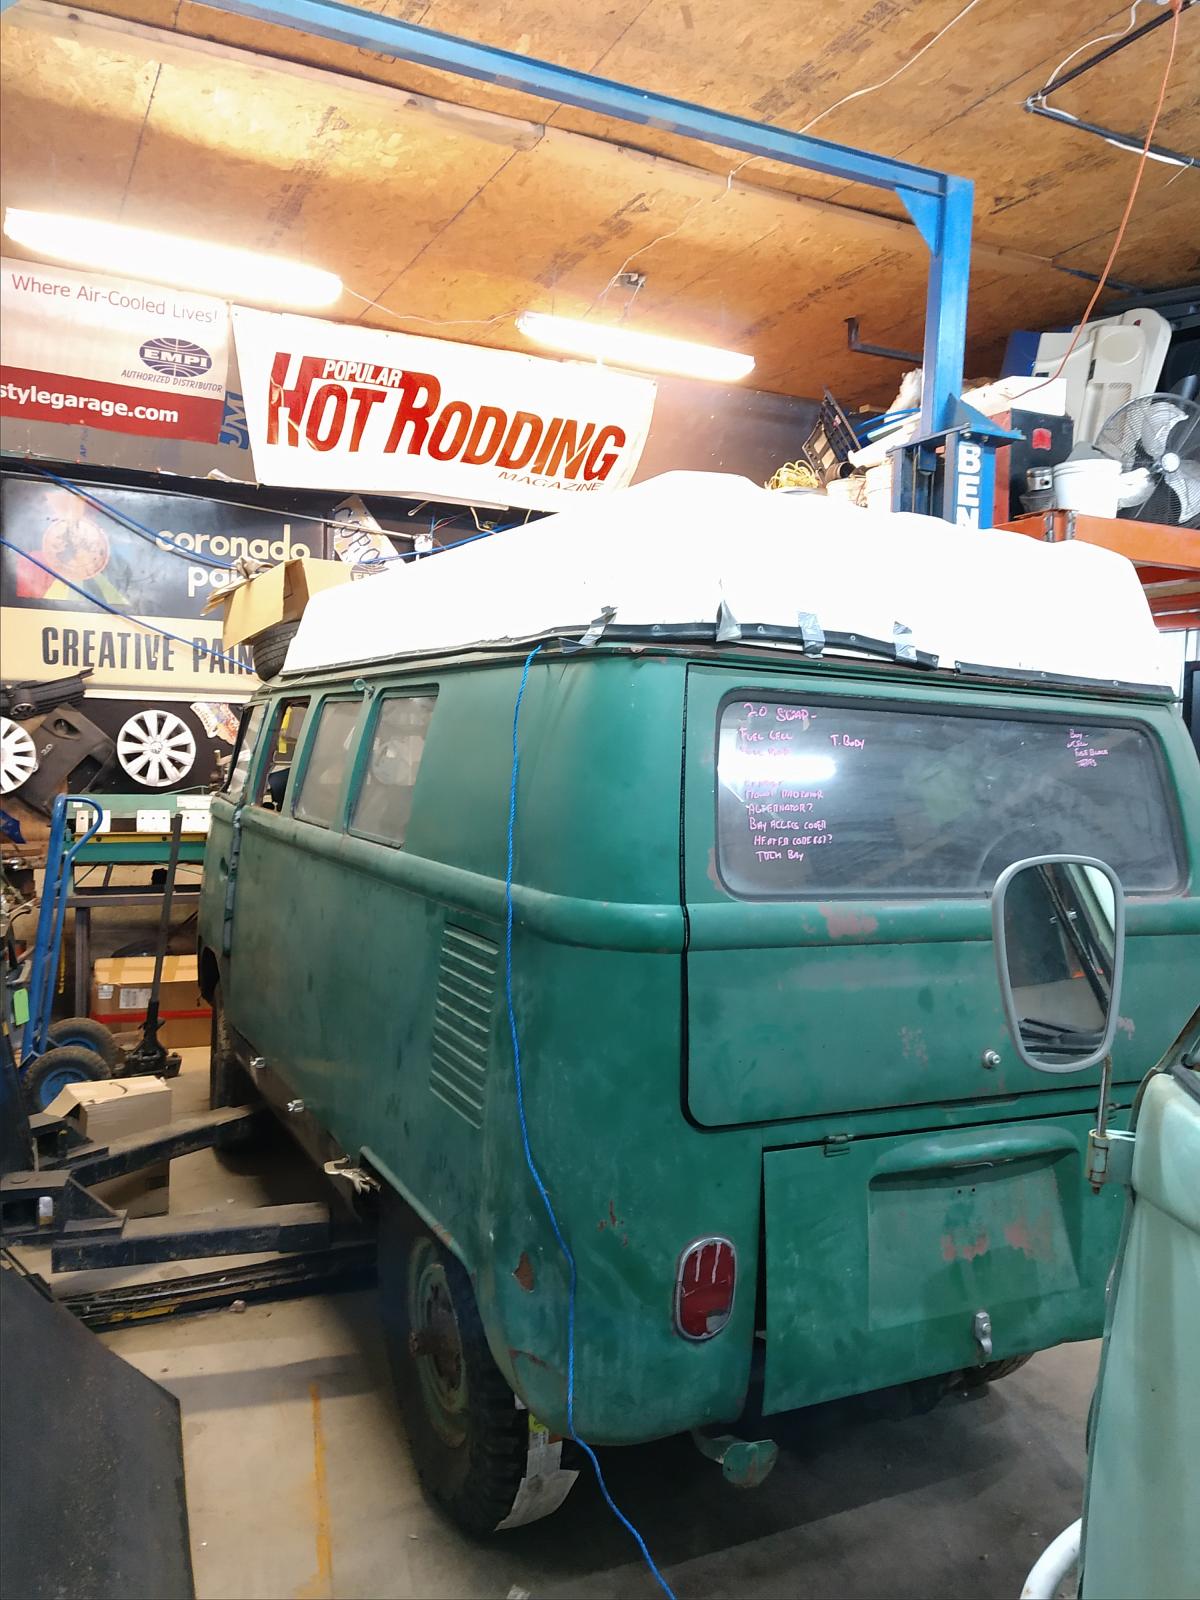
So, it sat in my shed for the last 5 years while we had other stuff goin on. I decided this was the year to get it movin'. We like to camp a lot, and have travel trailer, but also like to dispersed camp and get off the beaten path, not just stay in camp grounds. To that end, the purpose of this bus is to get us out there and be a base camp.
The plan is a slight lift, aggressive tires, sleeping for 2 adults and 3 kids, the ability to carry water and supplies for 3-4 days off grid, have some sort of self contained commode, and a shower of some sort (outside). Basically an Expo Bus.
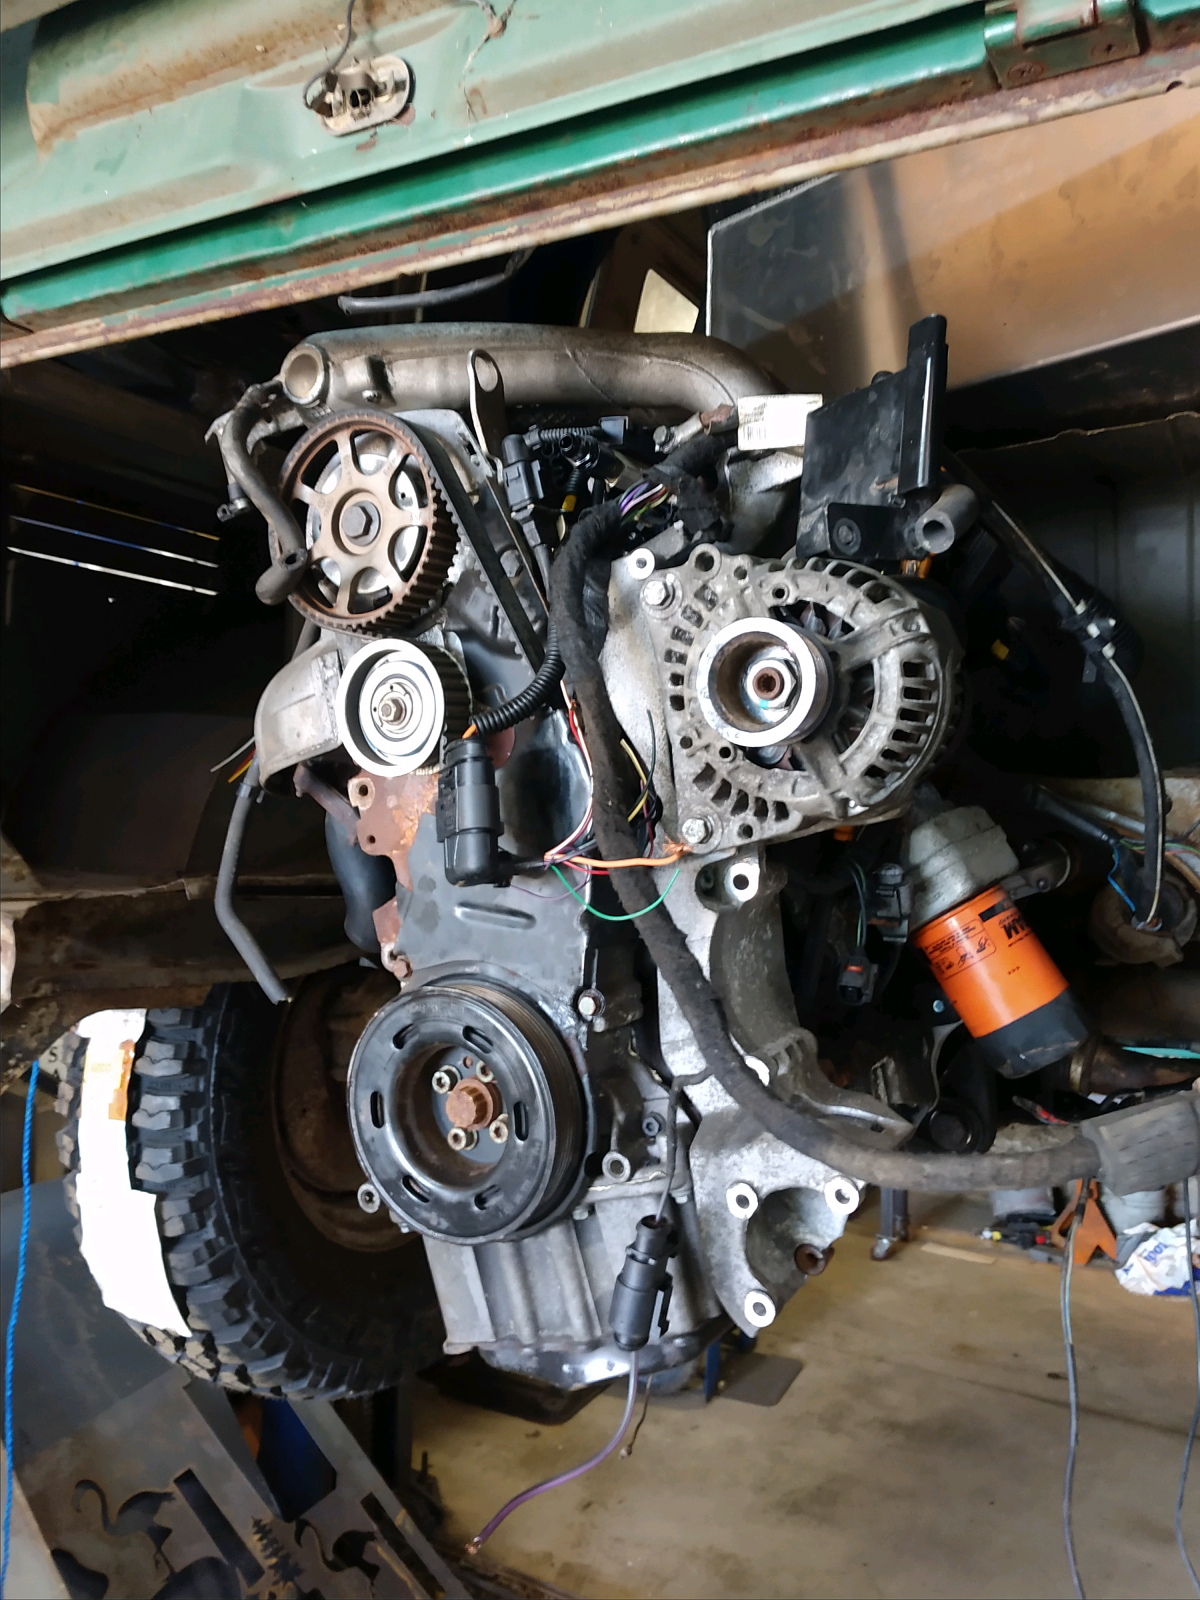
First off is the powerplant. I had already decided to go with a modern watercooled engine. Looking for reliability, plenty of power, heat, and economy. I weighed the options and decided to keep it all VW. I have lots of experience with 2000+ VW's and had a BEV engine from a 2004 Jetta in my stockpile.
I called KEP and ordered up a kit and proceded to get ready.
Using my "engine hoist" to get it to the shop

I weighed it and was pleased to find that ready to install it was 270#

KEP Adapter installed. I can's say enough good things about Lori at Kennedy. Very helpful and super easy ordering process. Only took about 6 days to arrive at my door on the other side of the country.

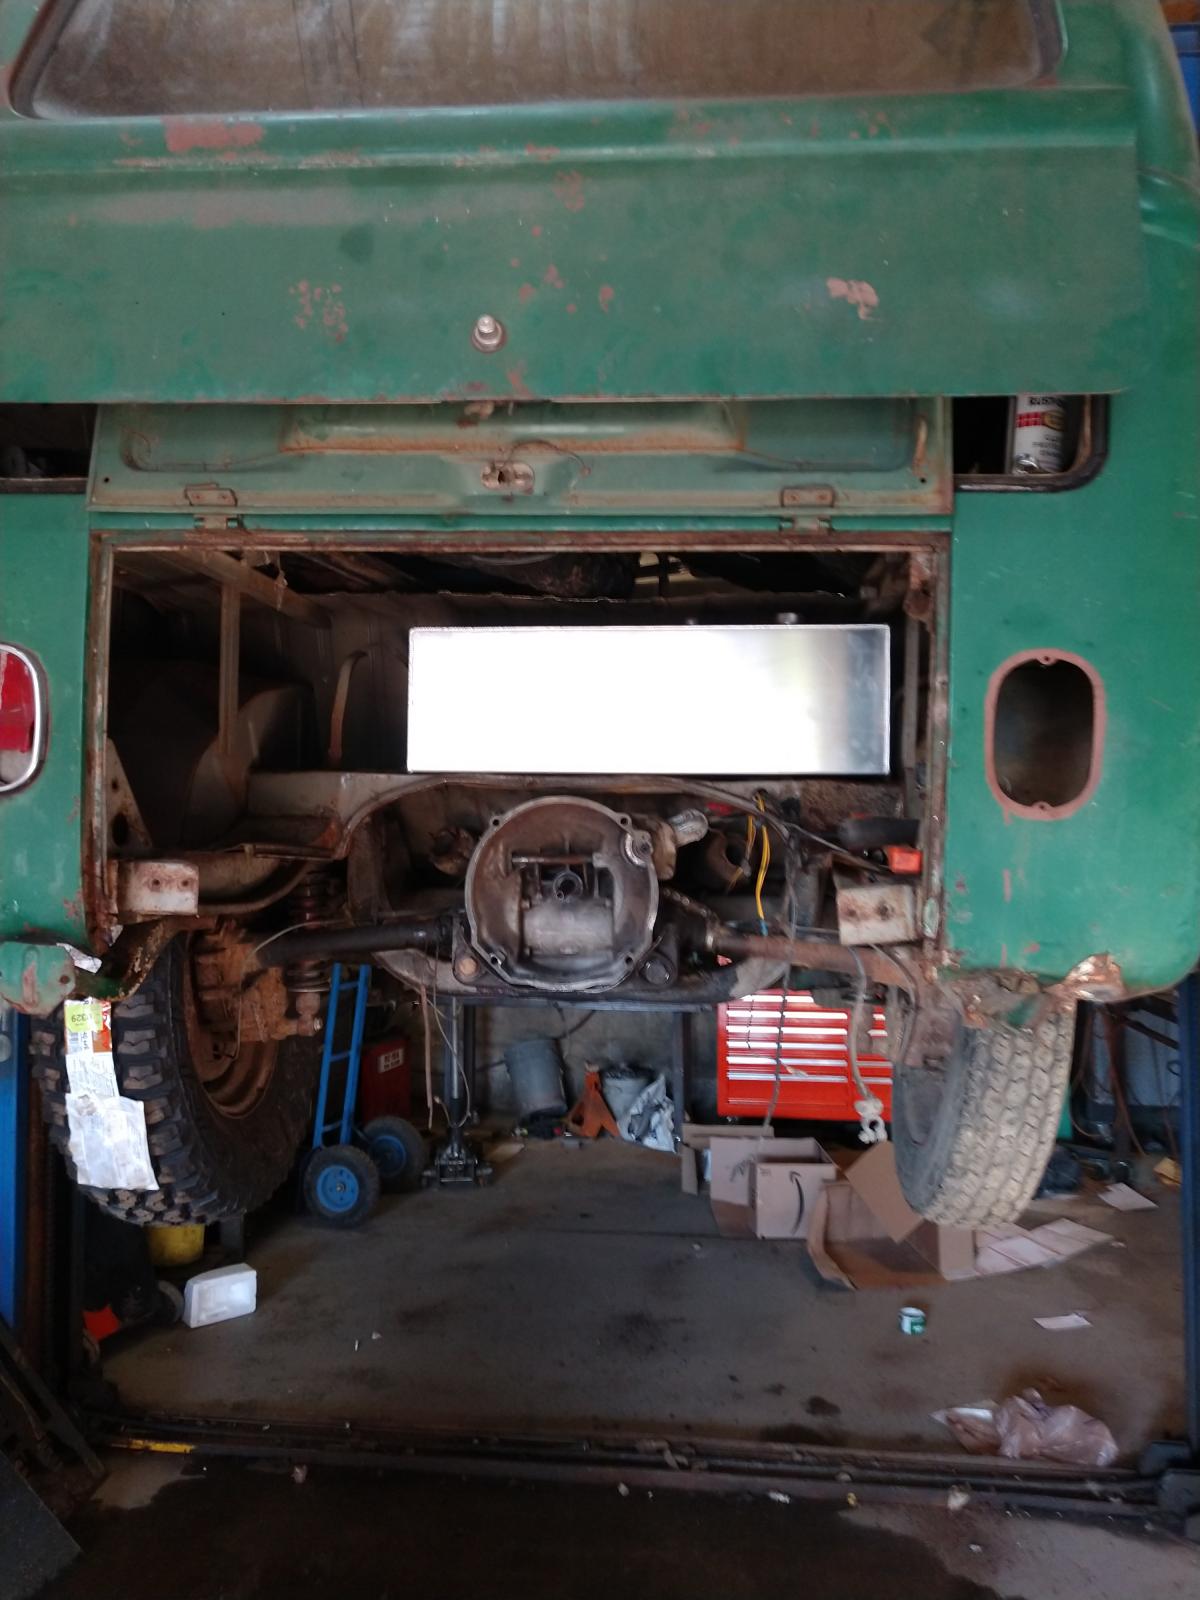
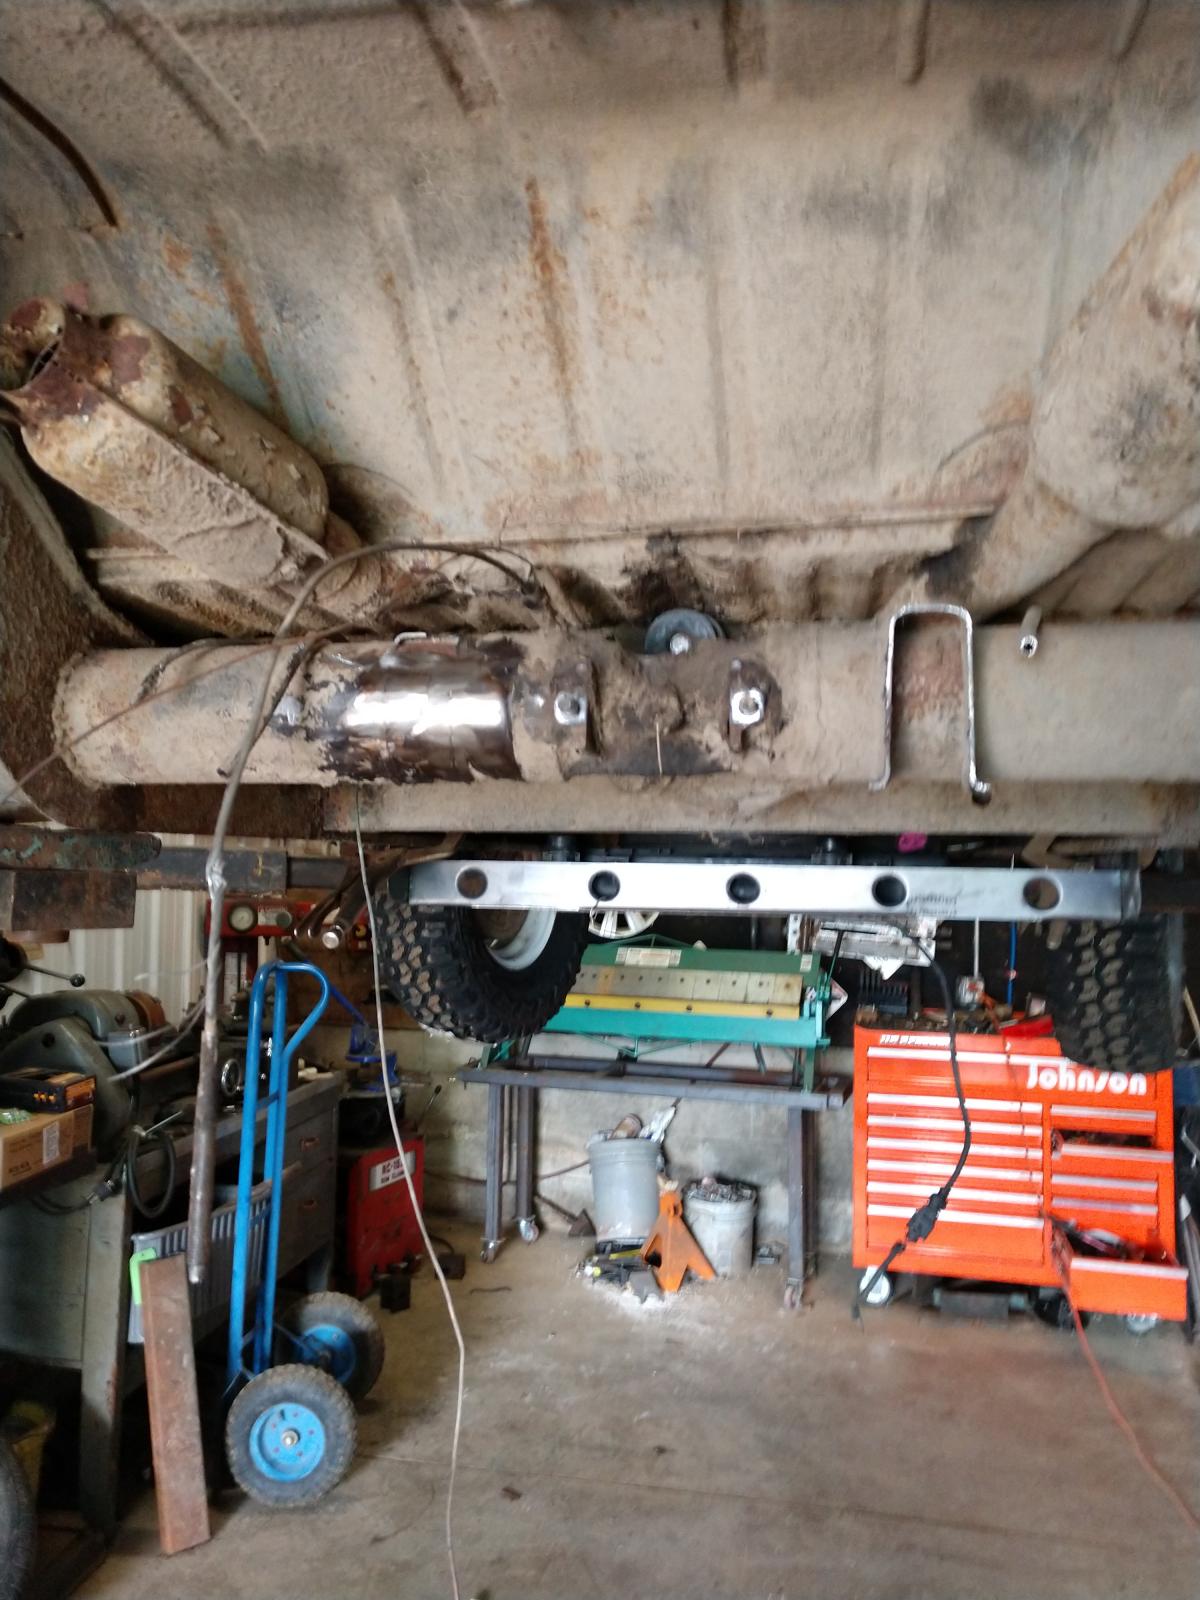
Mocking up the engine, playing with clocking options. This is the typical Vanagon install angle and would require some oil pan and pickup modification. It also makes air intake routing awkward and exhaust a bit of a challenge, as well as requiring to cut the body some to clear the exhaust manifold.

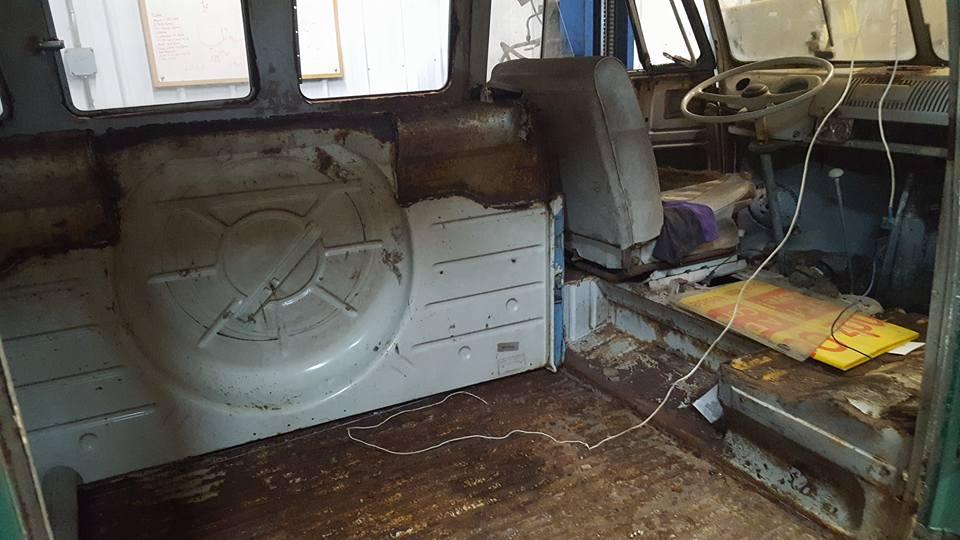
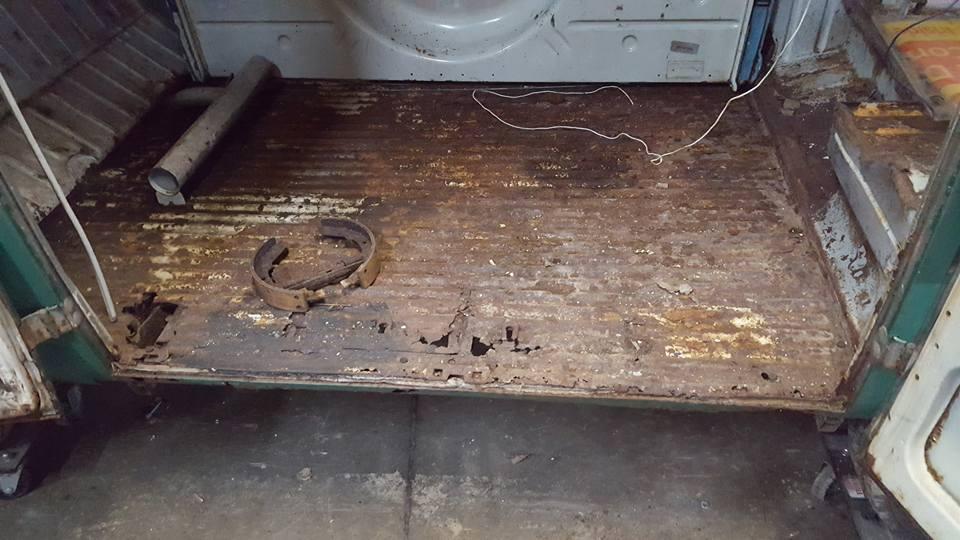
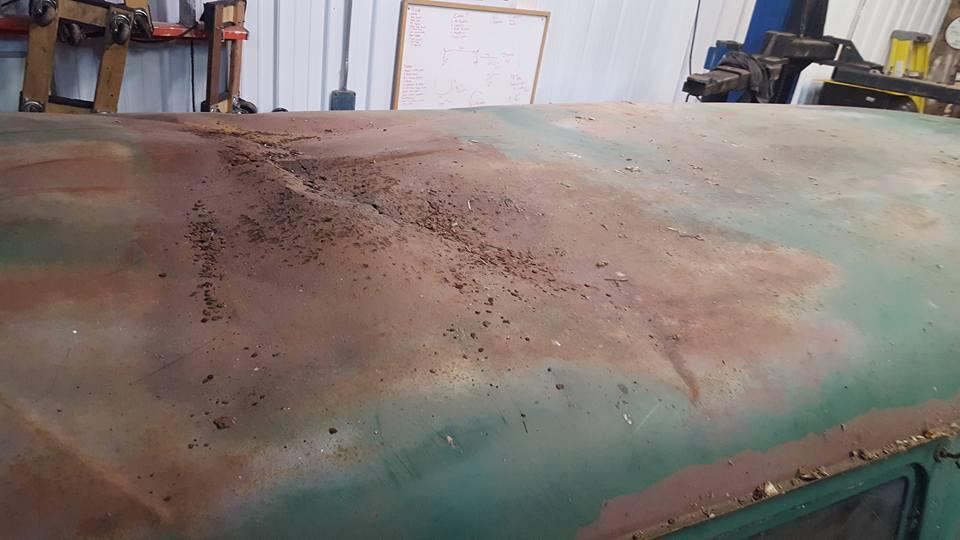
I much preferred to have it clocked at the stock angle, but even with my planned 30MM trans drop, it just hit the package tray. I decided that since the package tray was rusted out anyhow from the hole in the roof, and I wanted to add a Bay access door so I could do things like check and add oil, I would cut the package tray and lift it 1" to solve all my issues.


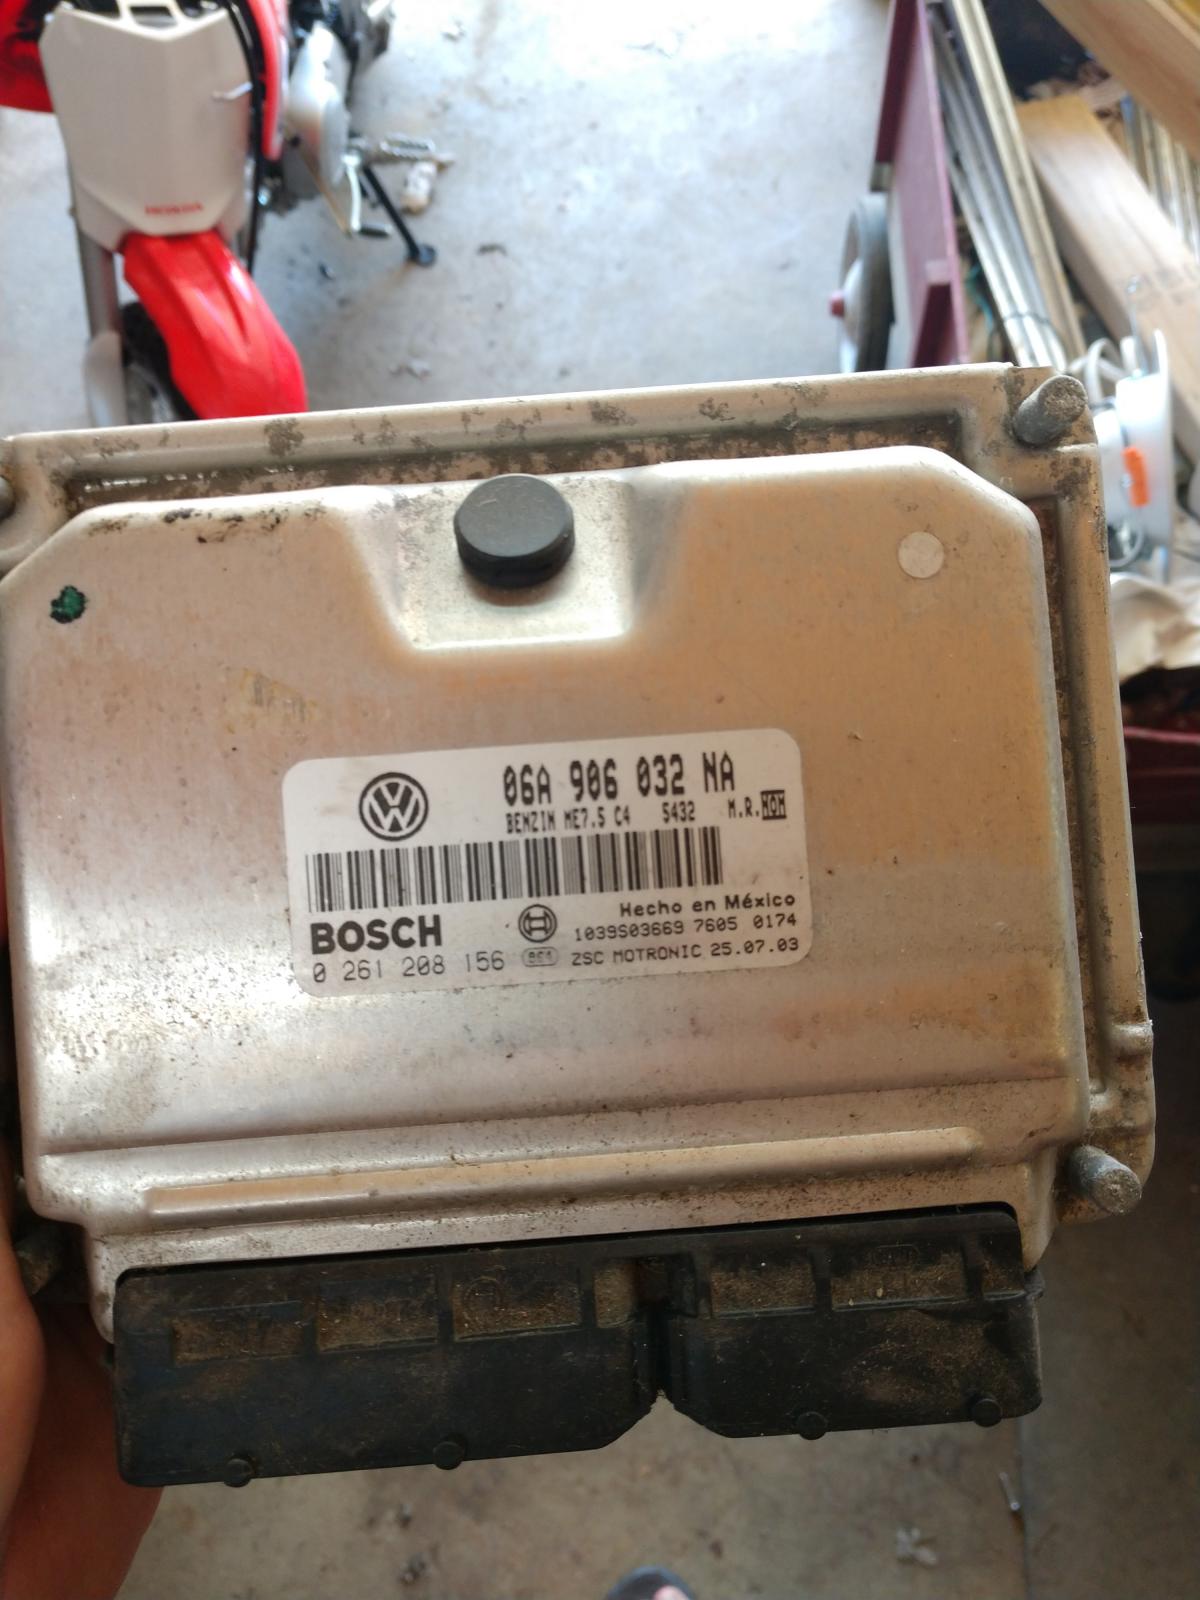
So with that finalized, I am now certain the 2.0 is the way to go, so I'm sending my ECU to my good friend Ryan at Eurocustoms tuning to have the immobolizer deleted, secondary air removed, and a few other odds and ends to get it started.
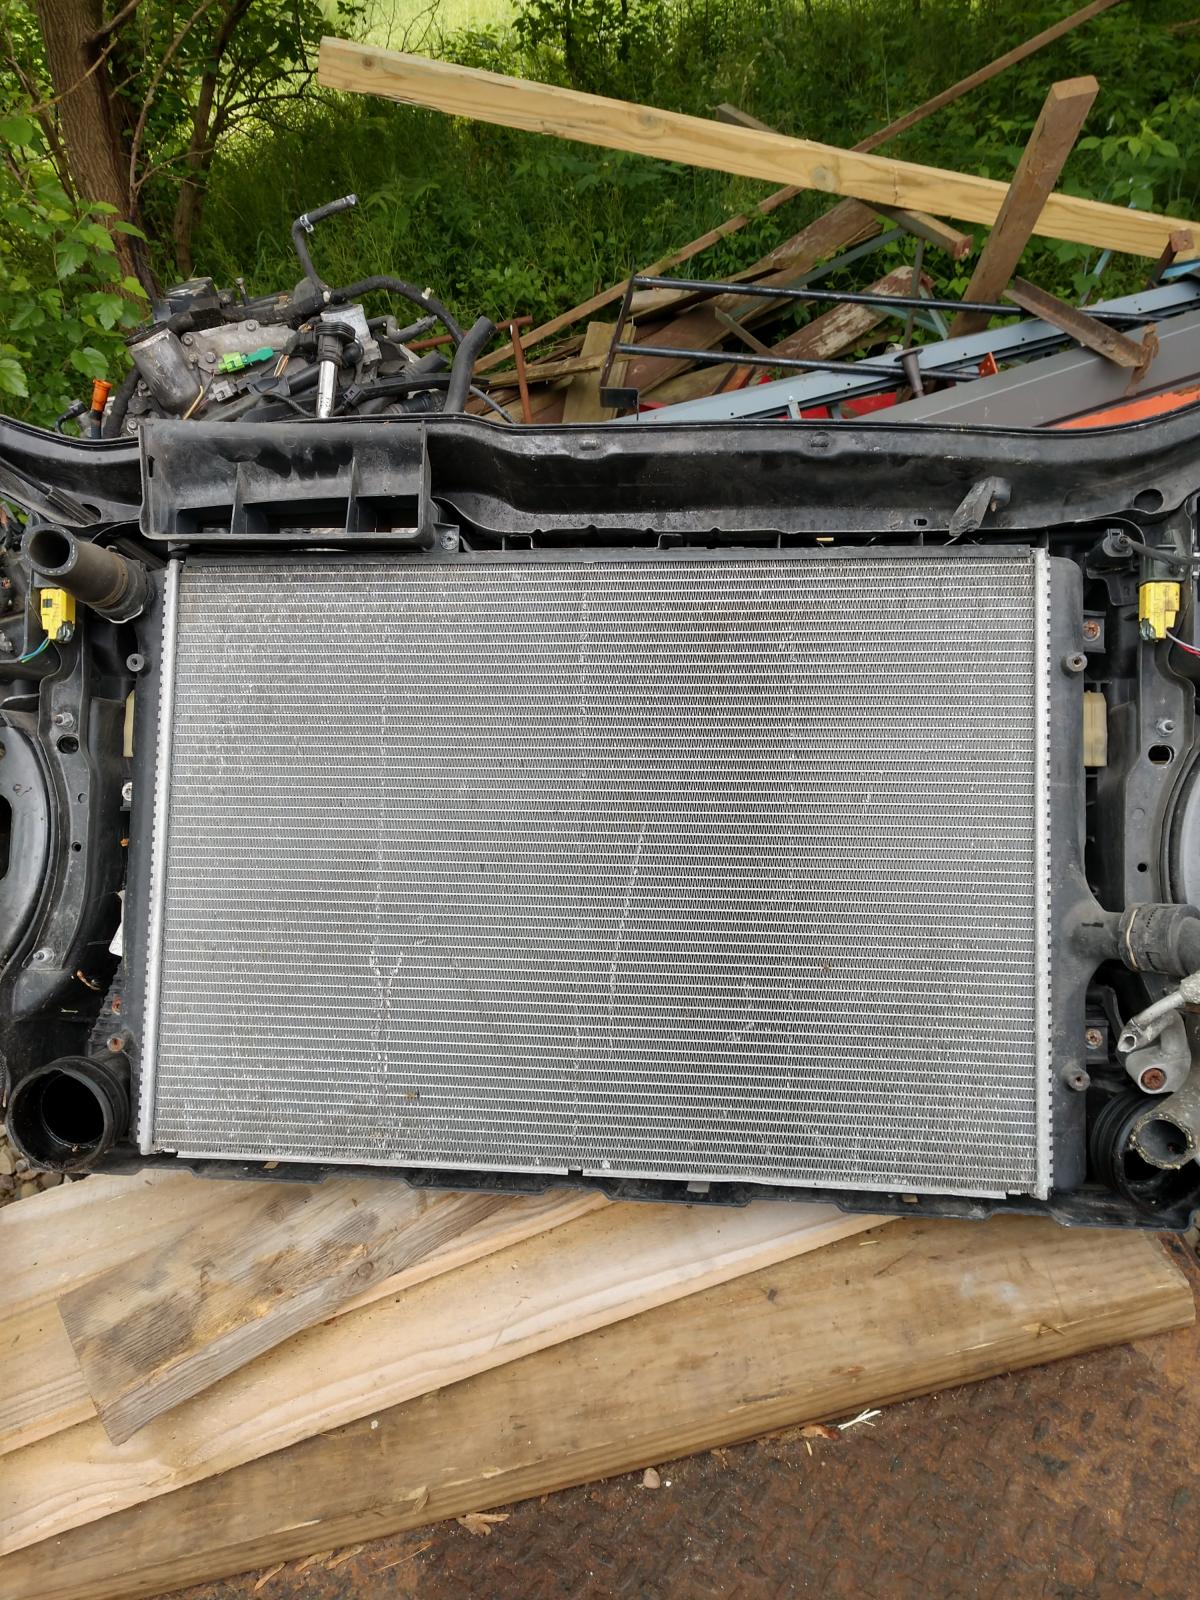
I visited my parts pile and found a MK5 Gti Radiator that I believe will be adequate once mounted between the frame rails.