Budget 100x71 Build

This is the place to discuss, or get help with any of your Type 4 questions.
cal 67
Posts: 297
Joined: Wed Apr 08, 2009 5:03 pm

Re: Budget 100x71 Build

Post by cal 67 »

Finally ordered the new vents. I was going to machine my own, but I'd only be shaping them based on a hunch. Maybe I'll still do them and compare.

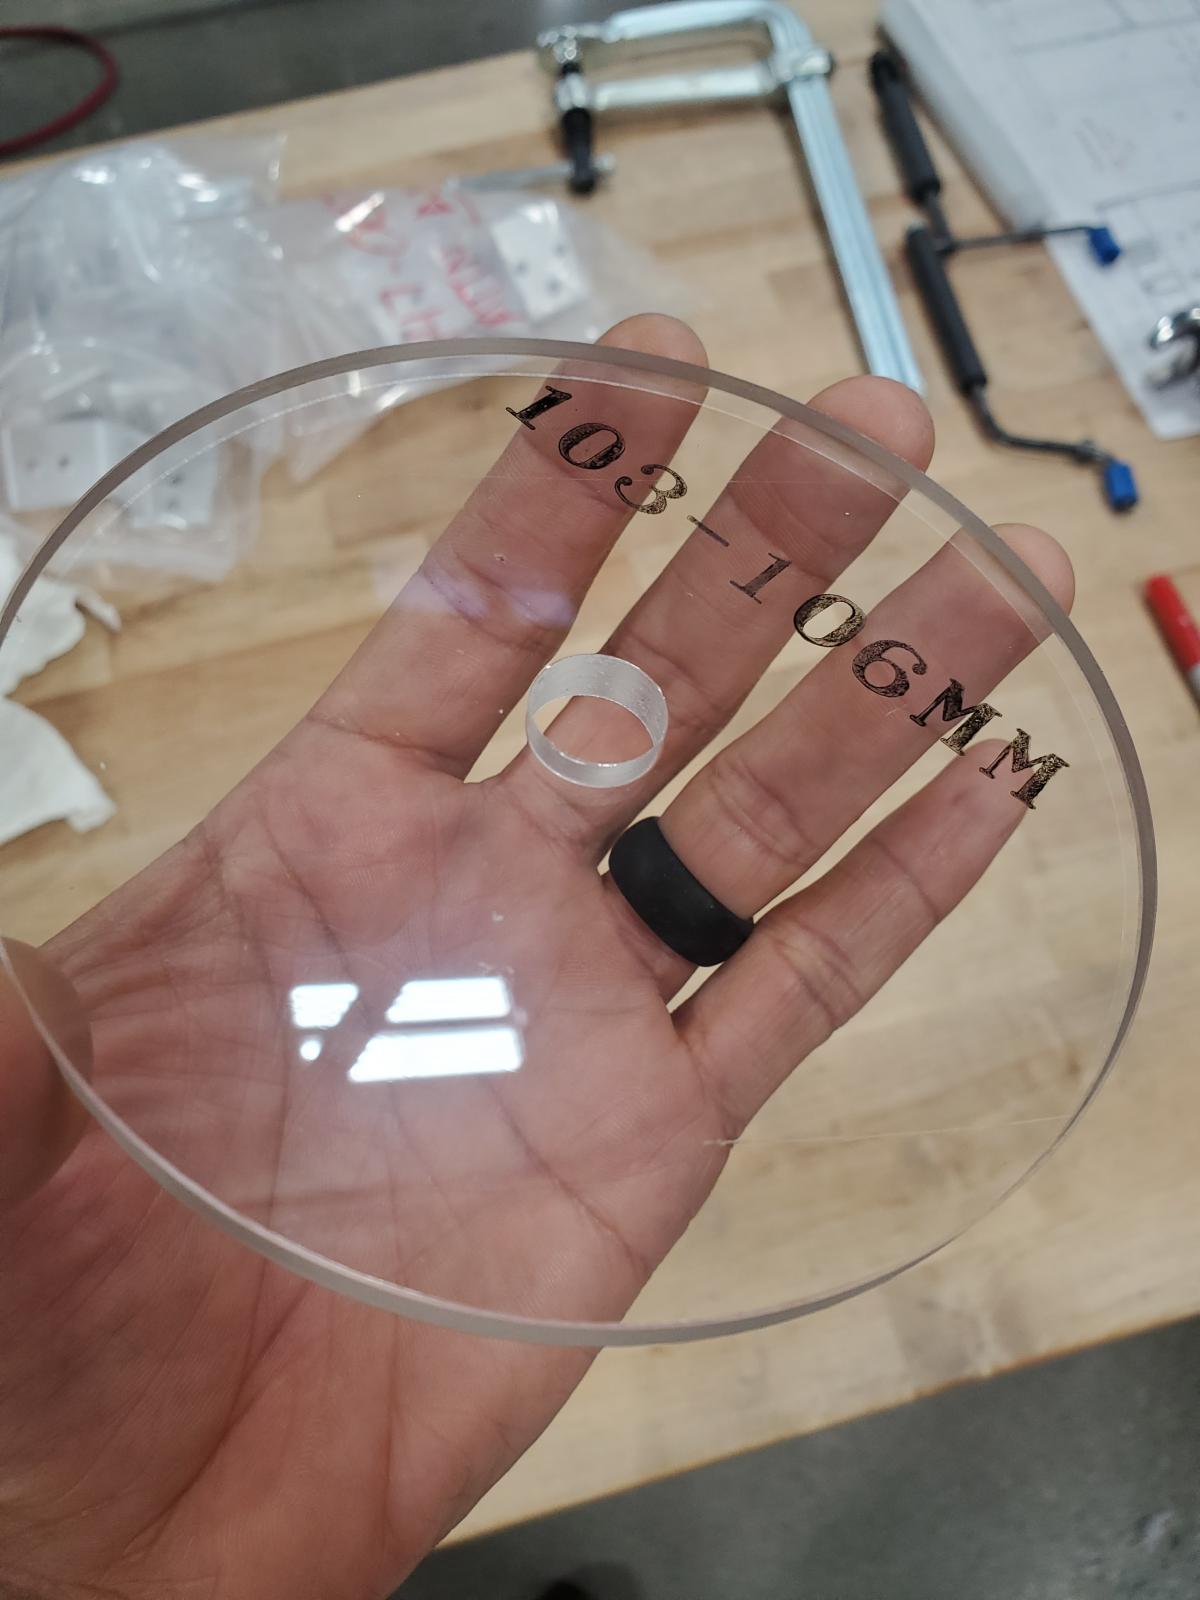
Made some chamber volume plates. I knocked out a few for the future. My 66x105 will need one, and I made one for the 36hp platform.

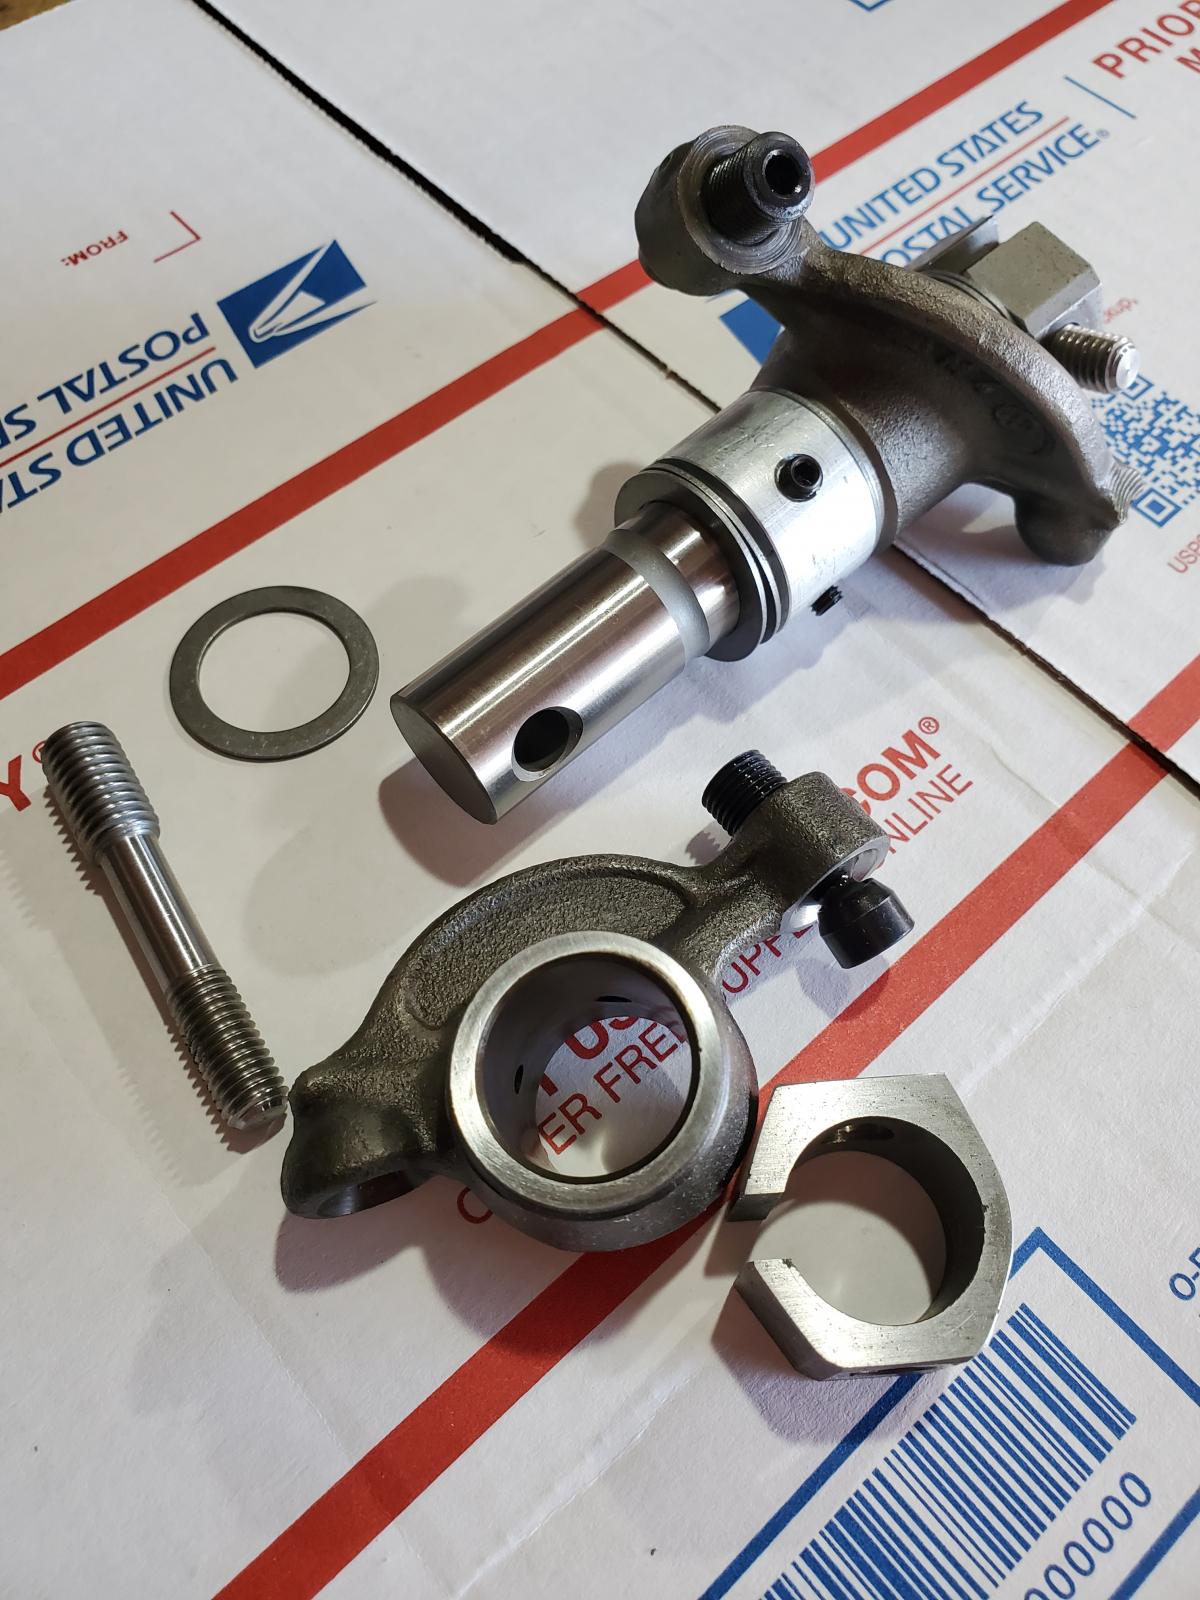
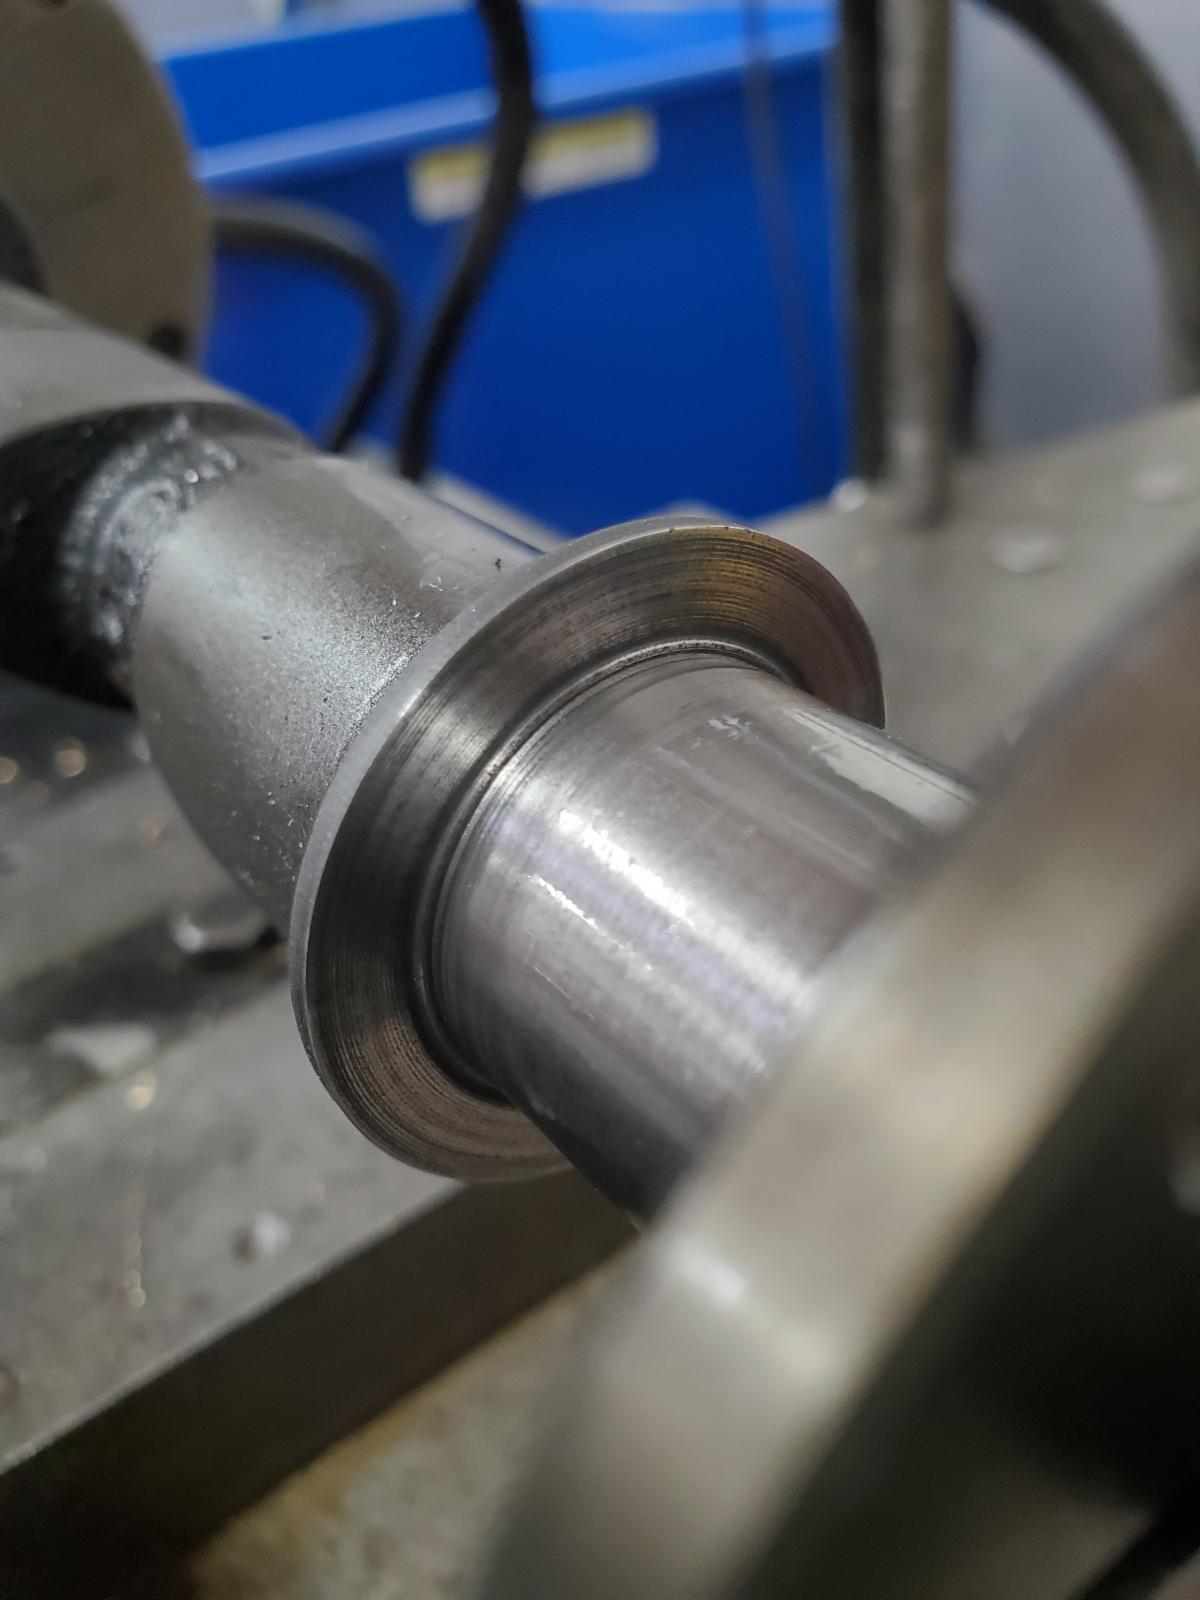
Sent these bad boys out to a 914 owner in Florida: Chromoly shafts, high strength 8mm studs, machined and resurfaced rockers, tool steel adjusters, spring steel shim varieties, pinned solid spacers, and narrowed mounting blocks.

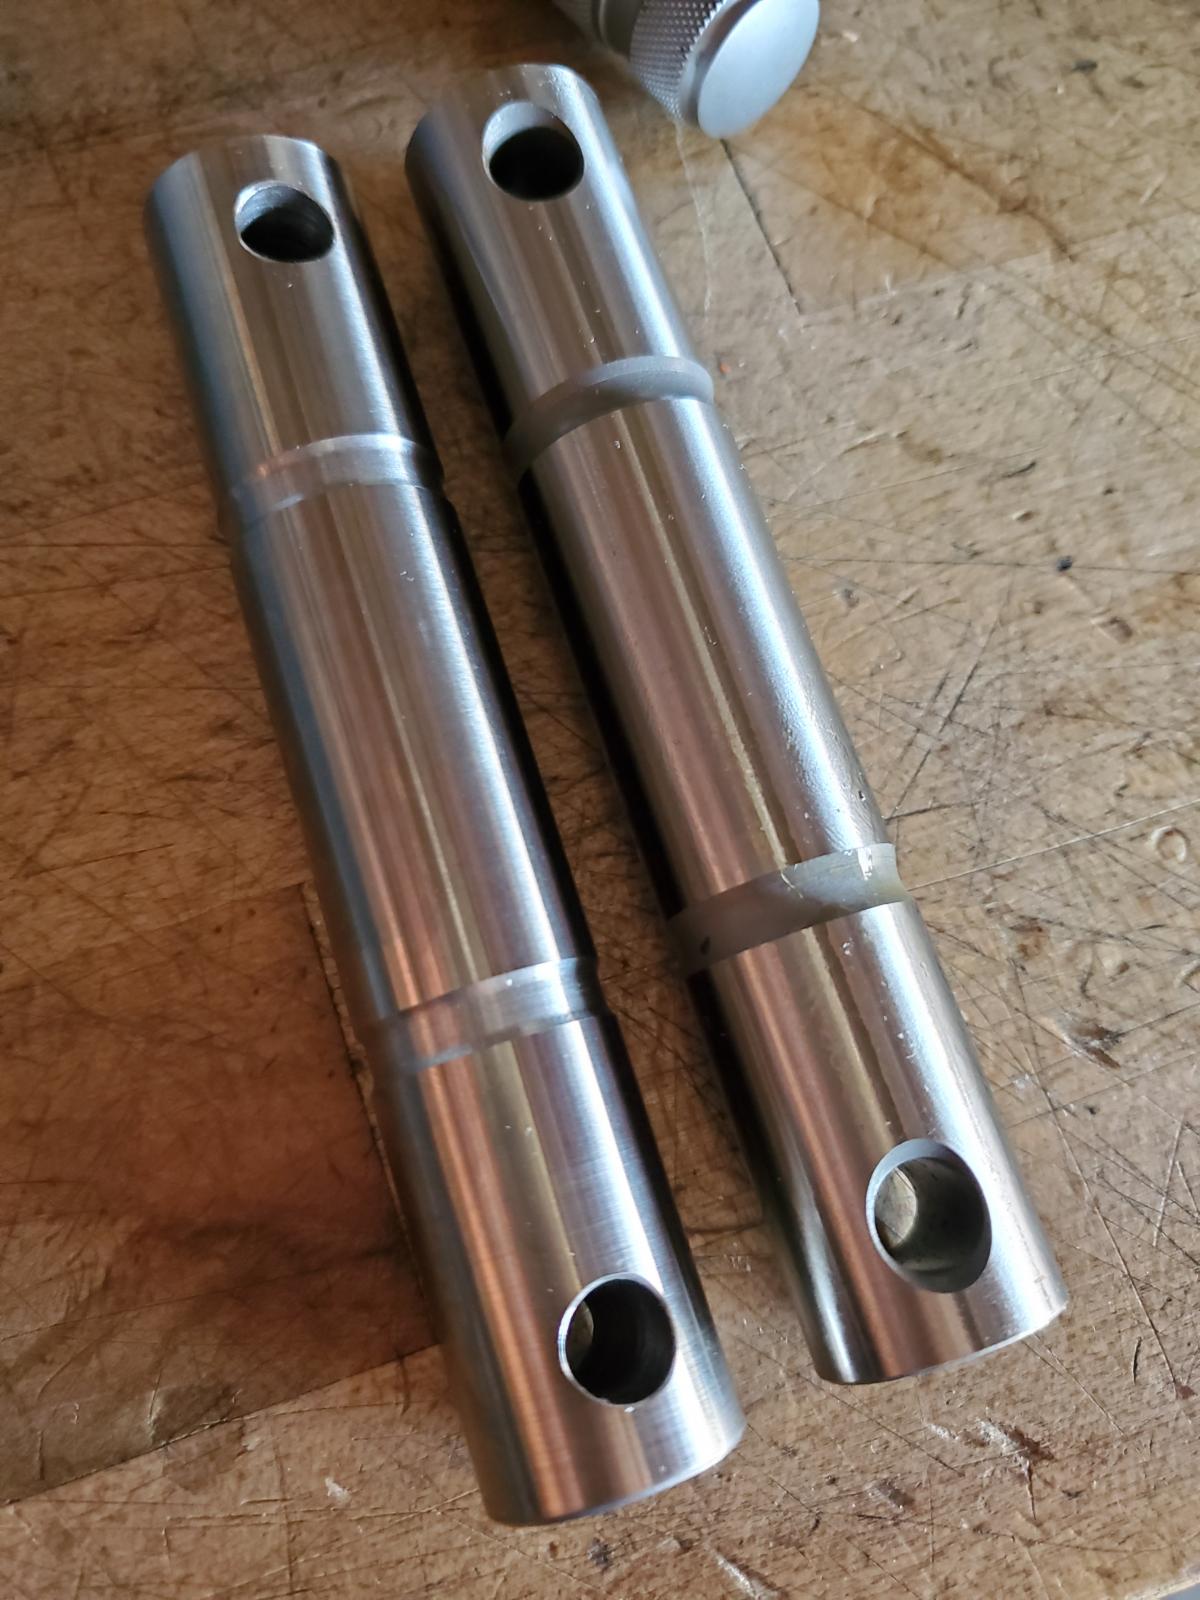
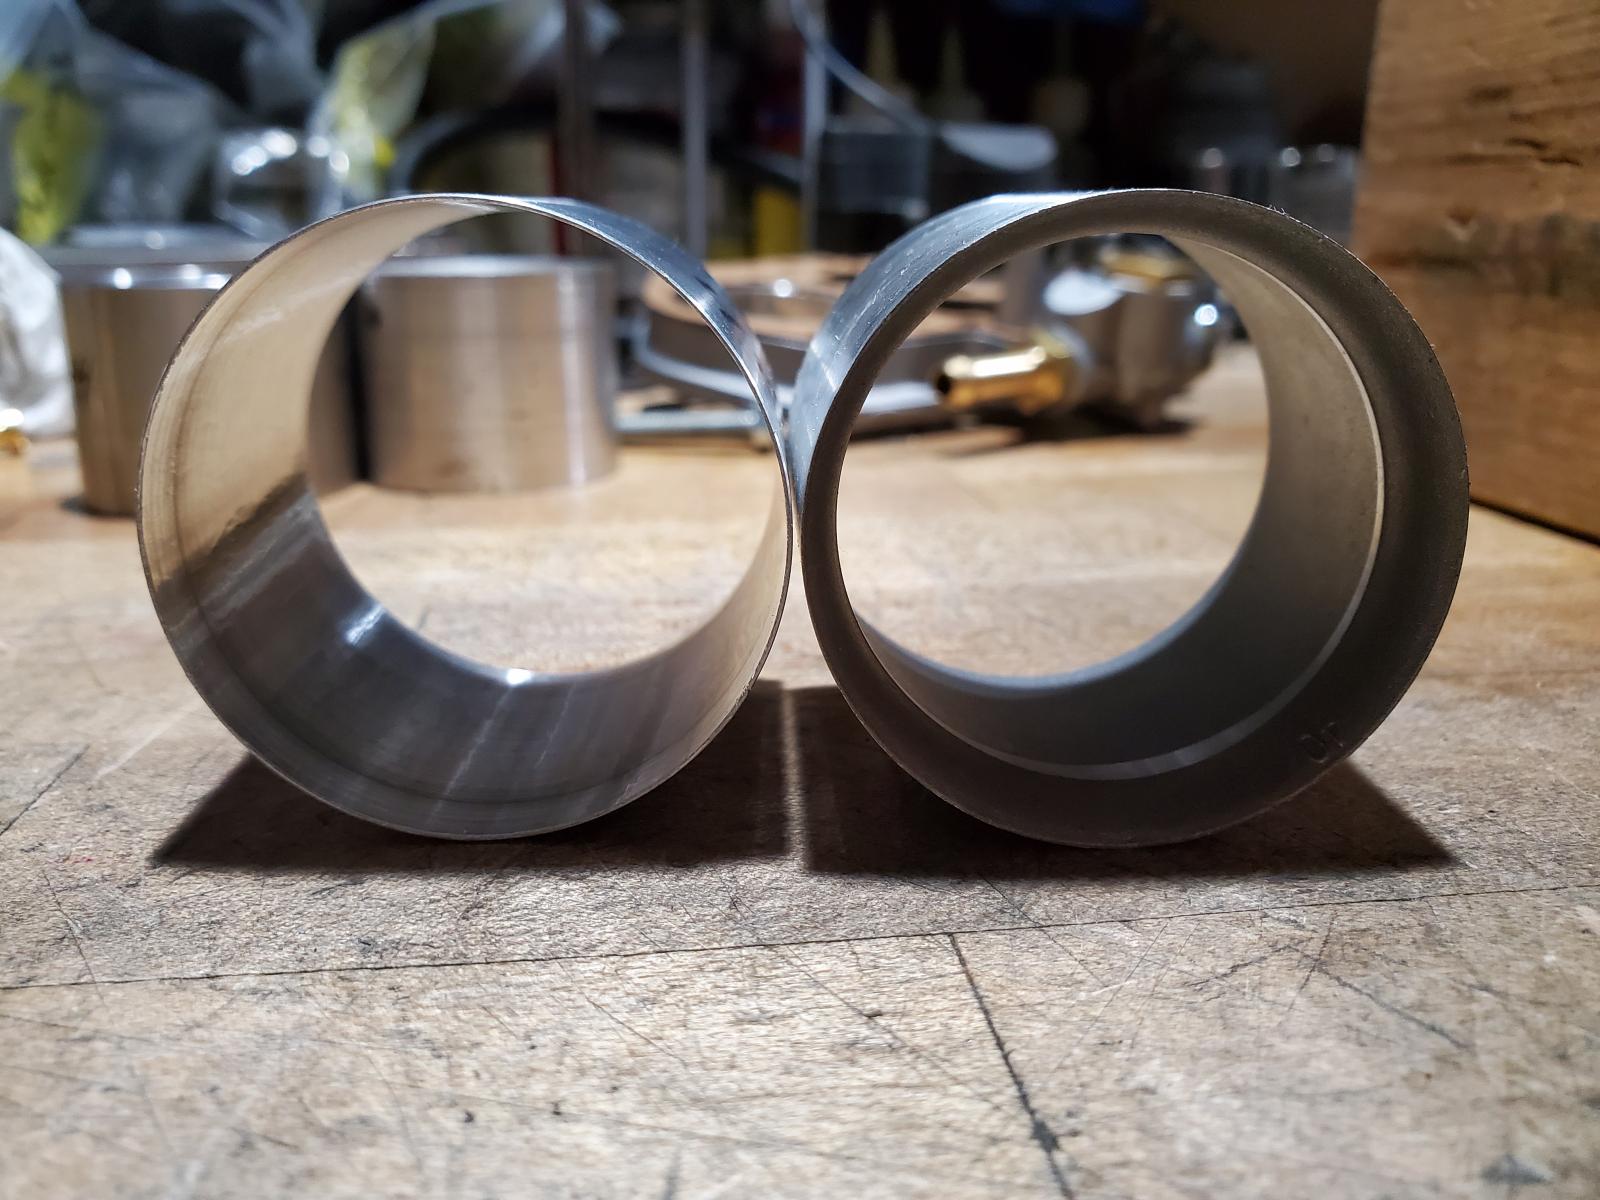
A friend sent me these oversized shafts (left) as a gift for worn rockers. You can hone them and still be within radial spec. Centerless-ground, smaller mounting holes. The right ones are standard chromoly shafts.

Image

Image

Image

Image

Image
Eddie010
Posts: 275
Joined: Sat Dec 19, 2009 1:27 am

Re: Budget 100x71 Build

Post by Eddie010 »

Nice stuff.
Can I ask you a question, do you lock the spacer ring on the rockers?
Looks like you have bolts to hold them in place. Any reason for that?

Keep the pictures going, love your build.

This was a life saver for me, did not think of checking this.
Building a type 4 for the first time with Type 1 lifters.
cal 67 wrote: Wed Jan 20, 2021 9:49 pm Check Everything! The #4 exhaust lifter hanging up on a casting bump after the thrust bearing:

Image

Did some quick filing, and got some needed clearance. I'll do more later. Just need to do cam timing and see where my decks are.

Image
cal 67
Posts: 297
Joined: Wed Apr 08, 2009 5:03 pm

Re: Budget 100x71 Build

Post by cal 67 »

Eddie010 wrote: Thu Feb 04, 2021 11:54 pm Nice stuff.
Can I ask you a question, do you lock the spacer ring on the rockers?
Looks like you have bolts to hold them in place. Any reason for that?
Yes, they get locked. When the left rocker opens the valve, it's forced over onto the left rocker. The primary thrusts on these are on the right, whereas only the right rocker sees thrust load on both ends because of the left one is always pushing on it. This might be the reason for the stock center spring.

Anyway, pinning the center spacer separates the loading. I resurface the ends before shipping, and with the shims in place, I doubt they'll ever need resurfacing again.
cal 67
Posts: 297
Joined: Wed Apr 08, 2009 5:03 pm

Re: Budget 100x71 Build

Post by cal 67 »

I found someone to print me a balancing jig. 22 and 24 small ends, and Honda, Chevy, VW, and 2.0 big ends. Now just to figure how to get consistent readings...

Valve locks finally showed in two different heights to dial-in install height. I wanted titanium locks, but for this budgeted build, I thought I'd take it easy. These were half the price. Using titanium retainers though.

Image

Image

Image

Image
cal 67
Posts: 297
Joined: Wed Apr 08, 2009 5:03 pm

Re: Budget 100x71 Build

Post by cal 67 »

Finally started. I was looking over my work after, and I think I want to do a little more to the fins.

Image

Image
cal 67
Posts: 297
Joined: Wed Apr 08, 2009 5:03 pm

Re: Budget 100x71 Build

Post by cal 67 »

Heads are all welded and surfaced. I opted for Moldstar 90 seats. There's a guy on Ebay that'll cut whatever you want for a decent price. I requested that the seats be on the small side in the I.D. so I can finish them by hand. So I have dummy guides. Those get loosely pressed in, seats installed, then the guides get pushed back out for porting. When I'm all done, I'll install guides with the correct interference, ream, and perform the valve job. Unlike steel, these Moldstars only get about .006" interference fit.

Stock 40mm vents out, 44s in

Barrels got trimmed .180" to get .040" deck, and .050" positive deck at the dome center.

The Q cam is coming out (left), and the P is going in. I machined the cam again to clear the #2 exhaust lifter, and polished the thrusts a bit.

Image

Image

Image

Image

Image

Image
cal 67
Posts: 297
Joined: Wed Apr 08, 2009 5:03 pm

Re: Budget 100x71 Build

Post by cal 67 »

I found a local speed shop that does Moldstar 90 seats for a decent price - $22.50 each. The benefits outweigh the cost. The seats expand more uniformly with the head, so you run less interference fit, which might prevent the typical cracking that we see. Also,it should quiet down valvetrain noise.It was literally a last-minute decision to use them. He called to say he finished them last night. They should be in the head by next week.

Image

Image

.180" trimmed off the bases and I still have .050" deck! I don't know where I messed up, but I need to trim another .005-.008" to get where I want to be.

Image

Image

Heads awaiting seats and porting:

Image

Image
User avatar
Clatter
Posts: 2034
Joined: Sun Apr 28, 2002 1:01 am

Re: Budget 100x71 Build

Post by Clatter »

Oh man i love this build...

-Question-
I always heard normal steel seats fit at .006 interference.
What number would you usually fit?

Something else, about the pinned rocker shaft spacers..
Unlike a type 1, where the pushrods come at the rockers at an angle,
The type 4 has the advantage of the pushrods being square
(All of this being when looked at from below - hard to describe).
Did you see thrust loading issues like type 1s have?

I’d be scared one of those set screws would work it’s way loose...

Super cool oversized shafts..!
Hone the ID of the rockers for a perfect fit..
Speedier than a Fasting Bullet!

Beginners' how-to Type 4 build thread ---> http://shoptalkforums.com/viewtopic.php?f=1&t=145853
cal 67
Posts: 297
Joined: Wed Apr 08, 2009 5:03 pm

Re: Budget 100x71 Build

Post by cal 67 »

Clatter wrote: Fri Feb 26, 2021 12:01 pm Oh man i love this build...

-Question-
I always heard normal steel seats fit at .006 interference.
What number would you usually fit?

Something else, about the pinned rocker shaft spacers..
Unlike a type 1, where the pushrods come at the rockers at an angle,
The type 4 has the advantage of the pushrods being square
(All of this being when looked at from below - hard to describe).
Did you see thrust loading issues like type 1s have?

I’d be scared one of those set screws would work it’s way loose...

Super cool oversized shafts..!
Hone the ID of the rockers for a perfect fit..
Steel exhaust seats on Type 4s have different interference fit numbers depending which guy you ask. They're usually over double the amount that a Type 1 has, and the best guys are heating the heads and shrinking the seats with liquid nitrogen.

The set screws get loctite. Berg's rockers come this way. Yes, Type 4 thrusts still take a beating.
Eddie010
Posts: 275
Joined: Sat Dec 19, 2009 1:27 am

Re: Budget 100x71 Build

Post by Eddie010 »

How are you doing?
Do you got any updates on the build to share?
User avatar
Clatter
Posts: 2034
Joined: Sun Apr 28, 2002 1:01 am

Re: Budget 100x71 Build

Post by Clatter »

Yeah, me too!
Seeing pics of those welded-up chambers,
It makes my die-grinder hand start to twitching..!

Thread title - Budget Build.. Throws me off every time! :-)
Should be "Badass 100x71 Build"!
Speedier than a Fasting Bullet!

Beginners' how-to Type 4 build thread ---> http://shoptalkforums.com/viewtopic.php?f=1&t=145853
cal 67
Posts: 297
Joined: Wed Apr 08, 2009 5:03 pm

Re: Budget 100x71 Build

Post by cal 67 »

Hey guys. I'll get back on it. I got my car back from paint, so I can't really work on engines till I get it finished. I also ordered a huge base circle cam from Jurgen Novak, but he can't get a blank billet till maybe August/September. So I need to wait anyway.
cal 67
Posts: 297
Joined: Wed Apr 08, 2009 5:03 pm

Re: Budget 100x71 Build

Post by cal 67 »

Still waiting on a cam from Germany 😐

Been modifying this secondhand, but unused CB dry sump pump. I retail Pieper's parts and had one of his pumps recently. I really wanted to go that route, but I need to stay with the low (er) budgeted theme.

Here are pics of the work: passage porting, blueprinting, shortening key and body. In the end, I achieved ~ .040" cam bolt clearance. I'm not returning oil into the stock location, but rather going around the bypass/filter, cooler junction and directly into the main tunnel via the boss under #3/4 cylinders. Why? Direct oiling. Little pressure drop. There's an old adage stating that oil flow is more important than oil pressure. This is just that.

The first two pics are the old hand-tapped threads by the previous owner.

Image
Image
Image
Image
Image
Image
Image
Image
Image
Image
Image
Image
Image
Image
Image
Image
Image
Image
Image
Image
Image
Steve Arndt
Posts: 7404
Joined: Sat Mar 10, 2001 12:01 am

Re: Budget 100x71 Build

Post by Steve Arndt »

Looking good Tabari.
User avatar
doc
Site Admin
Posts: 3578
Joined: Thu Mar 31, 2005 2:38 pm

Re: Budget 100x71 Build

Post by doc »

Super pics!
Post Reply