Safari Turbo/Megasquirt Fuel Injection Project

With Turbo and Super charging you can create massive horsepower with vw motors.
Clonebug
Posts: 4719
Joined: Thu Feb 15, 2007 9:28 pm

Re: Safari Turbo Project

Post by Clonebug »

I have a small update,

I have two directions that I can go since the Weber 44 is too tall.

First I found a stock intake with a 34 pict carb that I might try later.

Secondly, I got my brother to help me and I answered an ad on Craigslist that had a 1991 Ford Escort being parted out.

Offered the guy $20.00 if I could go and remove the ignition system from the car and he went for it.

So after 20 minutes of wrenching I came home with this load of stuff. 8)

Image

More stuff to add to my stash. :wink:

Clonebug
Clonebug
Posts: 4719
Joined: Thu Feb 15, 2007 9:28 pm

Re: Safari Turbo Project

Post by Clonebug »

Came upon some more parts to add to the collection.

At this rate it will take 5 years to get this done... :oops:

Image

Image

Image

The injectors are more than likely too big for a 1600 at 32# units but I will either trade down or will save for a larger engine.

If I have a good spring when work comes back I will be picking up the intake pieces and a megasquirt unit.

Clonebug
User avatar
MarioVelotta
Posts: 4083
Joined: Wed Mar 12, 2003 12:01 am

Re: Safari Turbo Project

Post by MarioVelotta »

Clonebug wrote:The injectors are more than likely too big for a 1600 at 32# units but I will either trade down or will save for a larger engine
Just add boost, you will be fine :)
The Dub Shop
[email protected]
1600 ITB NA - 18sec
1600 Supercharged - 13psi - 15.40 @ 84.66mph
1600 Turbo - 185hp 250tq!! Going for 200
2276 Turbo - 15psi - 11.537 @ 115.74mph
Facebook-Tech-Store
Clonebug
Posts: 4719
Joined: Thu Feb 15, 2007 9:28 pm

Re: Safari Turbo Project

Post by Clonebug »

I have a few more updates to my project.

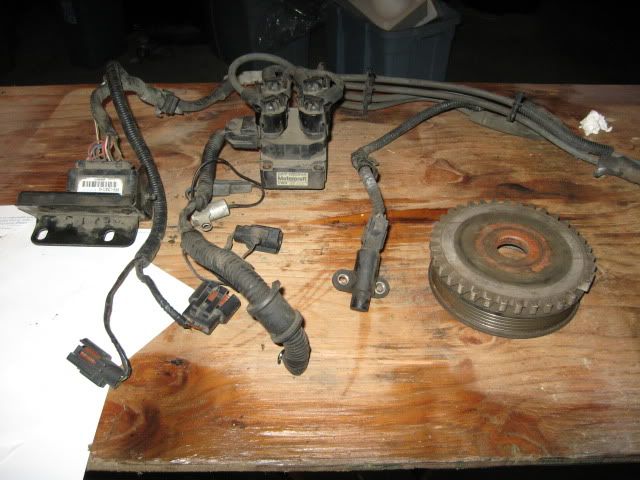
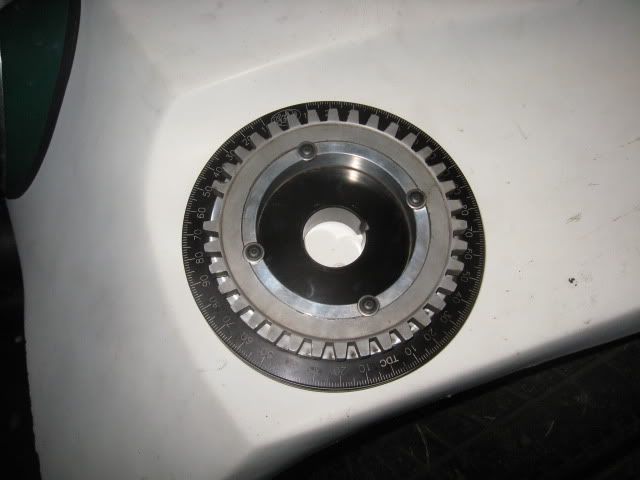
Thanks to Joe on the STF I now own a nice scat degree pulley with Edis wheel mounted... Thanks Joe!!

This will be added to my growing stash for EFI.

Image

I had some time this week and my order showed up in the form of some o-rings.

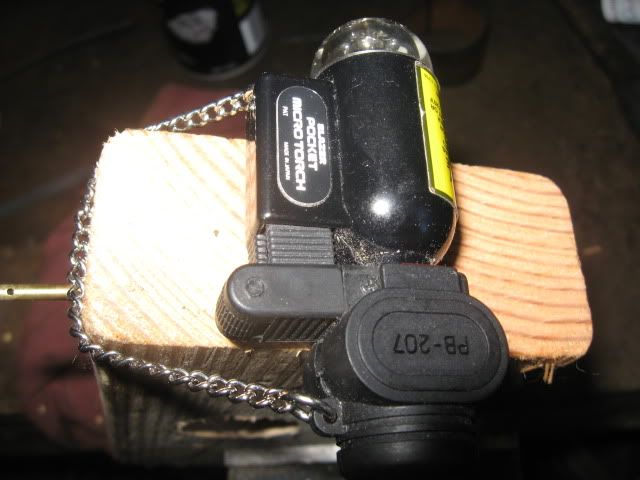
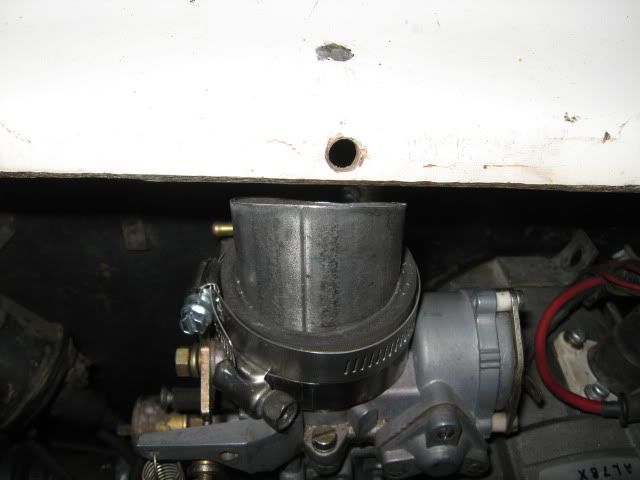
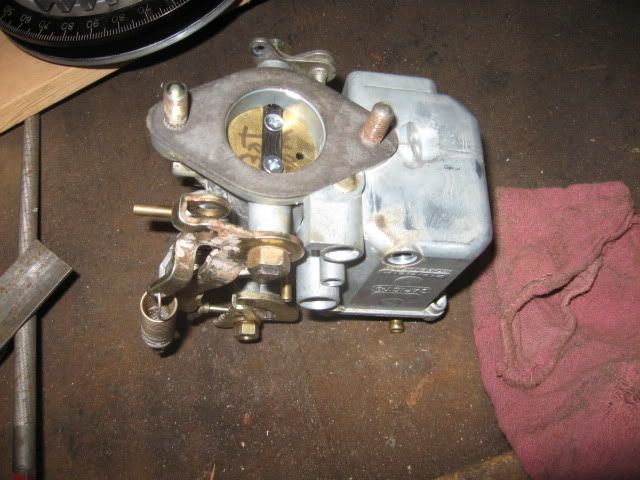
So I used some ingenuity and whipped up a jig to to seal my 34 pict carb for a blow thru....

Found a bit of 3 inch angle and measured high enough to hold the carb throttle shaft in the vertical position which ended up being 2 1/8 inches from the bottom of the angle.
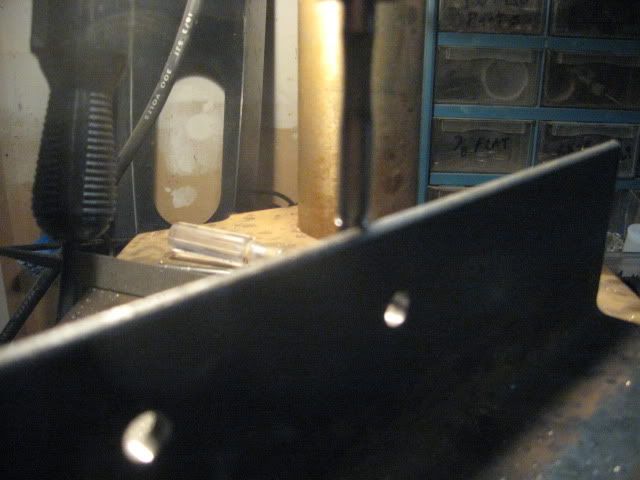
Drilled two holes as close to parallel as I could get with the tools at hand.

Image

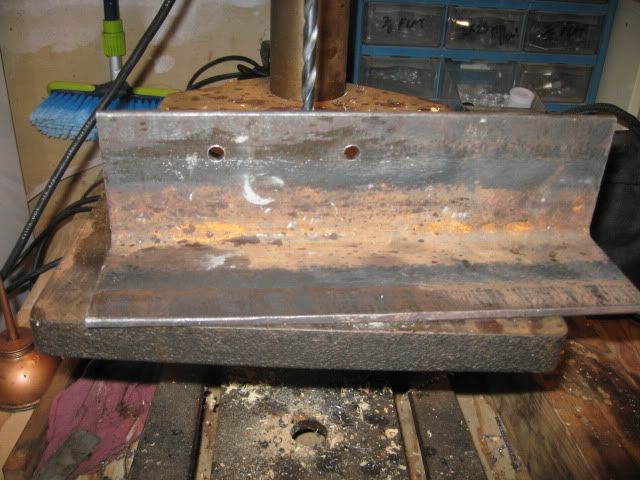
Mounted the carb and checked for square with a drill bit that fit snug in the shaft bore.

Close enough..

Image

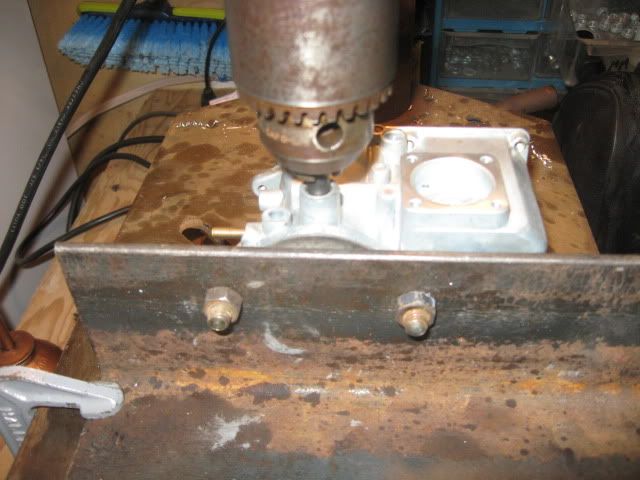
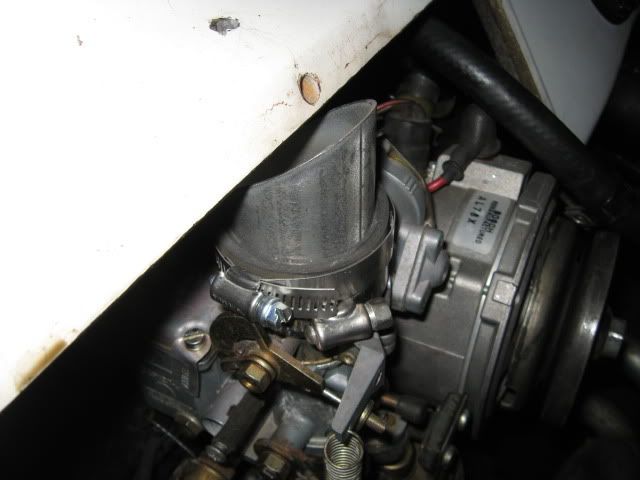
Found a bit that matched the outer diameter of the oring to be used to seal it and drilled just enough material out to leave a depression for the oring to sit without too much drag or making the shaft too tight. It takes a couple of tries but I went slow and took just a little bit at a time and never moved the angle iron.
I could unbolt the carb and spin it 180 degrees and drill the other side with having to move the angle iron. So I just took a bit out of each side then reassembled the shaft with the orings in place and tested the fit. If it was tight, I just bolted it back on to the angle and drilled just a touch more then tested the fit again.
It is wise to tighten the nut on the shaft to make sure that you don't take too much out. I have a little bit of drag on the shaft, but the spring easily pulls the throttle closed.
Image

After you have it to your liking, reassemble the shaft to the carb body with the orings in place and reinstall the throttle plate. At this point I have not decided whether to use the original screws and blue locktite or new screws with locktite. The only screws that I could find have a lot bigger head on them if that will make a difference or not.

Image

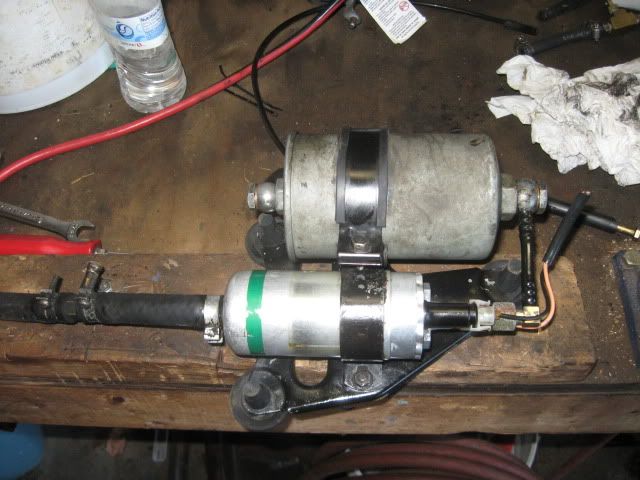
On to the fuel pump shaft.
I puzzled over this for quite a while and ended up doing it like it was mentioned on the 34 pict turbo thread.

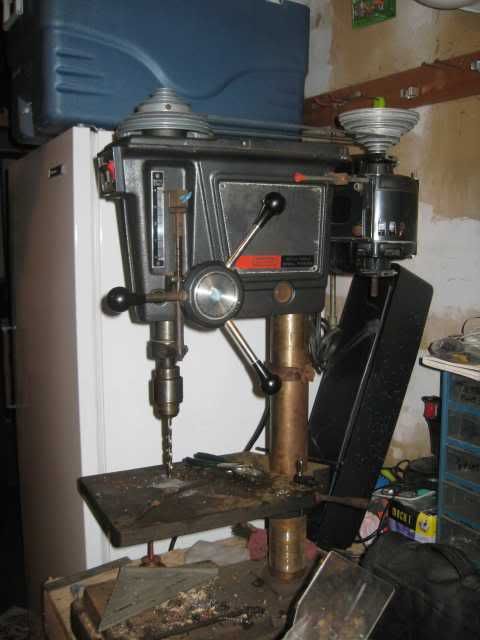
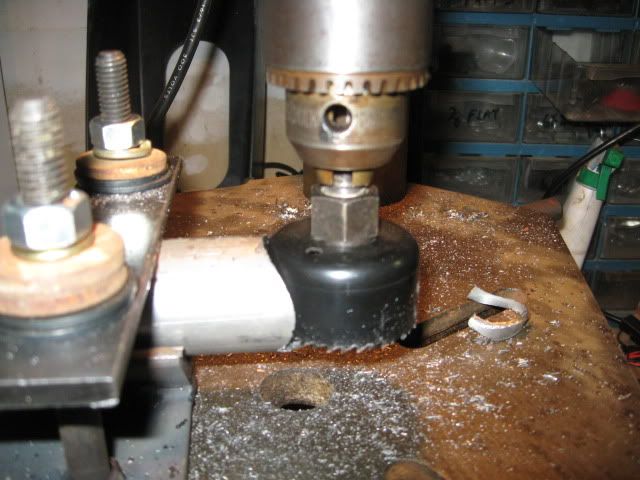
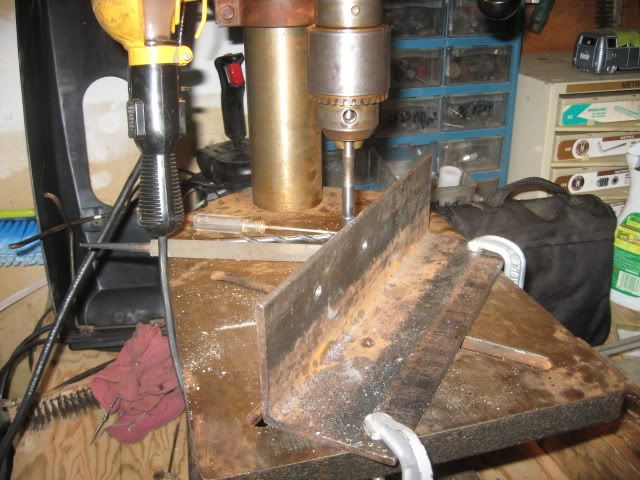
I happened to score on a real nice drill press last fall at a swap meet and it is coming in handy now.

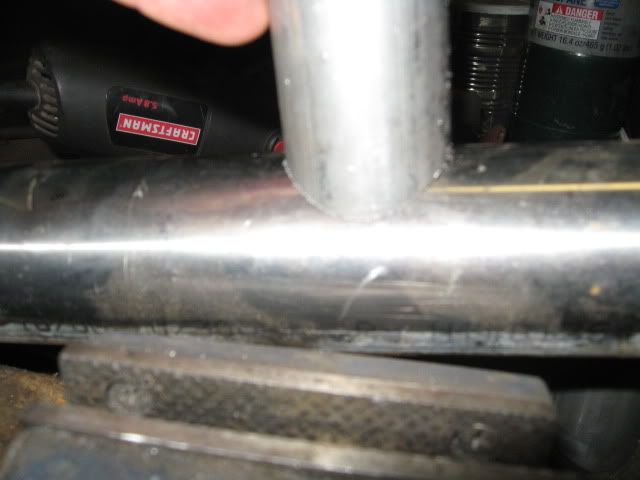
Again.... using the angle iron as a guide I needed to make a tool rest for the shaft at 7/8 inch down from the top of the pump shaft in order to fit between the top of the bakelite guide and the oil hole below the base in the bakelite.
I used the depth guide on the drill press to get the 7/8 inch....

Image

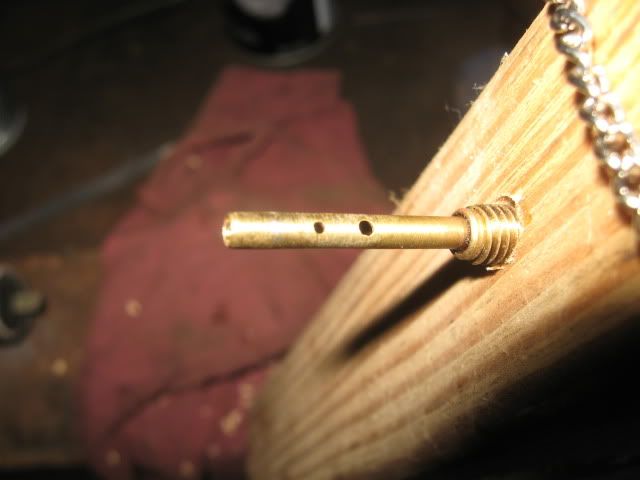
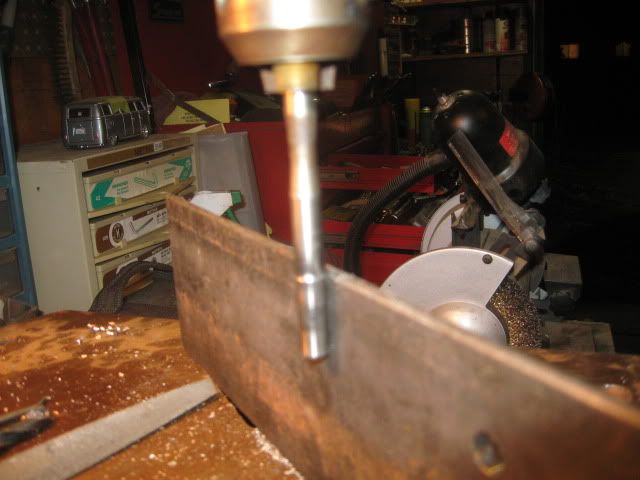
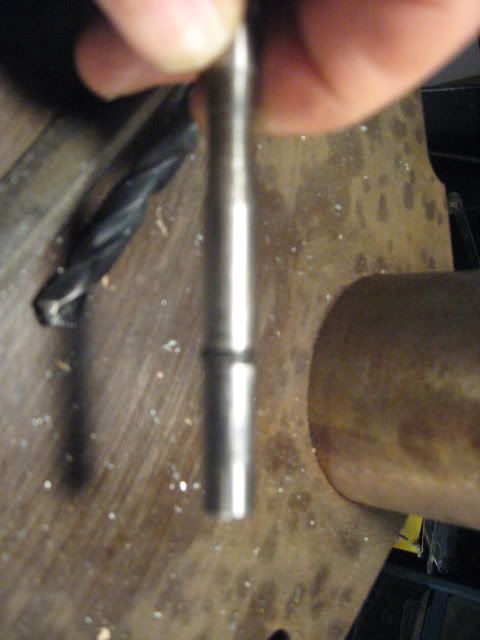
Then I used a new hack saw blade to cut the groove in the shaft.....hey you!! Don't laugh... :) .. like the thread said.. it works!!

I set the speed of the drill up a bit so it was spinning pretty good and then proceeded to slowly remove material out with the blade. The angle iron gave me a rest for the blade so I could hold it without wandering around on the shaft.
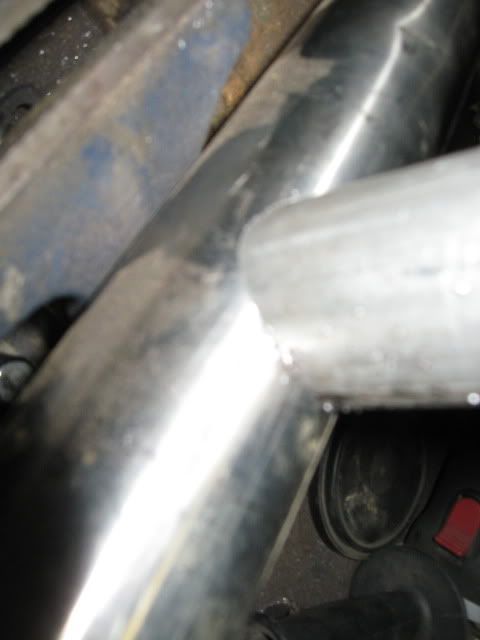
I used a small triangle file to taper the two edges a little bit to make the groove a little less sharp. Check it with an oring to see how deep to go, then cut a little more.

Image

Image

Even tho the oring is very small, it seems like you will cut the shaft in two.... :shock:
Test to fit... I made it work with just a bit of force to push the oring into the bakelite. Once it is inside it should slide fairly easily.
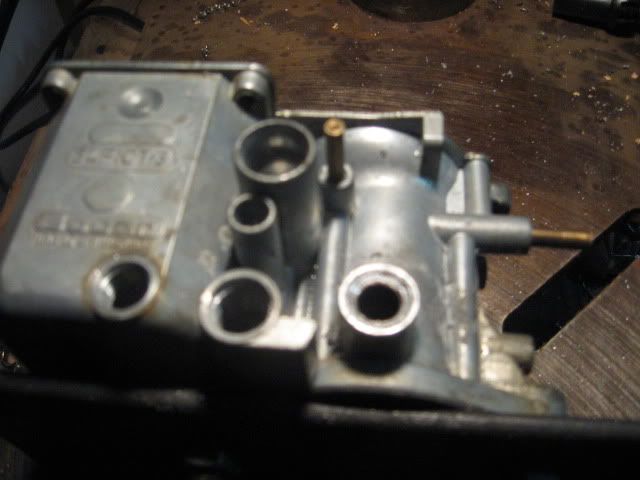
the last pics suck.. poor lighting... :cry: .. Here is the shaft with the oring on it.

Image


I want to make sure that I take no credit for this idea... this modification was originally posted by Mike Thompson who came up with this idea as far as I know.

I just used his thread to do my mods.

Please thank him for all this wonderful info that he so freely gave.

Thank you Mike for your great post..... it made it easy for me.


Clonebug
Clonebug
Posts: 4719
Joined: Thu Feb 15, 2007 9:28 pm

Re: Safari Turbo Project

Post by Clonebug »

Modified the Emulsion tube/air correction jet....

Soldered the two lowest holes shut.

I made a little holder out of a piece of 2x4. and got out my trusty little soldering torch.

Image

This little torch is the coolest thing since sliced bread.....easily puts out enough heat to instantly heat up wire and stuff to solder. My Son bought it for me for Christmas in 2010 and I have used it to do all my buggy wiring soldering since. Has a very small flame that can be concentrated on a small area.

Image

I heated the tube until the solder melted on it then let it cool.
Took a file and filed off the excess solder until it was pretty close to the tube again.

Put it gently into the drill press again and spun it up and used some sandpaper to smooth it back to the original size. i then took a small drill bit that fit the inside and carefully spun it to clean any excess that possibly got inside.

Next project is to work on the turbo header. I plan on modifying a baja el cheapo to work for the time being.... If all goes well I will build a new one for the future EFI setup.

Oh... here is a pic of the drill press I picked up at the Monroe Swap meet last spring. This is an old Craftsman that weighs at least 150 lbs. The only thing wrong with this thing is that it has a little surface rust on the table and drill chuck. A little oil and it will be just fine.

Image

This thing is nice and tight and has a good selection of speeds. It has just a tiny little belt but if you snug it up a bit it will not slip.

Clonebug
User avatar
buggs69
Posts: 14
Joined: Wed Oct 19, 2005 6:13 pm

Re: Safari Turbo Project

Post by buggs69 »

Cool project. Did you use the "viton" #003 and #008 o'rings?

If not, what did you use?
Clonebug
Posts: 4719
Joined: Thu Feb 15, 2007 9:28 pm

Re: Safari Turbo Project

Post by Clonebug »

008 and 011 vitons.

They come in packs of 50 pieces.

Clonebug
Clonebug
Posts: 4719
Joined: Thu Feb 15, 2007 9:28 pm

Re: Safari Turbo Project

Post by Clonebug »

Doing a little test fitting.

Trying to figure out the best position for the turbo.

Image

Image

I picked up some cheap tubing and have been working on the intake and also ordered some exhaust tubing from ATPturbo to make my cheap header work.

Also picked up an oil feed line from Hotrodvw.... thanks Eric.

I hope to have some more to post in a week or two.... work keeps getting in the way.

Clonebug
User avatar
Hotrodvw
Posts: 1427
Joined: Sat Apr 12, 2003 5:46 pm

Re: Safari Turbo Project

Post by Hotrodvw »

Cool.........I was hoping you got it today. :wink:
Eric
User avatar
roachdogg28
Posts: 392
Joined: Sat Dec 18, 2010 1:02 pm

Re: Safari Turbo Project

Post by roachdogg28 »

Looks like you could just rotate the compressor housing and a single 90 rubber coupler might work. Looking good.
Clonebug
Posts: 4719
Joined: Thu Feb 15, 2007 9:28 pm

Re: Safari Turbo Project

Post by Clonebug »

I have had that housing both ways.... but in order to make the waste gate bolt on the compressor housing it does not point in a desirable angle at the 90 that I want. It points down a bit and just doesn't look right.
Believe me... I have rotated that dumb thing so many times I am sick of it...I might do it again and take a pic of it. If I do I will add it to this thread.
Once i get some of the parts in hand I can mock it up a bit better.

Eric...It hasn't made it here yet but I expect it tomorrow....Worst part is I'll be in Reno for work until Friday late. I leave here at 2:00 am :cry: :wink:


Clonebug
User avatar
Hotrodvw
Posts: 1427
Joined: Sat Apr 12, 2003 5:46 pm

Re: Safari Turbo Project

Post by Hotrodvw »

Reno, the arm pit of the world??!
Eric
Clonebug
Posts: 4719
Joined: Thu Feb 15, 2007 9:28 pm

Re: Safari Turbo Project

Post by Clonebug »

It's tough ... but someone has to do it.....I'll take one for the team. :wink:

Clonebug
Clonebug
Posts: 4719
Joined: Thu Feb 15, 2007 9:28 pm

Re: Safari Turbo Project

Post by Clonebug »

Well Everyone,

I have a little more progress to report again.

I pulled the old pocketbook out and spent a few bucks on some tubing bends and a fitting for the turbo drain from ATP Turbo.

I also picked up a oil pressure hose from Hotrodvw that fits my needs perfectly....Thanks Eric!!!!
Image

Of the three different bends I ordered, This one is going to make the most sense and a better fit.... It might not be hidden as well but it will be easier to remove the header with it this way.
Image

Here is the one i wanted to use but it is just too close to everything and I will not be able to remove the tube without removing my bumper.
Image

I made a little simple tool to cut my notches today. It is just a little piece of angle welded to a 4" by 8" piece of flat steel for a base. Next I welded two 7/16 X 4 inch bolts at 4 inches on center. Last I took a piece of 1 1/2 X 6 inch piece of flat and drilled holes to slip over the bolts and finally added some washers and nuts to tighten everything down.
Clamped it to my drill press and voila!!! Instant notcher on the cheap...
Image

Image

Even I was amazed that it worked. When I started thru the top of the tubing it wanted to grab and stop the drill so i bumped up the speed a bit and went reaaaaallll slow. Once I broke thru the tubing it cut like butter.
As for the job it did.. have a look. All I did was clean it up with a light touch of the grinder and then the wire wheel... No shaping and fitting required.
Image

Image

I planned on doing a quick test fit of the intake and carb in order to figure out the plumbing on the exhaust and compression sides and figure out the placement of the turbo for exhaust cutting and fitting.....but noooooooo that wasn't going to happen.

First, the intake end pieces will NOT fit on the heads without raising the shroud.... the shroud won't go up without removing the alt and thermostat and possibly removing the body........Heavy Sigh!!!!
It never can be easy can it...... :cry:
I finally just placed the intake center section on by cutting off the exhaust heat tubes to get it under the alt stand. I set the carb on and found I have 1 1/2 inches of room above the carb.... what a pain in the ass!!!!
The carb sits smack dab in the middle of the body edge......Now mind you I said earlier that i didn't want to cut the body so I am sticking with that as of now. I really don't want to butcher the body and have an ugly hole in the back.
So...with that said, here is what I came up with to get the boost in the carb.

View from straight back.
Image

View from side.... notice the close fit. The turbo will more than likely blow straight into the back of the piece of tubing. I will cap the top and drill into the back and weld a fitting to that up pipe.
Image

So.... that is where I am at as of now..... Oh.. I also pulled my existing fuel pump off, drilled out the vent to 3/16 inch and added a short piece of 3/16 tubing with some JB Weld for boost reference.

Well, That's it for now. I hope you enjoy reading this and it helps a bit for anyone wanting to try this.


Clonebug
User avatar
Hotrodvw
Posts: 1427
Joined: Sat Apr 12, 2003 5:46 pm

Re: Safari Turbo Project

Post by Hotrodvw »

:wink:
Eric
Post Reply