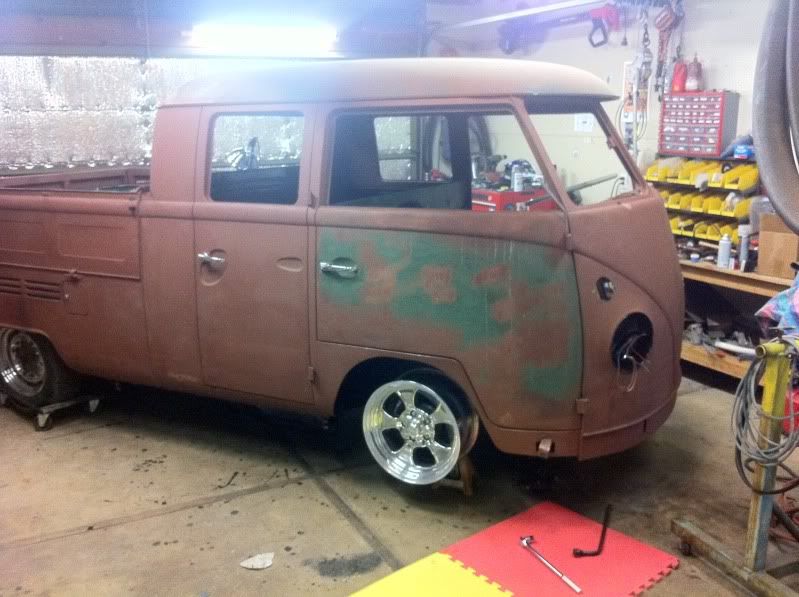
My wheels came in, just fitting them and making sure everything is going to work
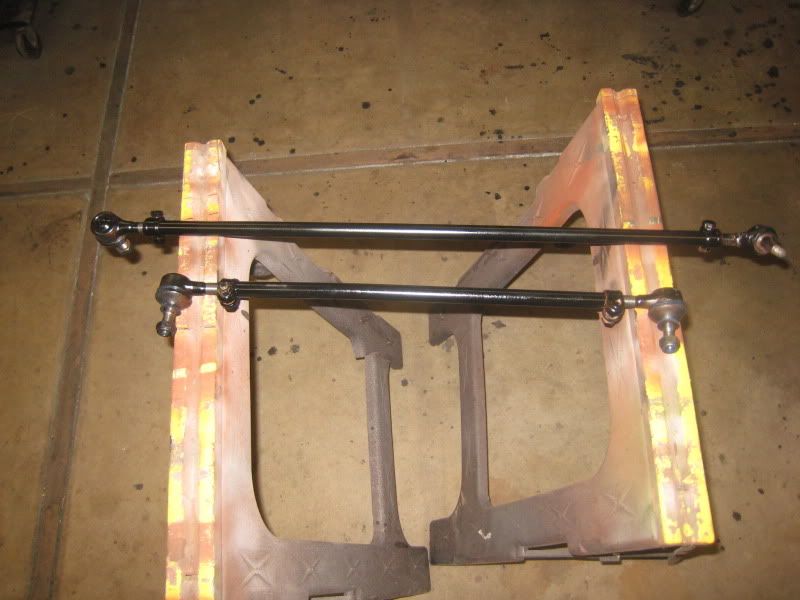
Got my new tie rod assemblies
They need to be shortened for the narrowed front beam
Shortened by cutting the end with the right hand threads and re-tapping the rod.
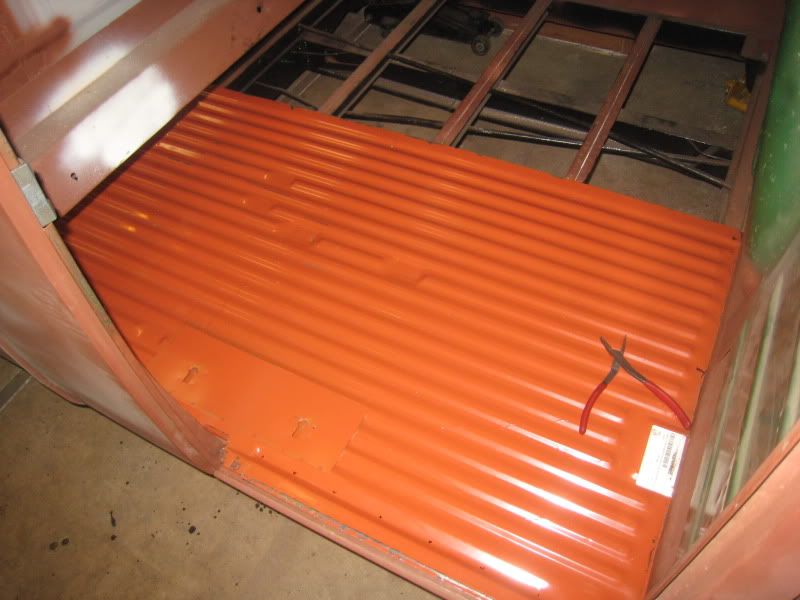
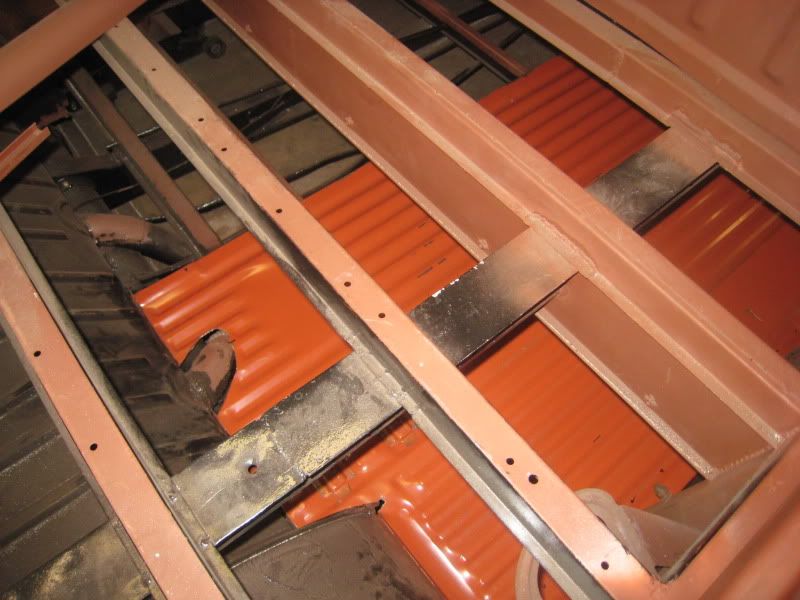
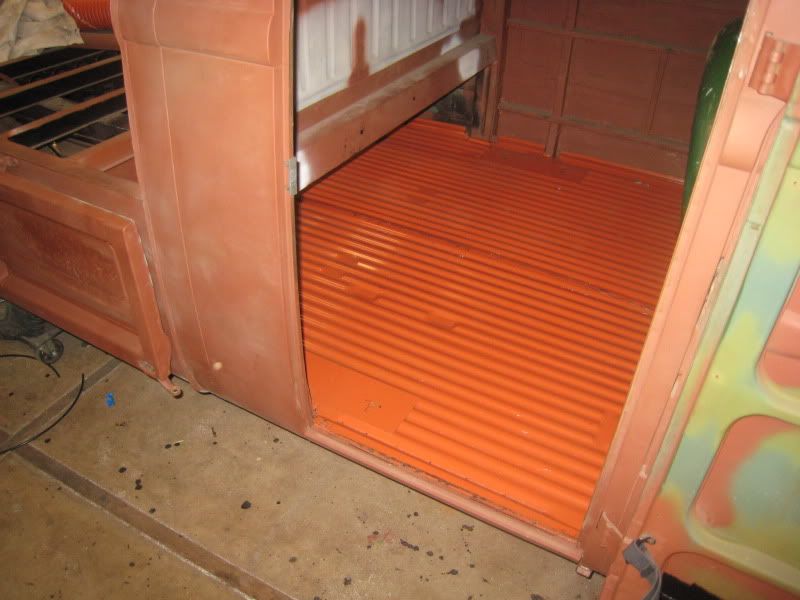
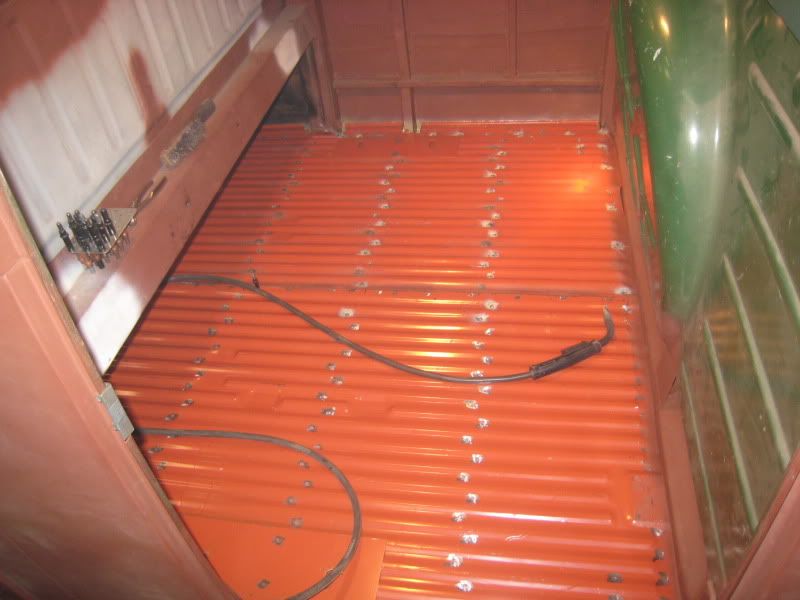
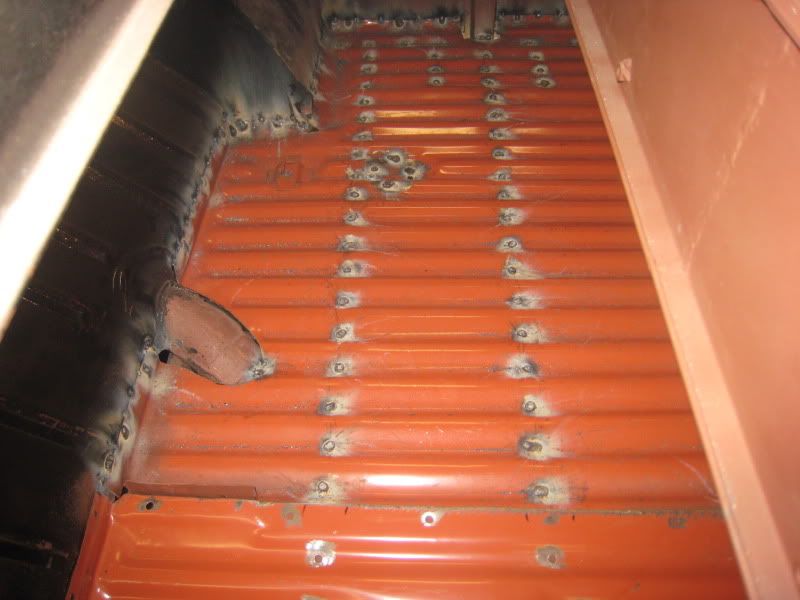
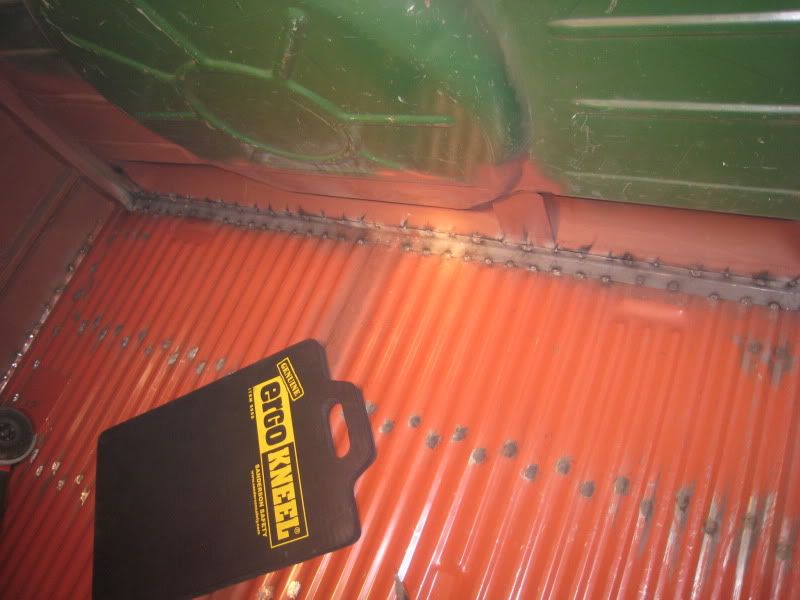
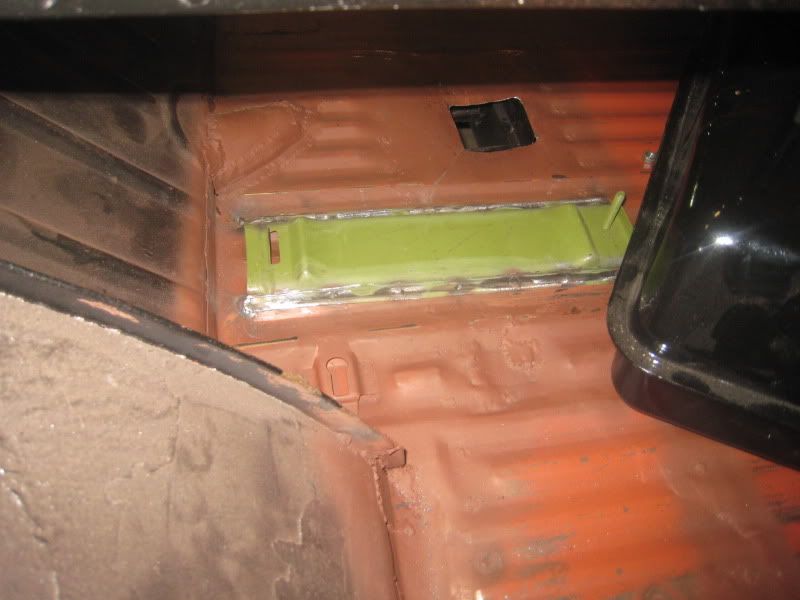
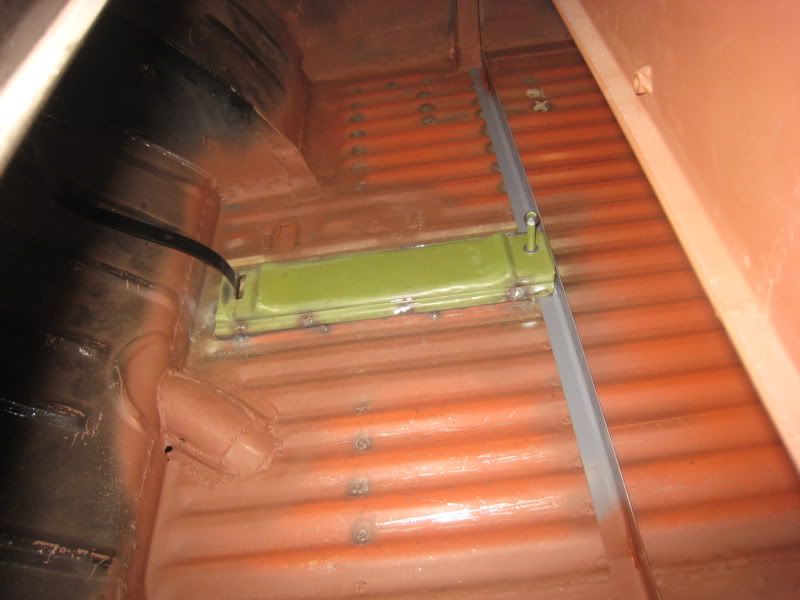
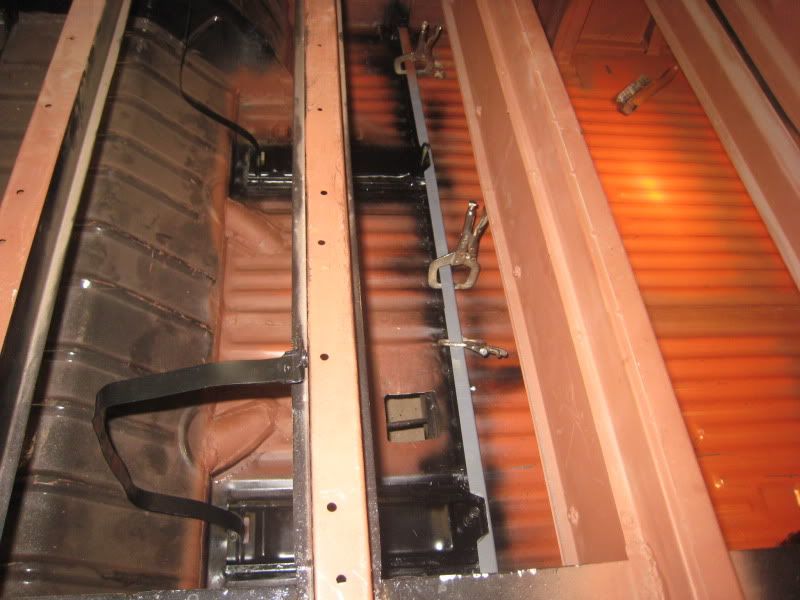
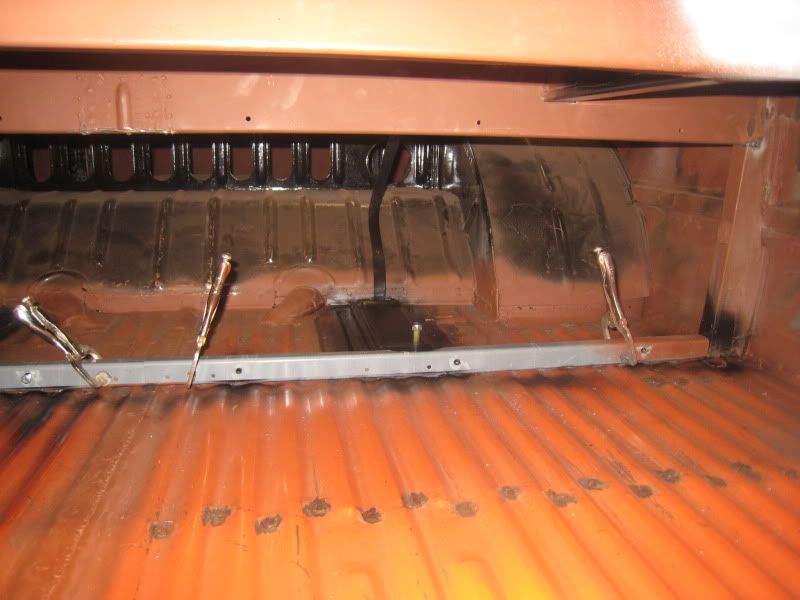
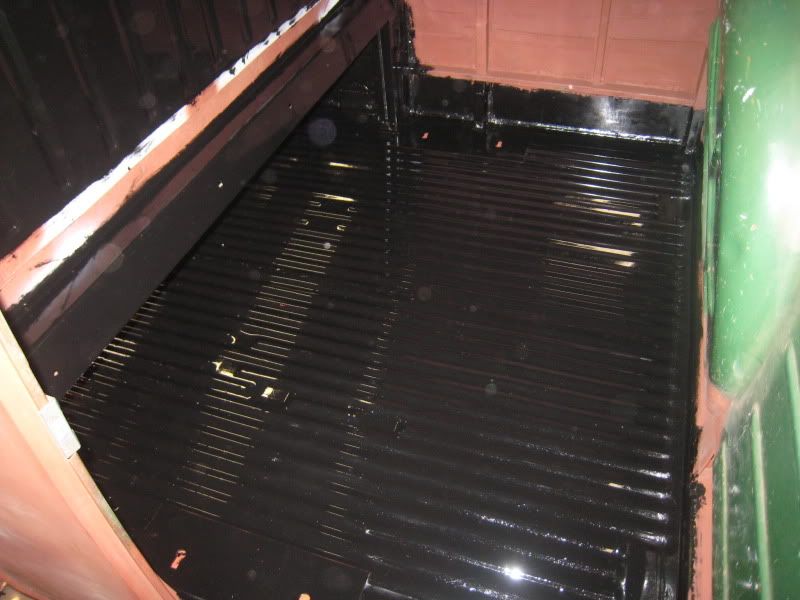
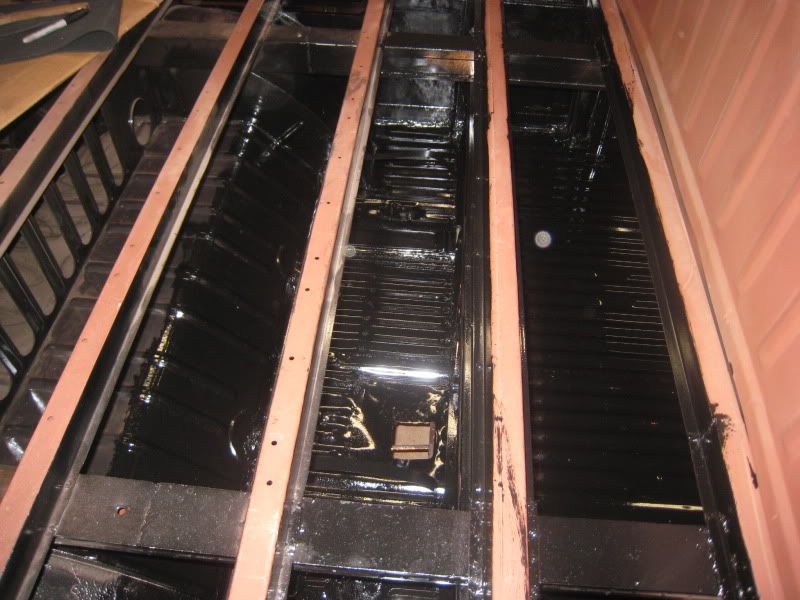
Cargo floors fitted and installed
Fuel tank mount
Re: 66 Double Cab Restoration
Posted: Tue Feb 18, 2014 8:18 pm
by heli-easy
Its hard to see cause its all black but installed plexiglass panels to find all the bolt hole in the surounding structure. These are used to make new separation panels out of steel, and find where the holes need to go in them.
After the paint dried, installed the gas tank
The safari windows came in, so fit them to the car. That way if something didn't fit I could fix it before paint.
Also brackets have to be welded in. My wife was helping,
Painted the interior black after fitting the steering column. Steering box came back from the rebuild shop.
Side window frames are extremely rusty, pretty much unusable. Luckily I can buy new ones.
I like this old sticker, hopefully I can keep it
Re: 66 Double Cab Restoration
Posted: Tue Feb 18, 2014 8:32 pm
by heli-easy
After getting new frames from powder coat I'm ready to assemble frames and seals to the glass.
Had to file the powder coat on the ends to make them fit like they did when I test fit them bare, it was built up too much.
A bondo scraper works good as a seal install tool
My car needed small tubs in the front. Did as little as i needed, so I could use my stock seats
New wheels and tires fitted
Finished straightening the front bumper with body filler. Figured it was good place to start. Figured if I could make this good I should be able to do the rest of the body.
After a coat of filler primer
Re: 66 Double Cab Restoration
Posted: Tue Feb 18, 2014 9:00 pm
by heli-easy
Worked the doors, filled holes and repaired rust holes, also shimmed them to fit in the door jambs
Door gaps were to big, welded a length of welding rod to the door edge.
Installed rear brake kit. This changes my lug pattern so I can install the new wheels in the back.
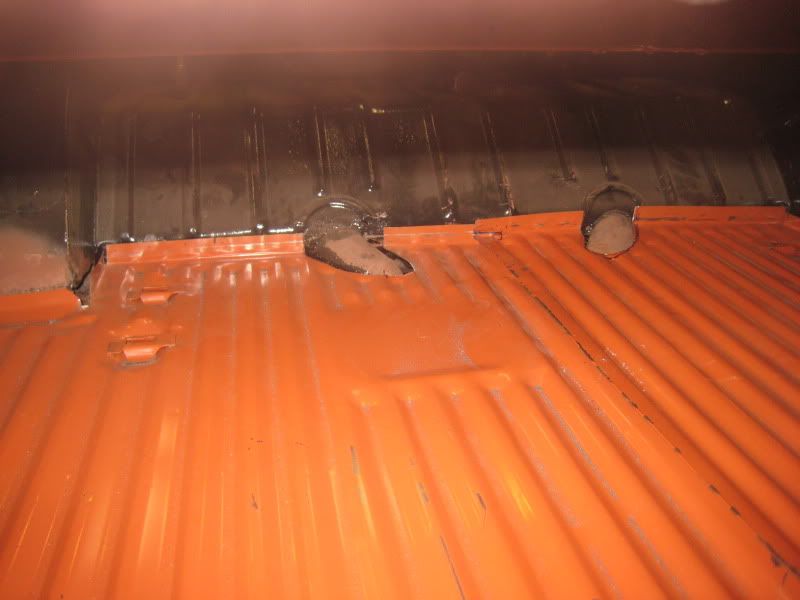
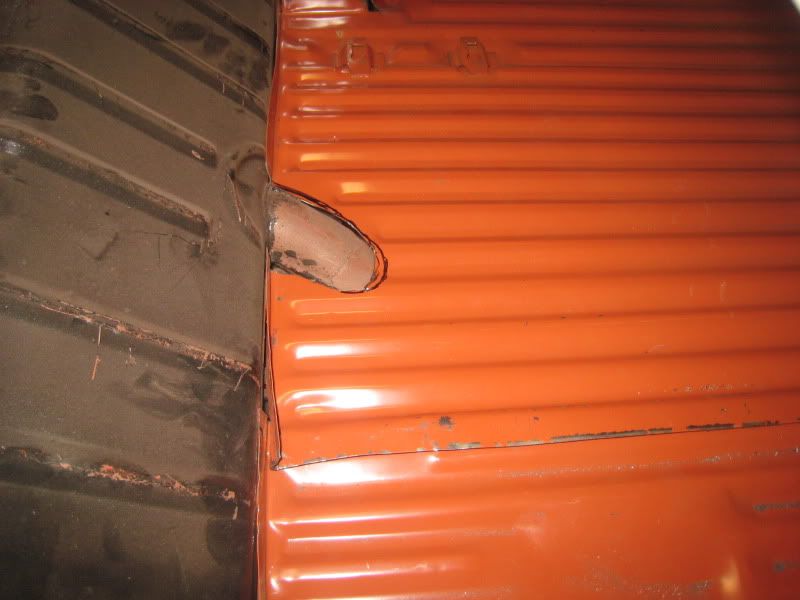
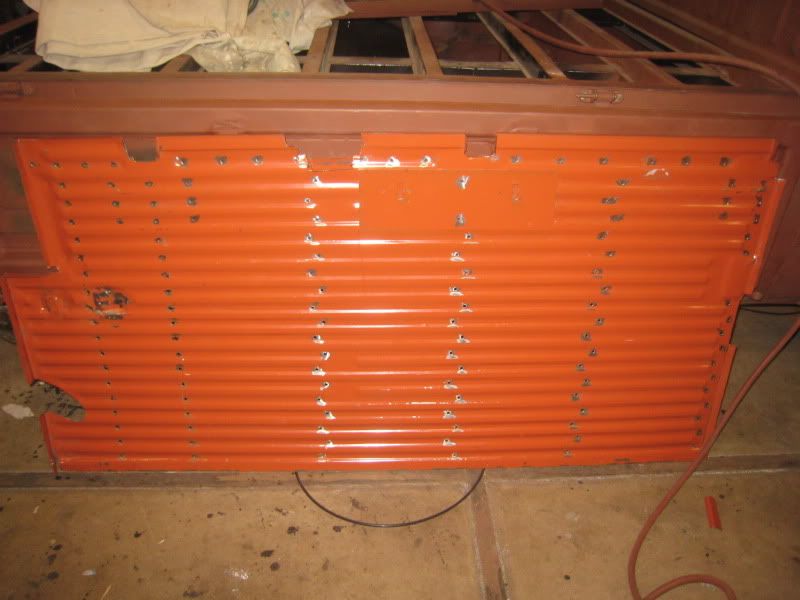
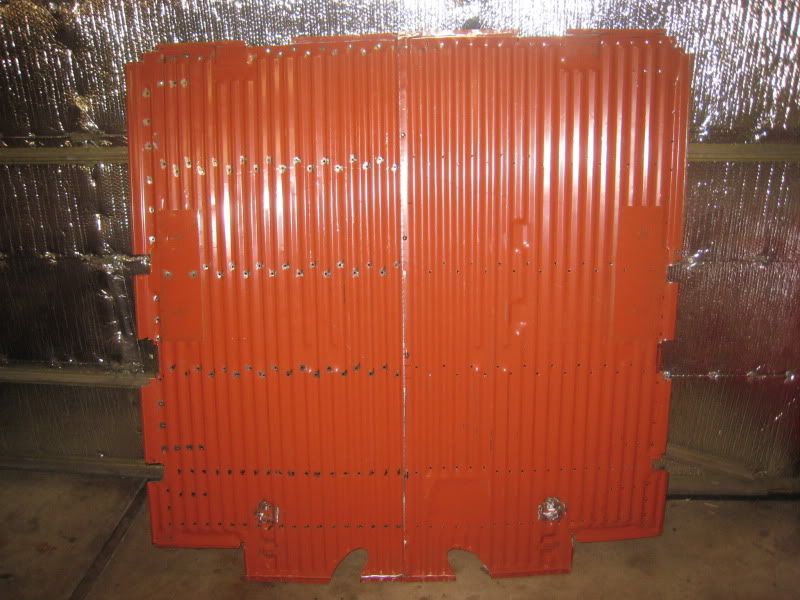
Started fitting new bed panels
My son helping by removing paint off the doors
Started some of the body filler
both kids wanted to help, so they are stripping the back of the cab
Stripped the dash
Re: 66 Double Cab Restoration
Posted: Tue Feb 18, 2014 9:04 pm
by heli-easy
After a lot of body filling and sanding I got all the minor imperfections mostly ironed out. I learned a lot about body work. I was too busy to take pictures. But finally got it all primed.
Interior and door jambs painted
Car masked to paint the roof
Roof done
Nose done
Had to re-sand the nose, found tiny dents I missed small enough that the paint filled most of them.
Guide coating the car. Getting ready to wet sand the primer.
More sanding..
Masking the bed
Done! Except for the drop gates, still have work to do on them.
Re: 66 Double Cab Restoration
Posted: Tue Feb 18, 2014 9:17 pm
by heli-easy
Cut and Buffing the paint
Stripped the seats to the frames
Fitting after powder coat
Fitted new padding
Seat covers
Custom shifter
Headliner
Finished door panels
Re: 66 Double Cab Restoration
Posted: Tue Feb 18, 2014 9:25 pm
by heli-easy
Still need to finish the drop gates
Double Cab window latches are special, the bus ones that are available to buy don't fit. And mine are missing so I had to make my own.
Pin Striped
Did a wheel alignment. I use jack stands and a piece of wire as a straight track reference. Worked good
Measuring the wheels off the reference wire
Re: 66 Double Cab Restoration
Posted: Tue Feb 18, 2014 9:37 pm
by heli-easy
Pulled the engine out of my bug, Is a 2007cc with only about 300 miles on it since I built it.
Pulled it apart, want to try a mellower cam, drop the compression down to 8.75:1
Built my own carb linkage
Works perfect!
Installed another engine I built to break it in. This one is an 1850cc Nothing easier than installing an engine in a bus, The stock carb didn't work. Wouldn't idle below 2k. Later put dual carbs on
Re: 66 Double Cab Restoration
Posted: Tue Feb 18, 2014 9:49 pm
by heli-easy
Here is the maiden voyage out of the garage.
Re: 66 Double Cab Restoration
Posted: Tue Feb 18, 2014 9:58 pm
by heli-easy
Decided to built my own tilt top
couldn't get the square tube to bend right so I had to make them a different way
Painted
Was wood working so made some bed rails too
Carpet
Re: 66 Double Cab Restoration
Posted: Tue Feb 18, 2014 10:03 pm
by heli-easy
Good pics of my bus finished. I love driving this thing.